Controlling the shutter speed enables you to control the amount of light hitting the sensor, and getting it 'right' is the key to great effects.
Controlling the shutter speed enables you to control the amount of light hitting the sensor, and getting it ‘right’ is the key to great effects...
Controlling the shutter speed enables you to control the amount of light hitting the sensor, and getting it 'right' is the key to great effects.
It's always easier to use something when you know how it works (just cast your mind back to your first driving lessons when you'd crunch the gears because you didn't know what the clutch actually did), so let's start with the basics.
The shutter mechanism is a pair of 'curtains' or 'blinds' that open and close to allow light from the lens to fall on the sensor; when you press the shutter button, one of these curtains opens to start the exposure, and the other one then moves across to end the exposure by closing the gap. Nikon cameras use vertical focal-plane shutters, which move up and down; other types include horizontal-plane and rotary shutters.
And while we call them 'curtains', they're somewhat more sophisticated than that implies – they're computerised, millisecond-accurate, feather-light feats of engineering designed to work in perfect synch with the camera hundreds of thousands of times ('cycles').
Shutter speed is the length of time the shutter is open to allow light coming through the lens to hit the camera sensor. It's also referred to as the exposure. The longer (slower) your shutter speed/exposure, the longer the curtains are open, so the more light will get through the lens, and vice versa. Shutter speed is measured in seconds and fractions of seconds (although on your Nikon's display screens it will be shown without a fraction line, so 1/160sec will appear as 160, and a 2sec exposure as 2")
The key thing that shutter speed determines is the amount of movement recorded in your shot. If you want to freeze the action, go for a fast shutter speed – usually of at least 1/250sec, and often a lot higher. For creative blur that can create a more dynamic image, choose a slower shutter speed of around 1/30sec or less. You can even make moving things disappear with a long exposure of several seconds, which is handy for smoothing out dull, choppy waves on lakes or removing people from scenes where they are in the way.
Shutter-speed choice is tied to ISO. So, with a faster shutter speed you might need to boost the ISO to make the sensor more sensitive to the light hitting it, therefore reducing the risk of underexposure; while, with a slower shutter speed, you might want to reduce your ISO to
• Auto and program modes In both auto and program mode, your camera selects the shutter speed and the aperture. This will work well for most everyday situations, but there will be times when you want to take control of the shutter speed, and that means moving to…
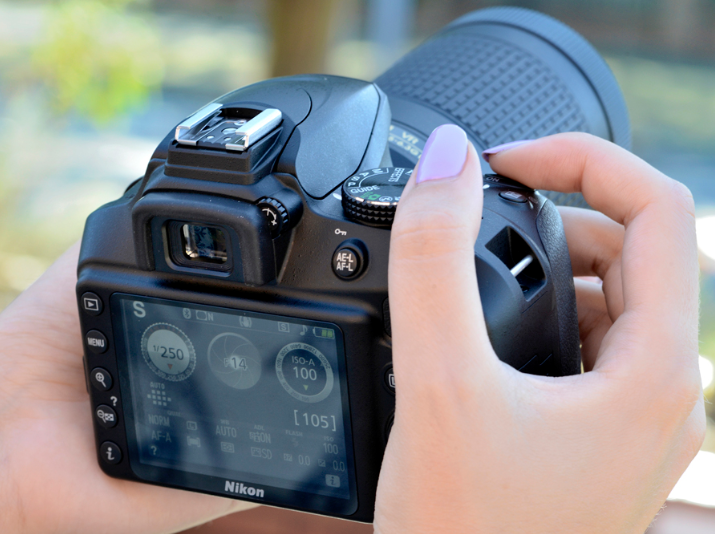
• Shutter priority & manual mode On your DSLR, Nikon 1 camera or 'P' range COOLPIX you have the option of selecting shutter-priority (S) and manual (M) shooting modes, which enable you to manually select the shutter speed by rotating the main command dial. You can check what you've selected either on the LCD back panel or in the viewfinder display or top panel.
• In shutter-priority auto, while you choose the shutter speed, the camera will automatically set the aperture for the corresponding optimal exposure, which is very helpful when you're shooting action.
• In manual mode you select both the shutter speed and aperture yourself, which is useful in tricky lighting situations. Manual also gives you the option of using very long shutter speeds (greater than 30 seconds) in the bulb setting, where the shutter stays open for as long as the shutter-release button is held down – perfect for long time exposures capturing car-light trails, stars moving across the sky, or fireworks. To select bulb, decrease the shutter speed using the thumbwheel dial on the back right – once this has dipped below 30 seconds, you'll see 'bulb' in the viewfinder display and on the top-right LCD panel.
With long shutter speeds you'll need to protect against camera shake by keeping the camera steady on a tripod or beanbag, and using a cable release to fire the shutter remotely. This is particularly important with bulb shots, where firing the shutter release with your finger will introduce too much movement into the shot and ruin in.
If you haven't got a cable release handy, use the self-timer instead (although this won't work in bulb mode). Select the self-timer icon on the mode dial on the top left of your DSLR, then go into the custom settings menu to the 'timers/AE lock' function, select 'timer' and then choose the self-timer delay: 2-5secs will give you ample time to press the shutter release and step back so the camera will then shoot with no risk of you causing movement.
As a rule of thumb, if you have to shoot hand-holding and your lens doesn't have vibration reduction (VR), then to prevent camera shake you'll need a shutter speed that is a bigger number than the focal length you're using – so with a 50mm lens, you'll need a shutter speed of at least 1/60sec, and with a 70-200mm lens used at the 200mm end, you'll need a shutter speed of at least 1/250sec. If your lens has VR, you can generally handhold with a shutter speed up to four times slower than would otherwise be possible.
Shutter speeds roughly double or half as you move one stop up or down through their range, and typically on your camera you'll have the option of moving up or down by ½ or 1/3 stop shutter-speed steps (pro cameras usually allow one-stop steps, too). Go to Menu>Custom settings>Metering/exposure>EV steps for exposure control to select the increments you want.
While what works best will depend on lots of factors – including your camera, the steadiness of your hand, whether you're using a lens with VR, and the light conditions – try these speeds as a rough starting point – and then experiment, experiment, experiment!
• 1/1000sec and faster – freezing fast action (e.g. fast cyclists, cars, flying birds)
• 1/250sec to 1/1000sec – freezing slower movement (e.g. hand-waving, crashing waves)
• 1/60sec to 1/250sec – normal daytime shots in decent light
• 1/15sec to 1/30 sec – the lowest you can generally handhold with a VR lens
• 1 second and longer – night exposures, capturing silky-smooth waterfalls, fireworks, making unwanted moving things in your frame (e.g. tourists, cars) disappear
You can now download a PDF version of this Hints & Tips article to read offline and print