Let’s face it – taking great portraits is what your Nikon DSLR is made for. Try these tips for boosting your learning curve and your success rate.
Let’s face it – taking great portraits is what your Nikon DSLR is made for. Try these tips for boosting your learning curve and your success rate.
Let’s face it – taking great portraits is what your Nikon DSLR is made for. Try these tips for boosting your learning curve and your success rate.
The lens you use has a major impact when shooting portraits: too wide and it will distort the face, making features appear bigger (noses in particular), while too long a telephoto will compress your subject’s face, creating an unnatural-looking, “flattened” result. What you’re after is something within the range of 50mm to 200mm.
This can mean primes such as the 50mm, 60mm, 85mm, 105mm or 200mm lenses; but it also means you can select from a zoom like the 24-70mm or 24-120mm. With a longer zoom, such as the 70-200mm, try shooting at the longest focal length (here, 200mm), move back to get your subject in focus, then take your shot; this will blur the background beautifully to put more emphasis on your subject.
To capture healthy looking skin tones, it’s vital that your DSLR’s white balance (in the shooting menu) is set for the available light. The easiest way to do this is to set auto white balance, where the camera determines the colour temperature of the light and selects the most appropriate pre-programmed setting to create natural-looking colours in the captured image.
This works well when the lighting is more or less of one type (such as sunlight), but there are plenty of situations where you’ll want to be the one making the choices, and that’s where manual white-balance settings come in. For example, if you’re shooting in bright natural light, go for “direct sunlight”; if your Nikon Speedlight flash is your main light source, then set the white balance to “flash”; while “incandescent/fluorescent” is best for scenes lit with household light bulbs.
Check out more white balance tips here.
As a rule of thumb, go for matrix metering; it calculates an average exposure for the whole scene and yields results which are usually spot-on. However, for portraits where a bright light source threatens to throw your subject(s) into silhouette, you might be better using centre-weighted metering, which takes readings across the whole frame but gives those in the centre the most weight.
To use it, first frame up your subject in the centre and press the shutter button halfway to focus and meter on them. Then – still keeping the shutter button depressed halfway – recompose the photograph with your subject in the spot you want them, and only then fully depress the button to capture the image. Alternatively, after you’ve focused on the dead-centre subject, if your camera has an AE lock, press it. You are now free to recompose and shoot when you’re happy with the composition.
Your image’s exposure is the combined result of the shutter speed, aperture and ISO sensitivity, and all that’s dependent on the available light. A good starting place is to set the ISO to 400, then switch the mode dial to aperture priority and choose f/5.6 – this is a mid-way value that will give you some depth of field while ensuring your entire subject is in focus. The camera will then automatically select the corresponding shutter speed; you’ll need at least 1/100sec, so if there isn’t enough available light to create that, increase the ISO to e.g. 800 and meter/focus the scene again.
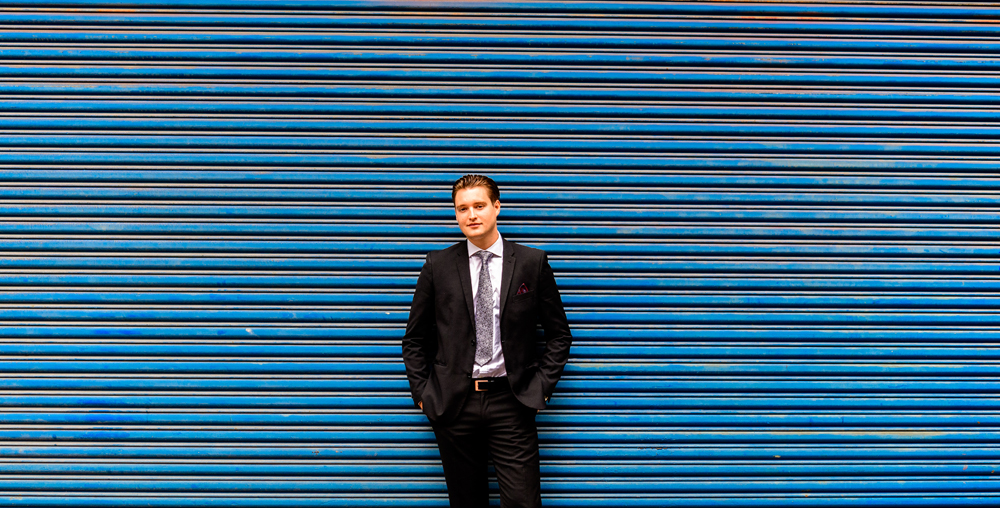
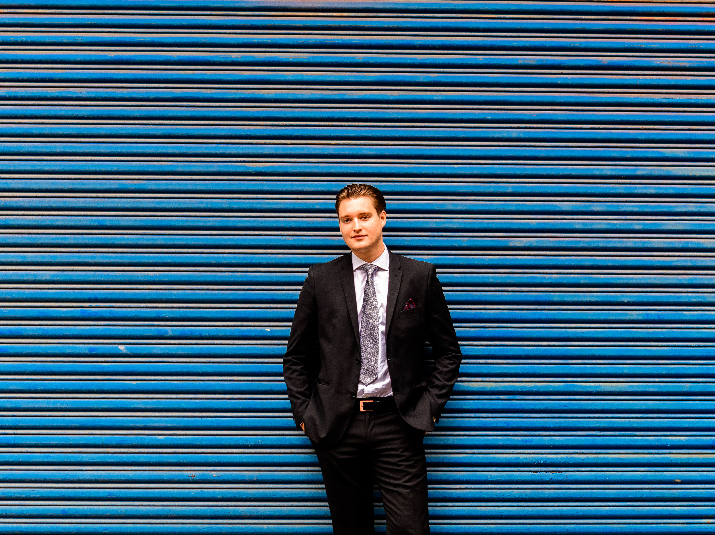
These shouldn’t distract from the subject. Anything that’s simple, without strong lines or patterns – such as a plain wall or dark foliage – works well. Do, watch out for lines, poles or branches “growing out of” the subject’s head, too.
Photographing against a bright background may well result in a silhouette, because the brightness can cause the camera to underexpose the subject, making them look dark. You could pop up your Nikon DSLR’s built-in flash to add light to your subject’s face (but you’d still have that bright background), change to centre-weighted metering (as above) or overexpose by one or two stops or shutter speeds. If you’re still having no luck, try a different background, preferably something darker than the subject.
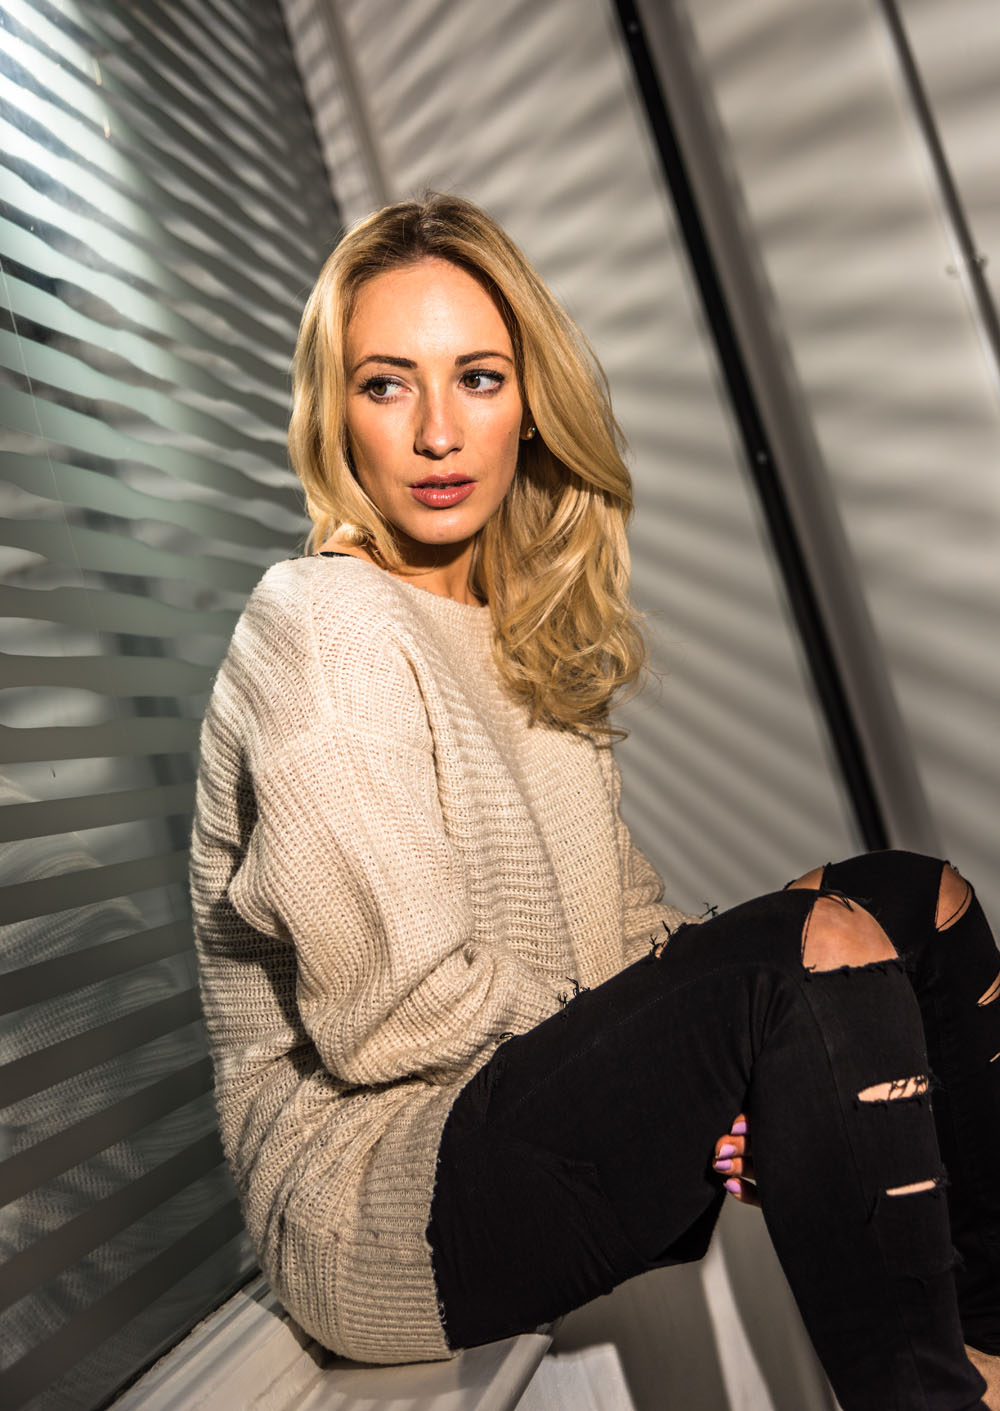
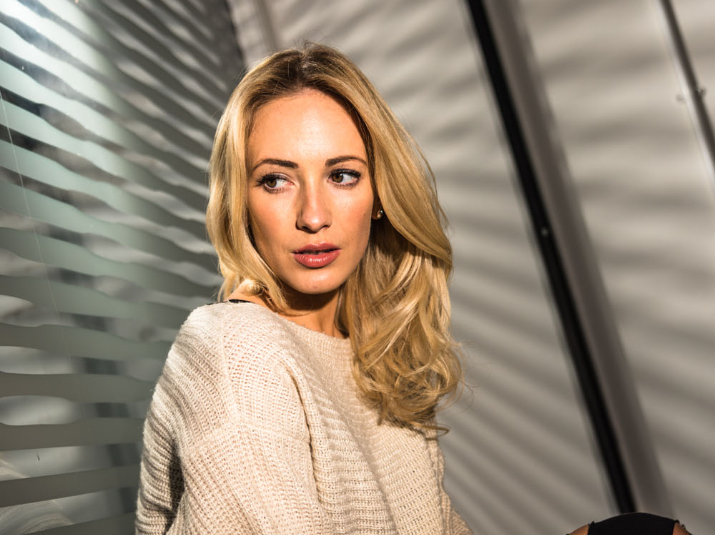
Even when you know them really well, people have a habit of freezing in front of the lens, so help put them at their ease by chatting, telling jokes, making them laugh, asking them to pull silly faces. For a head and body shot, they’ll often look more relaxed photographed with their body angled slightly away from you (the head-on look can sometimes be reminiscent of a police mug shot if you’re not careful). Get them to turn their body maybe 45 degrees away from you, then, without moving their shoulders, turn their head back to face you. This is also a more flattering pose and it helps slim people down, too.
• Make sure your subject’s eyes are pin-sharp, but remember that a portrait doesn’t always have to be about the face; zooming in on details like a baby’s tiny toes can be equally evocative.
• People’s heads are vertical, so photograph them that way; horizontal portraits can look uncomfortable.
• If you’re shooting with a Nikon COOLPIX, make the most of the Smart Portrait System to get great results at the touch of a button.
You can now download a PDF version of this Hints & Tips article to read offline and print