It’s time to shake yourself and your Nikon gear out of hibernation. With the clocks going forward and the days getting longer, there’s a newly emerging natural world of photo opportunities to capture.
Spring is in the air, so brush off the winter cobwebs and head outdoors to capture this most hopeful of seasons. Whether you’re focusing on blossom and blooms, young animals or glorious landscapes, we explain the best lens choices, techniques and features on your Nikon Z series or DSLR
It’s time to shake yourself and your Nikon gear out of hibernation. With the clocks going forward and the days getting longer, there’s a newly emerging natural world of photo opportunities to capture.
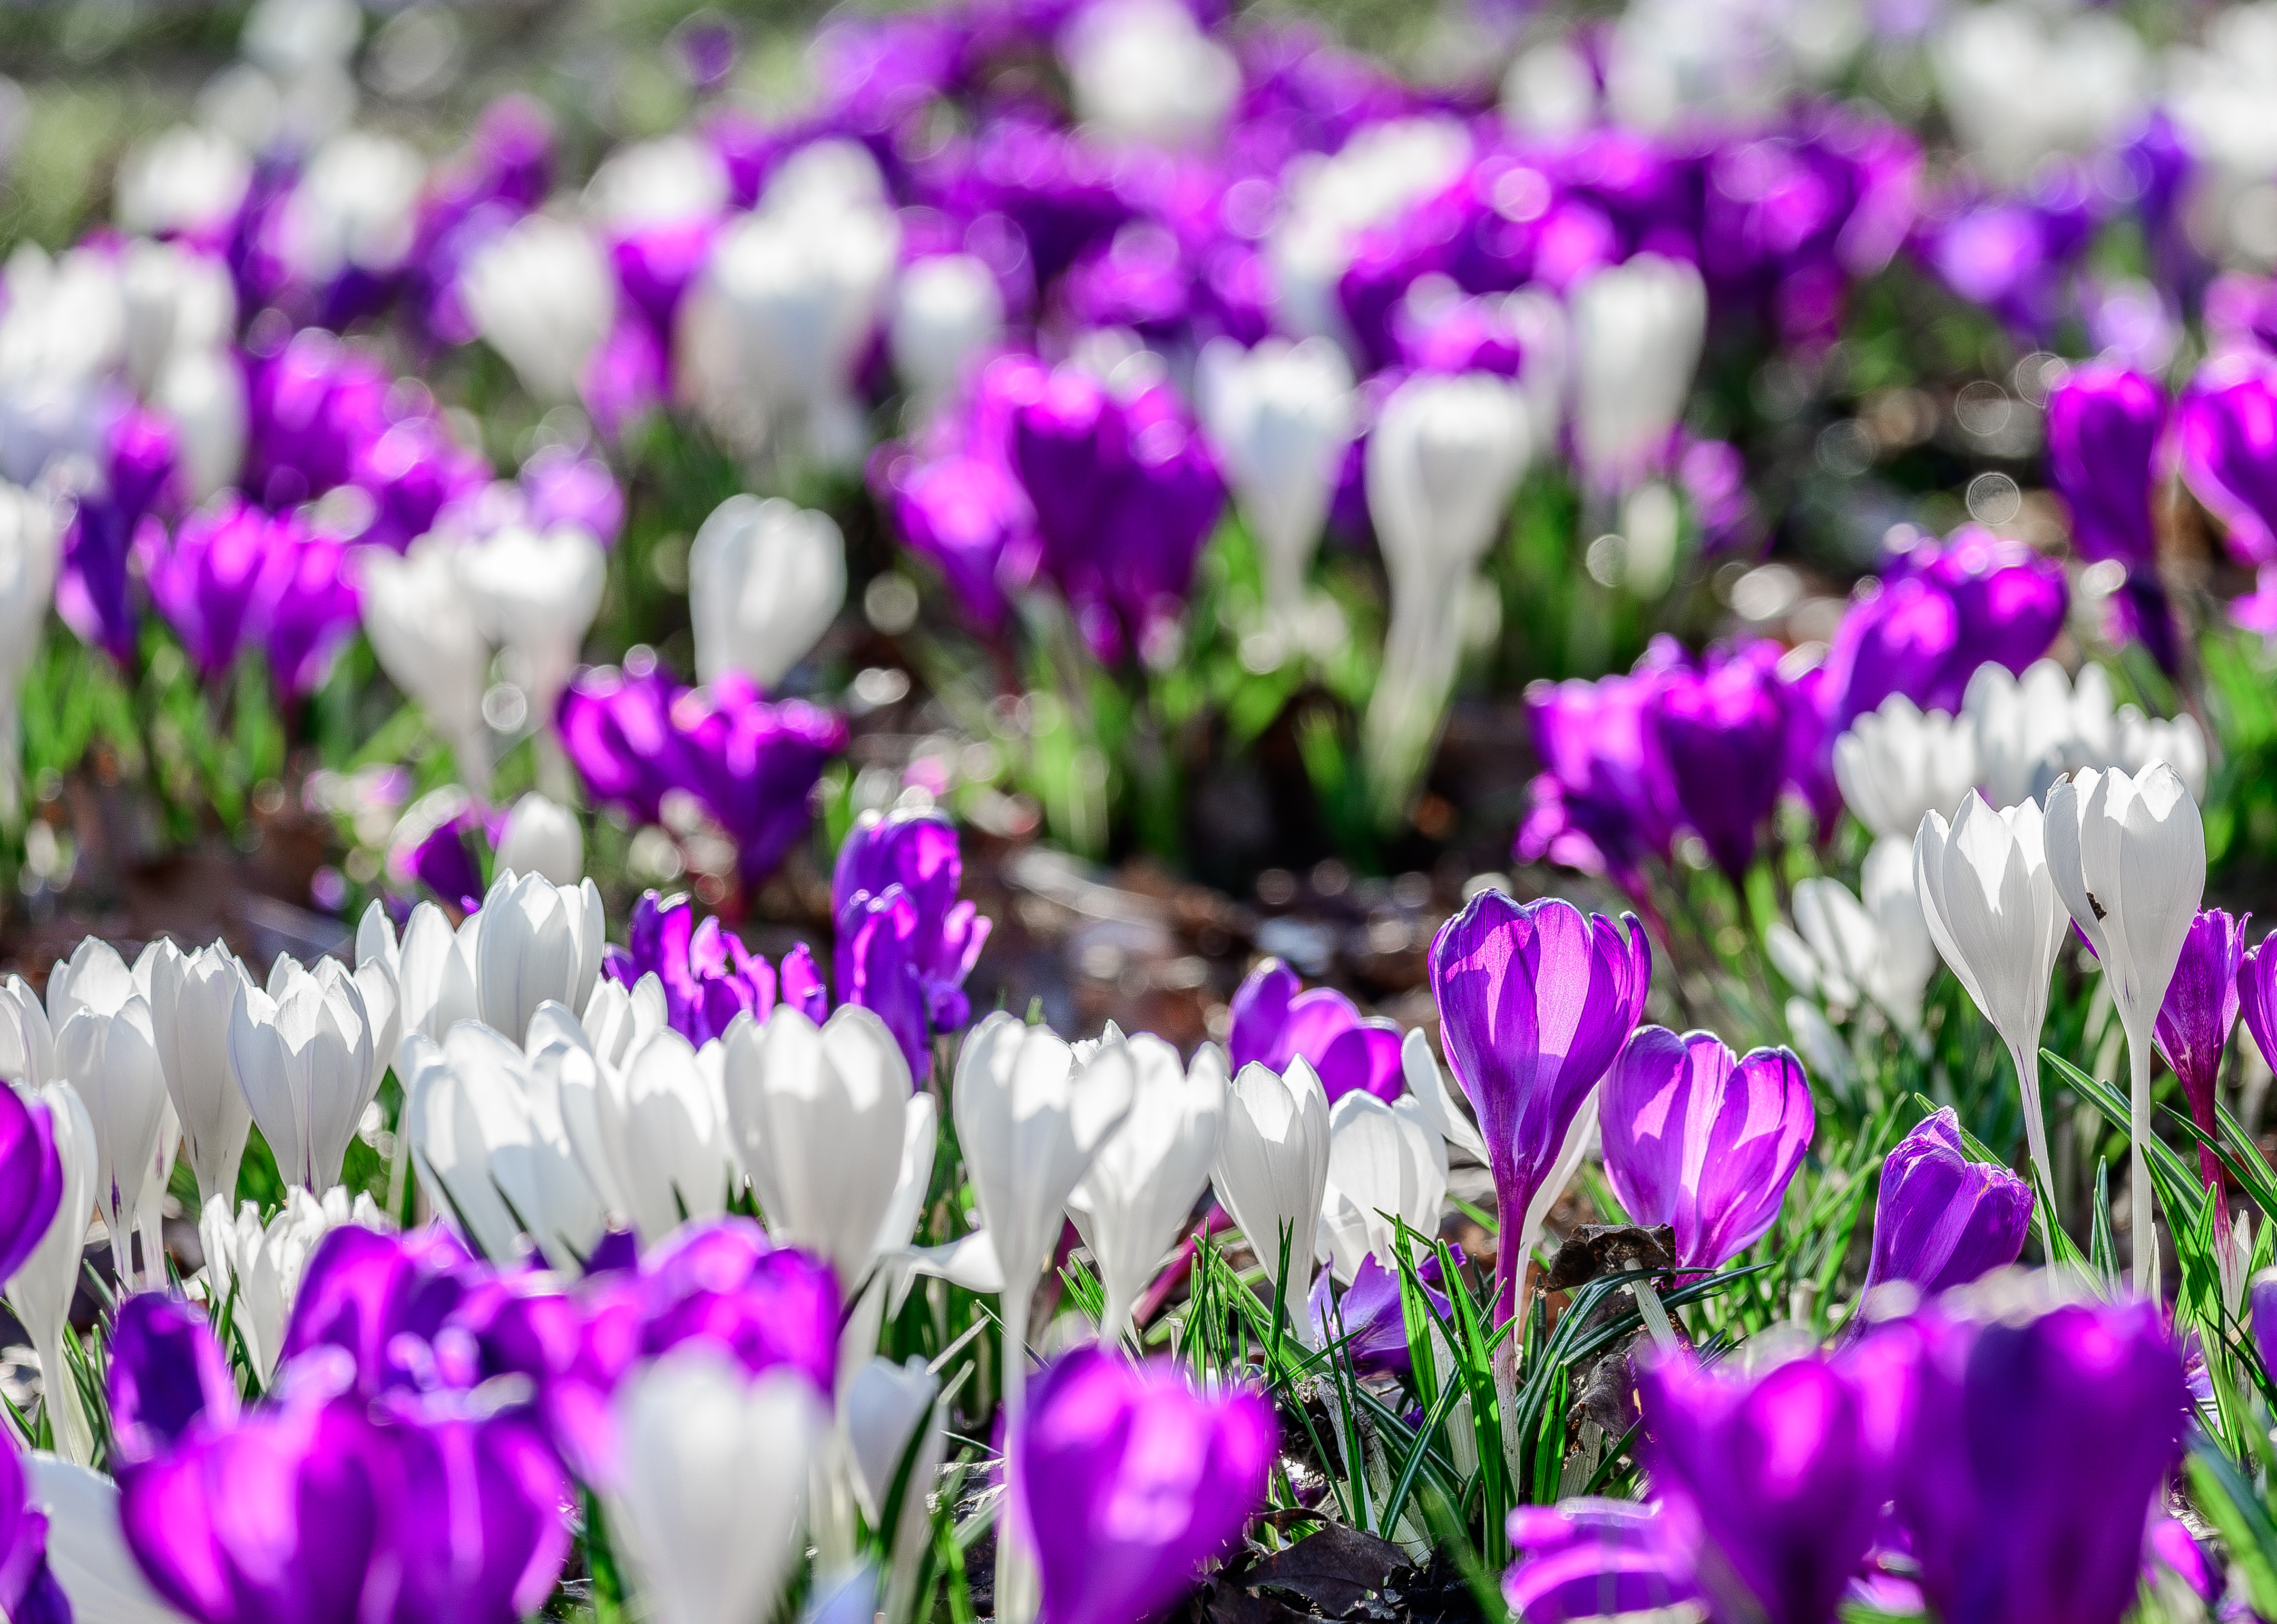
Among the biggest visual treats of spring are the floral displays that seem to pop up as if from nowhere. That dead patch of earth in your garden, local park or woods at the start of the week will have burst into life by the end.
Whatever your subject choice – buds, flowers, foliage or blossom – a shallow depth of field will isolate it in pin-sharp focus against a blurred background and foreground, really making it leap out. To get this degree of control over your depth of field, shoot in aperture priority.
Using The Right Lenses
Micro-NIKKOR lenses are built specifically for macro work, where you’re capturing your subject very close up so it’s near life-size in the frame. The Micro-NIKKORs enable extremely shallow depth of field at the widest aperture (lowest f-number, e.g. f/4), just millimetres of front-to-back focus compared with a standard lens. However, there might be occasions where this is simply too restrictive – the merest breath of wind will ruin such a shot – so experiment with smaller apertures such as f/8.
• On a DX camera, try the 40mm f/2.8G or 85mm f/3.5G ED VR Micro-NIKKORs, while the 35mm f/1.8G (50mm equivalent on a full-frame camera) is a great all-rounder that is also capable of excellent close-ups at f/1.8 and f/2. With an FX camera, the 60mm f/2.8G ED Micro is a good choice, while the two AF-S 50mm f/1.8 lenses are also excellent standard options.
• Alternatively, use the long end of a medium telephoto lens to compress the background into a subject-flattering blur. With a DX camera, the 18-105mm, 18-140mm and 18-300mm (all f/3.5-5.6 ED VR) are ideal. With a full-frame camera, try the 28-300mm f/3.5-5.6G ED VR or 24-120mm f/4G ED VR. You’ll need to position yourself some way back from your subject to get it in focus, but it’s worth going the distance.
• The Z range doesn’t yet have any dedicated macro lens options, although the Micro 50mm and Micro 105mm S are on the roadmap. In the meantime, you can mount your existing Micro-NIKKOR lenses on your Z camera with the FTZ adapter ring. There’s no difference in performance – you enjoy the same autofocus speed and no sharpness drop-off whatsoever. It’s just like using them on your DSLR.
• For the telephoto approach on a Z-series camera, again you can use your existing DSLR lenses with the FTZ adapter. However, you also have the option of the Z-dedicated 24-200mm f/4-6.3 VR – an extremely compact and lightweight all-round telephoto that is very sharp over an amazing range.
• If you’re more about pro lenses, you’ll be blown away by the quality of the Z-series 70-200mm f/2.8 VR S. Shoot at the 200mm end from 1m away – the closest possible distance – and it compresses the perspective to throw the background beyond focus. It’s ideal for shots of bumblebees or other insects on blooms, because it reduces the risk of disturbing them. To make your subject stand out even more with an almost 3D quality, add the Z TC-2.0x 2x teleconverter – this essentially gives you a 140-400mm f/5.6 zoom for super-close-up photography with incredible background blur.
Spring blossom makes for classic shots at this time of year. Use a long lens to isolate individual clusters against a soft, cloudy background of blossom, with longer focal lengths at the widest available aperture (e.g. f/2.8, f/5.6) to create stunning bokeh – soft, regular background highlights that complement the shape of the blossom. It’s particularly effective for tree blossom, with the light is streaming through the leaves.
Choosing The Most Powerful Viewpoint
• Shooting from the plant’s “eye level” will generally give the most impactful results, filling the frame with the flower. Using a wideangle like the 14-30mm f/4 or the 14-24mm f/2.8 S will create a truly immersive picture with a large foreground and the background pushed right back – creating layers in the shot that guide the viewer through the frame and into the subject.
• There’s a helpful tilt screen on every Z-series camera, and many Nikon DSLRs, which makes getting these types of shots a bit easier. When you’re photographing from a low angle, flip out the screen and switch to Live View, then you can frame and check the picture more comfortably from above.
• For a more contextual shot, the DX 10-20mm f/3.5-4.5G ED gives a super-wide angle of view, while wideangle favourites for full-frame shooting include the 14-24mm f/2.8 and the 16-35mm f/4. The trick with using wideangle lenses for close-ups is to get as near as you can to the subject, preferably within touching distance, as wideangles “push” the subject away and will therefore otherwise render it too small in the frame.
Whatever your subject choice, shooting earlier in the morning is a good idea for plants as they will look fresher before the sun has had time to dry them out, while the warmer, lower light is more atmospheric and flattering. Morning dew in a close-up also looks wonderful, and remember you can always create your own with a quick spritz of water from a flower mister. Don’t worry if it’s overcast, either – clouds act as a giant softbox and can give better colour saturation than harsh, bright sunlight.
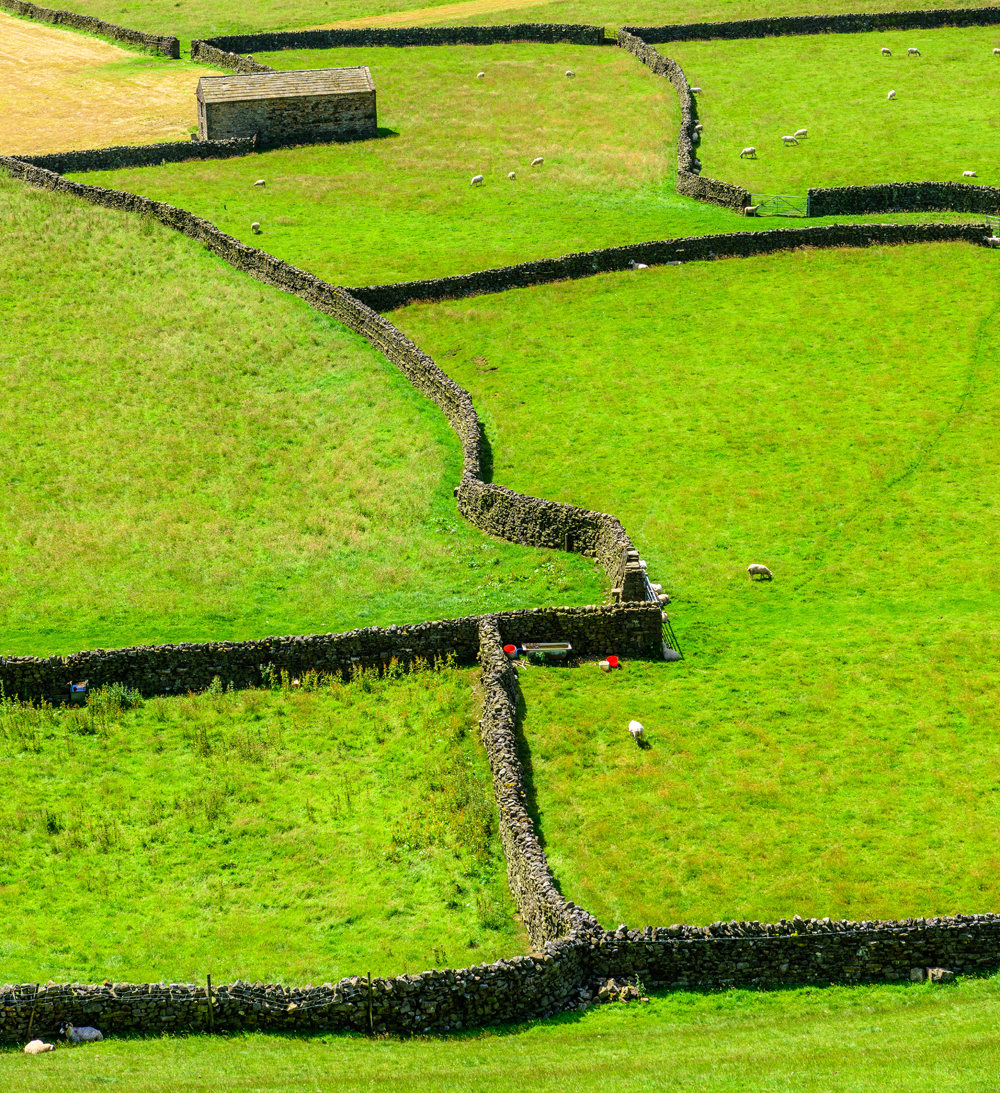
You’ll get the highest quality landscape images shooting with the camera mounted on a tripod, triggering the shutter with a remote release like the ML-L3 infrared with a DX DSLR, or the WR-T10 system with the Z-series and full-frame DSLRs. This set-up prevents shake from ruining your pictures by steadying the camera and eliminating the need to physically depress the shutter. (At a pinch, you can improvise by balancing your camera on a wall, rock, hat or beanbag, and firing the shutter via exposure delay mode in the custom settings menu.)
Using a tripod also prompts you to consider your composition carefully.
• For critical sharpness in your spring landscapes, switch to Live View focusing, then use the +/- buttons on the back plate (or pinch the touchscreen if your camera has one) to zoom into a particular area of the subject in the image. Now switch to manual and fine-tune the focus so this area is pin-sharp, then shoot.
• Another option is focus peaking, available on the Z series, the D780 and the D850. To activate, switch the camera or lens to manual focus. On the D780 or any Z camera, choose Shooting/Display in the custom settings menu. Under Peaking Highlights, set the sensitivity to 2, and choose a peaking colour that will stand out. It’s slightly different with the D850 – first select Live View, then press the i button and scroll through the right-hand menu until you see “Peaking”. As you manually focus the lens, areas in focus are then outlined with the peaking colour, which makes attaining critically sharp focus so much easier.
With the Z series, you can also fire the shutter using the exposure delay mode rather than via remote release or the self-timer. You’ll find this option in the D section of the custom settings menu. Selecting a 3sec delay, for example, will trigger the camera to fire 3sec after you’ve pressed the shutter.
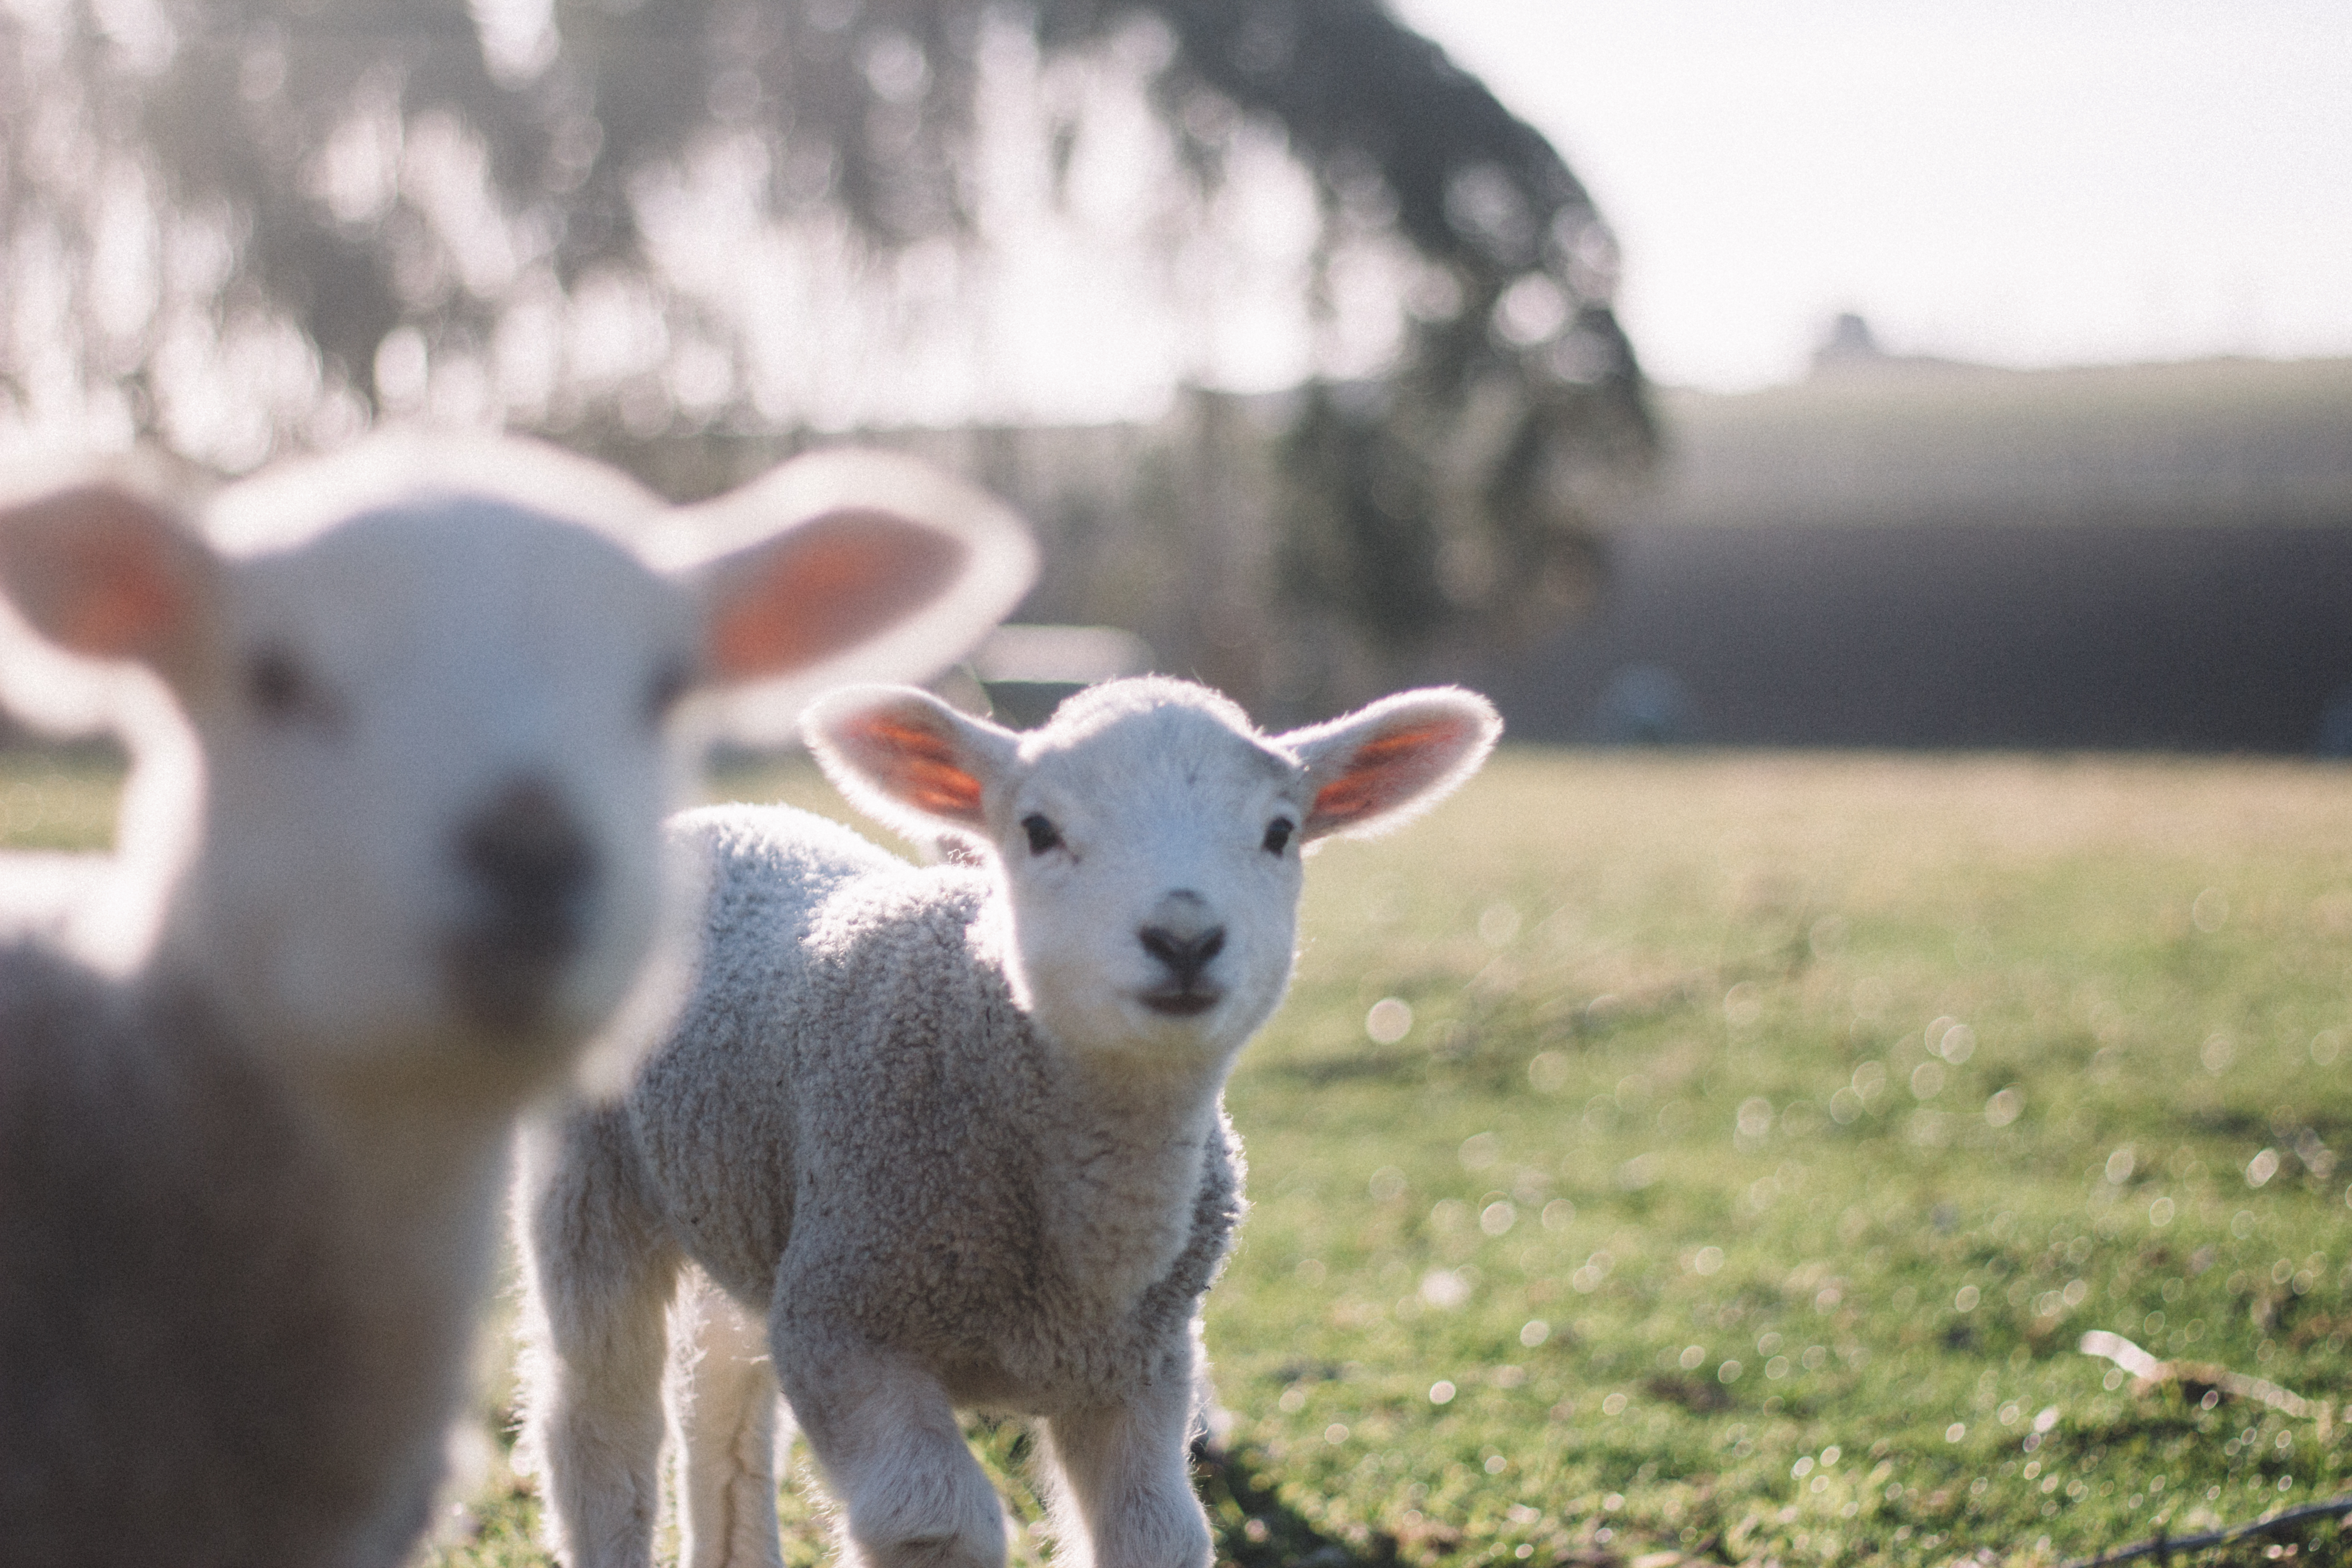
For successful animal photography, timing is everything. First thing in the morning may not find creatures at their most active, which is fine if you want peaceful static shots, but if you’d rather capture them full of the joys of spring, then early evenings and sunsets can be terrific, especially against the warm lowering light and raking shadows.
There are quite a few other techniques you can use to improve your chances of getting great results, including:
• Choosing the best autofocus mode. Continuous autofocus (AF-C) is ideal for animals that tend to move around a lot, such as lambs gambolling around a field. Simply half-depress the shutter button (or AF-ON) to continually focus on the subject under the active focus point(s). The autofocus system will automatically adjust to keep your subject in focus, and the focus point stays red because the system is continually focusing. On DX DSLRs, dynamic focus mode – denoted by the motorbike icon – will activate more focus points in the viewfinder than you can see. So, when you half depress the shutter, the AF system can constantly track the subject, keeping the autofocus locked onto it for sharp results.
• Experimenting the animal face and eye recognition modes on your Z-series camera. Wide-area AF (animals) and auto-area AF (animals) have been designed specifically to spot the faces of cats and dogs, but we’ve used it successfully on squirrels and for isolating a horse’s eye – and it works with wolves, too, although you’re unlikely to spot many roaming around the countryside… We’ve not yet had chance to test it with lambs, calves or rabbits, but if you decide to give this a try, we’d love to know how you get on. (It definitely can’t be used with birds, so don’t bother!)
• Selecting a suitable drive mode. Depending on your camera, you may also have a choice of drive modes – continuous low or high, where shooting a burst of shots enables you to capture a sequence and select the best resulting image.
With an FX or Z camera, try back-button focusing for moving subjects.
• Using the shutter button to both focus and shoot means that every time you half depress it, you lose focus for a short time until you ‘half’ depress it again. Even though Nikon cameras acquire focus quickly, you’ll still end up missing a few images in a fast-changing situation.
• To overcome this, you can assign the focus function to one of the buttons on the back of the camera, which reserves your shutter button purely for capturing the image. If your camera has one, use the AF-ON button for back-button focusing, otherwise assign the AE-L / AF-L or another programmable button to do it. It’s a great way to improve your hit rate.
Lens Choice
If you want to make your shots more realistic and engaging, then get down to your subject’s eye level. This is best done with a mid-to-long range telephoto lens.
• For your DX camera, the dedicated 18-105mm f/3.5-5.6G ED VR, 18-140mm f/3.5-5.6G ED VR and 18-300mm f/3.5-6.3G ED VR are all ideal. Handhold so you can quickly respond to the animal’s movement. Remember to engage VR to stabilise the image and a faster shutter speed to freeze the action, at least 1/400sec or more for a good degree of sharpness – generally, the faster your subject is moving, the faster your shutter speed needs to be. Shoot in shutter priority so you can select the appropriate shutter speed while your camera automatically sets the aperture.
• With a full-frame DSLR, the AF-P 70-300mm f/4.5-5.6E ED VR is a great combination of telephoto reach, quick response and sharpness through the range, while if your budget stretches a bit further, you’ll love the 70-200mm f/2.8E FL ED VR. The 24-120mm f/4G ED VR is a great all-rounder, while the 24-70mm f/2.8 so loved by pro photographers is a long-term investment that will pay you back in spades in terms of image quality and flexibility.
• Because Z cameras have in-body stabilisation, they are ideally suited for handholding, so you can get terrific results with dedicated Z lenses like the24-200mm f/4-6.3 VR, or the 70-200mm f/2.8 S if you want to invest in pro gear. Furthermore, when you’re using an F-mount lens such as the AF-P 70-300mm attached with the FTZ adapter, you’re still benefiting from the image stabilisation in the sensor, so you have the freedom to shoot handheld at speeds you wouldn’t have thought possible.
You can now download a PDF version of this Hints & Tips article to read offline and print