Welcome to Nikon School. The official Nikon education experts to help you learn how to get the best from your Nikon Camera and Lenses

Your essential guide to Nikon on-camera flash

Nikon School Training Manager Neil Freeman shines a new light on using pop-up flash or a Speedlight mounted on your Nikon camera to create fantastic photographs – you’ll be surprised at how easy on-camera flash is when you know how!

Good flash photography is more than adding light to a dark scene. Flash is a very versatile photographic tool for freezing fast-moving subjects, providing extra light when it’s too dark to handhold your camera, balancing your exposure in bright daylight, and even controlling other compatible flashes.

When used correctly, flash lets you add a huge amount of creativity and depth to your images regardless of the light conditions you’re shooting in. On-camera flash is good, off-camera flash is even better – but let’s get to grips with on-camera first!

Flash can seem daunting and complex, but in reality it’s really easy to use. It’s simply a matter of balancing the ambient light in the scene with the flash light you’re adding. The trick is to treat them both as separate light sources and build your exposure individually for each one.

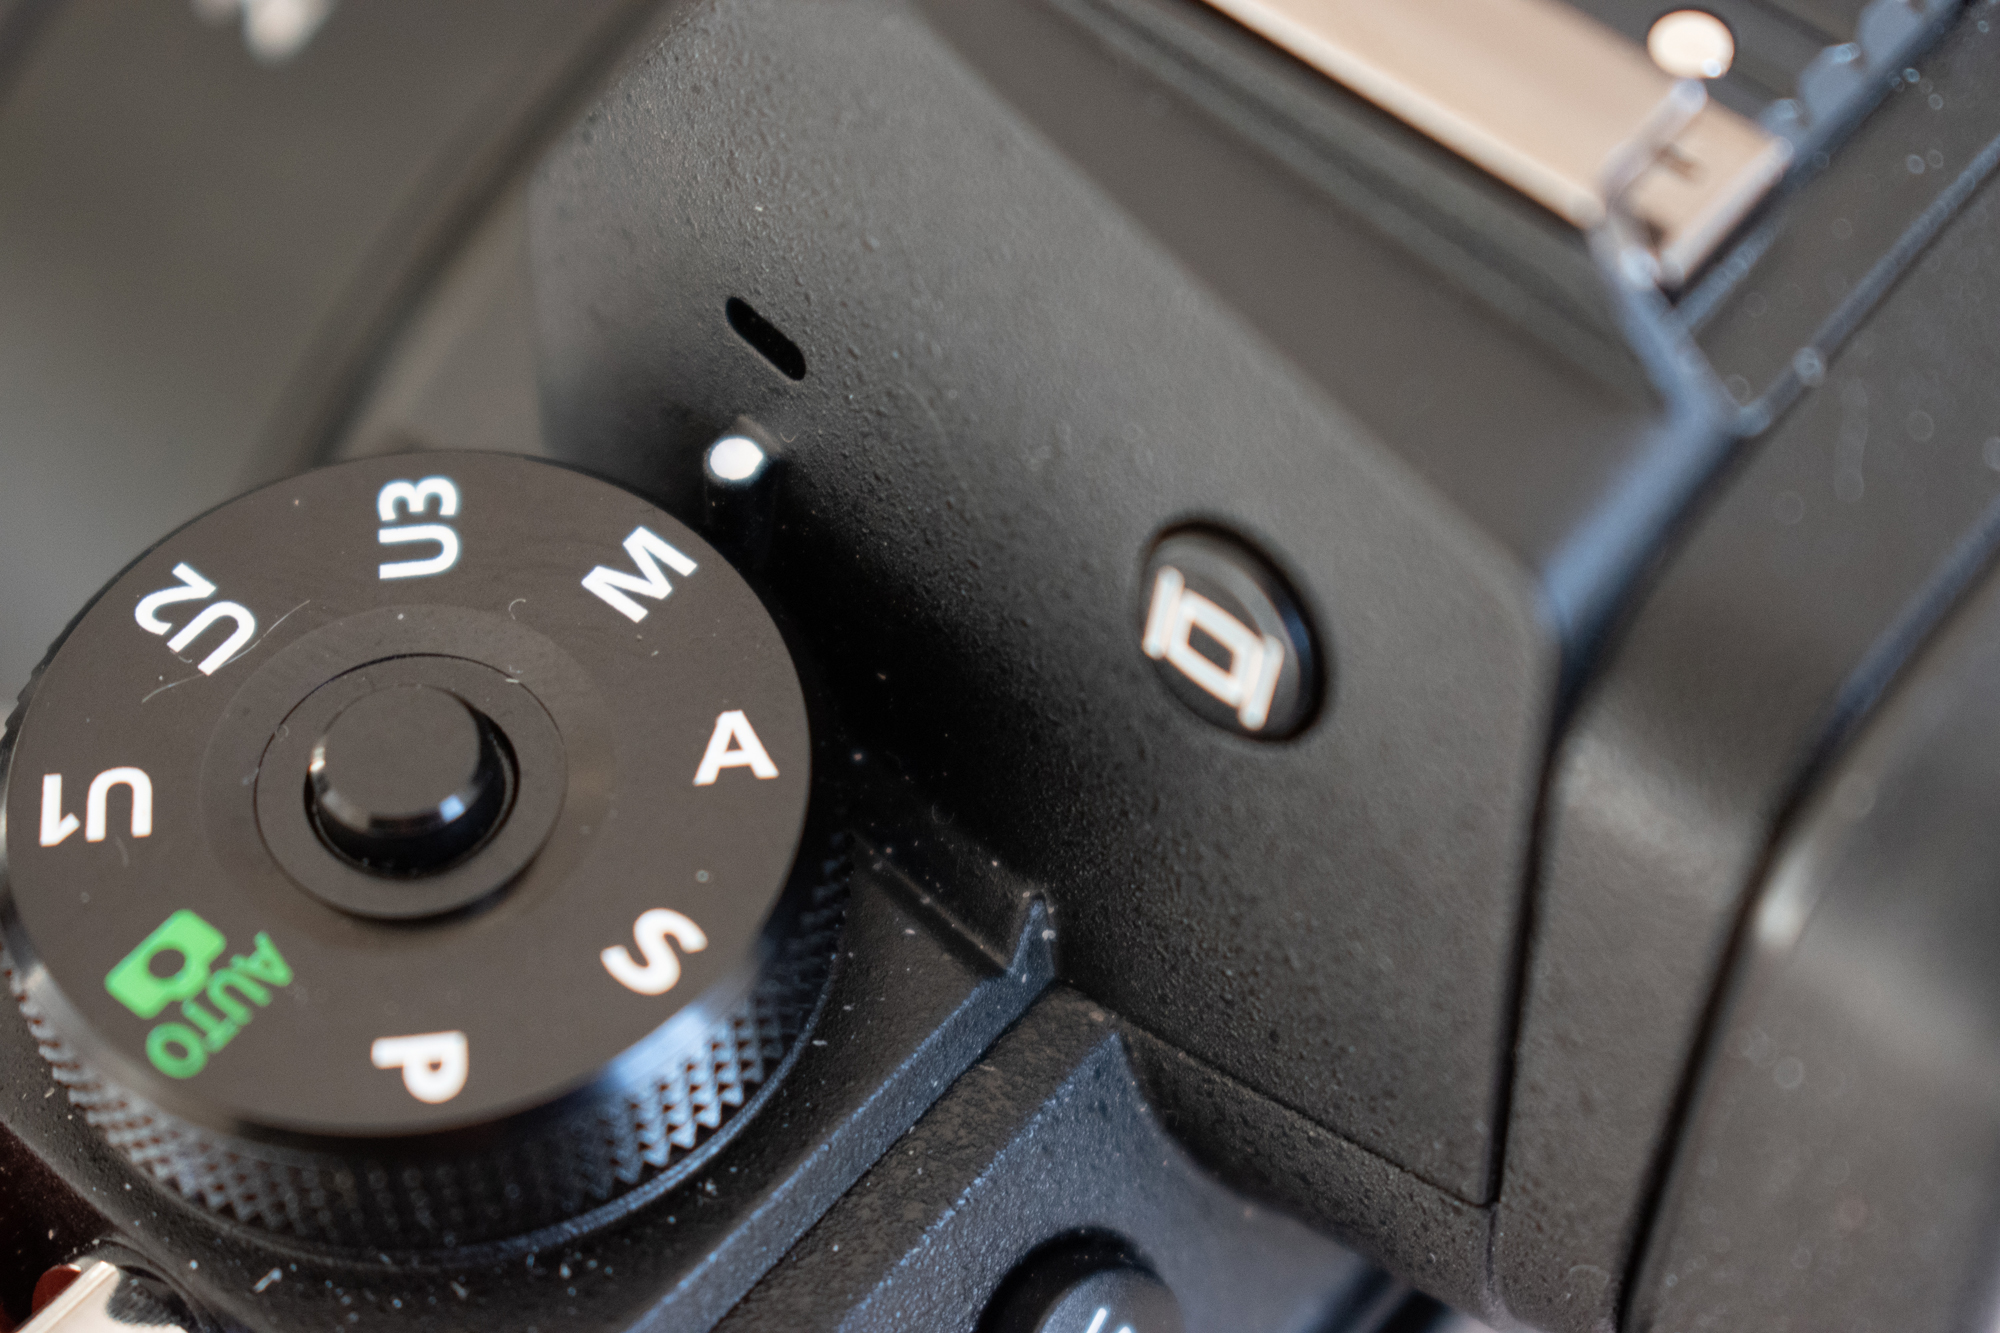
Your camera modes will determine the control you have over ambient and flash light. When you’re using flash for the best images, it’s best not to rely on the auto modes as they only activate the flash in low-light situations. While you can use aperture priority or shutter priority, manual mode will give you the most control over both ambient and flash of light.

To build a good flash image, this simple technique for setting an ambient light exposure works everywhere and with varying light levels:

1. In manual mode, start at ISO 100 or 200, a shutter speed of 1/200sec and around f/4 or f/5.6 to set a reference exposure or frame for the ambient light level.
2. If you want more of the ambient light in the scene, control this by raising your ISO or lowering your shutter speed. You might need a tripod if the shutter speed goes below your handhold limit or breaks the reciprocal rule (i.e. if it’s less than the focal length you’re shooting at).
3. Change your aperture to achieve the exact depth of field you require.

I often build from a completely dark, deliberately underexposed reference frame, with the only light in the scene coming from my flash. This means I have complete control over the light direction as well as the quantity, quality and colour of light illuminating my subject.

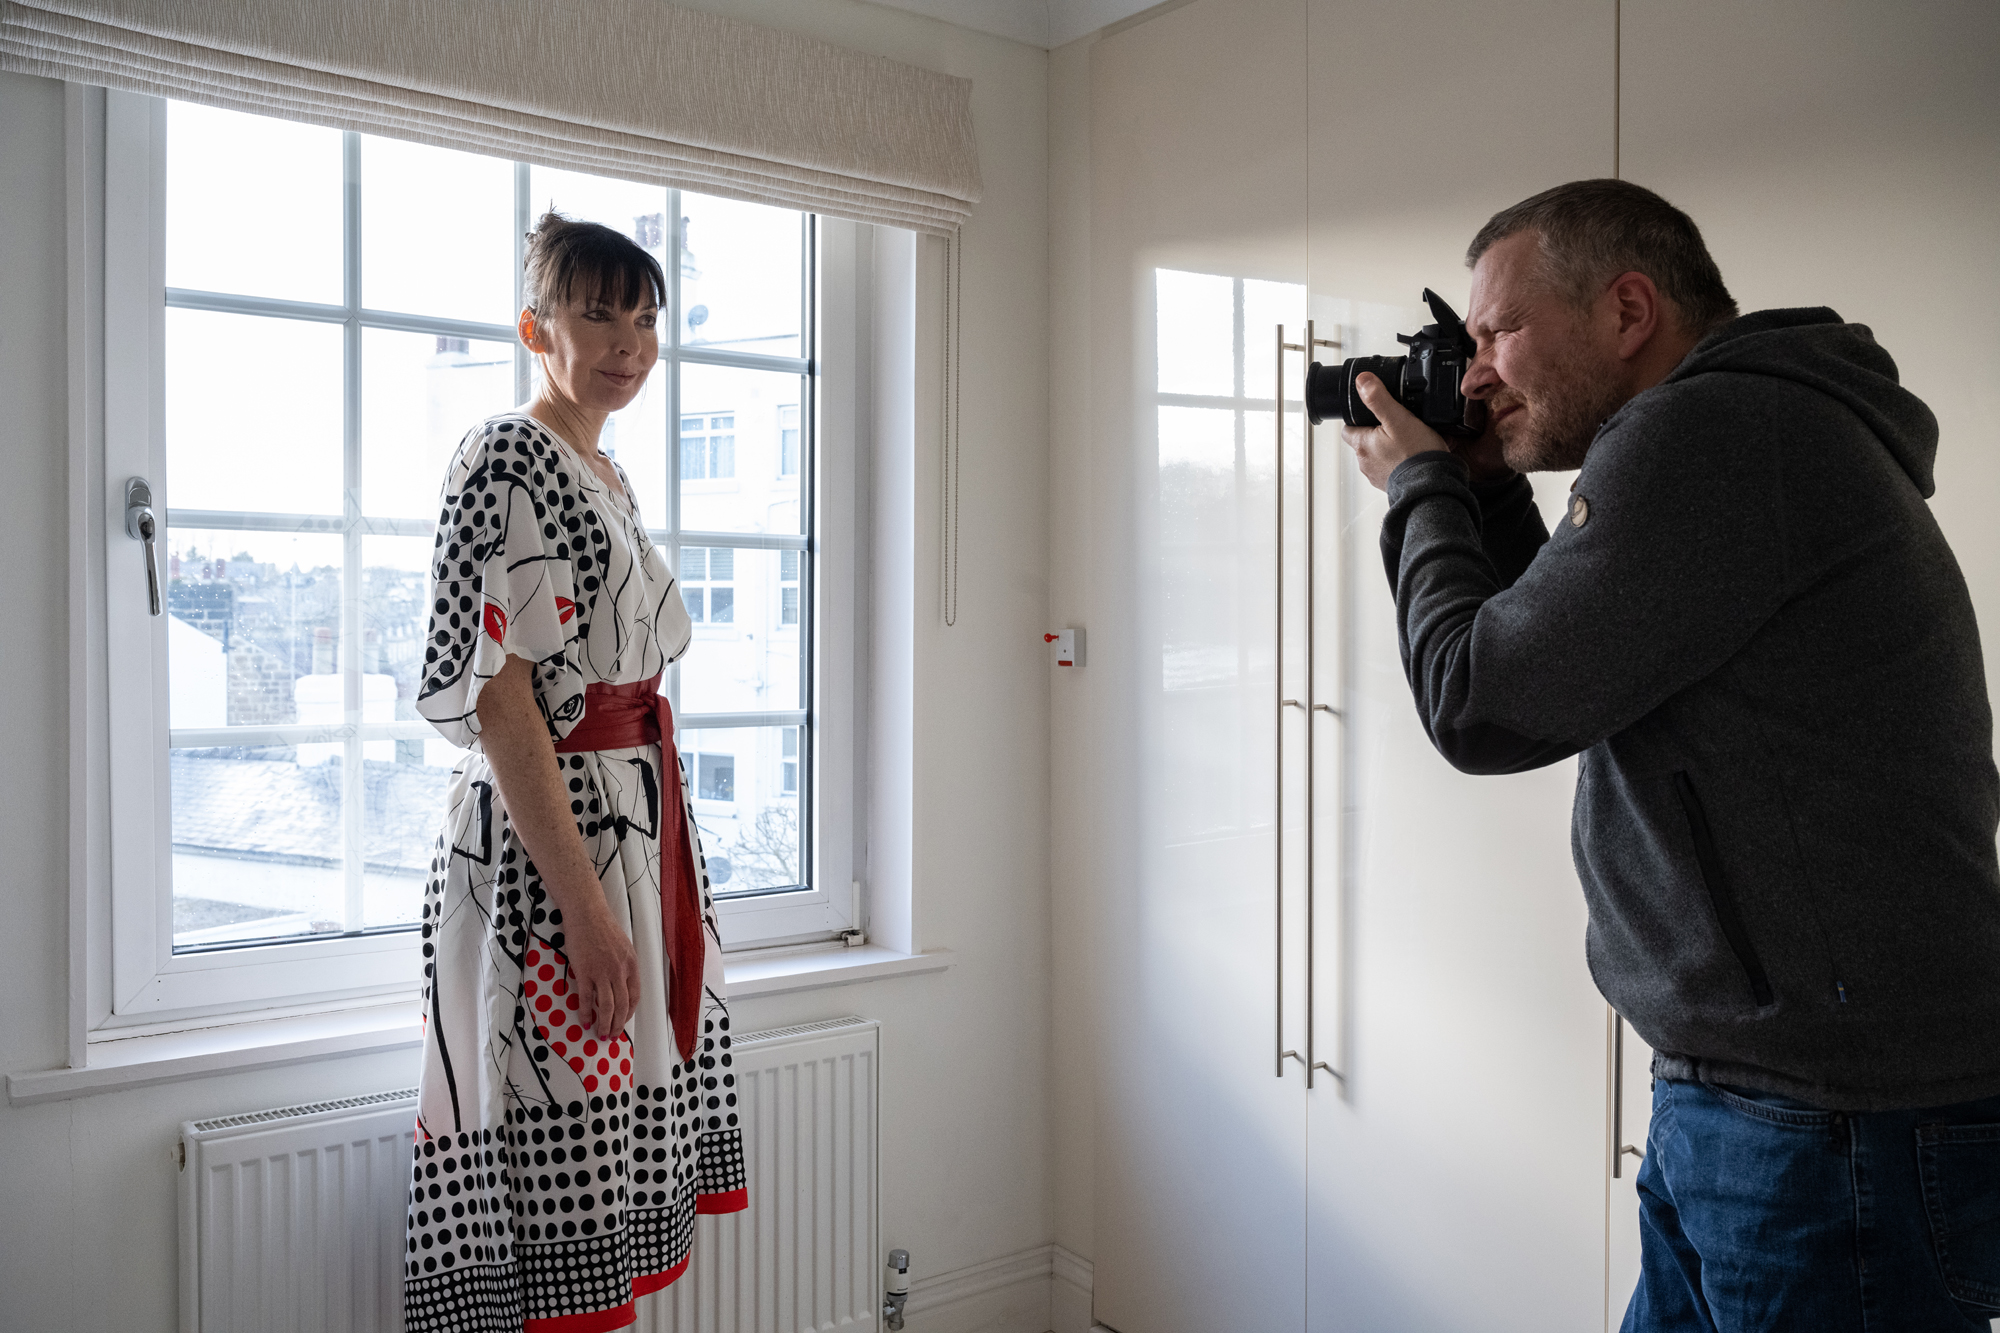
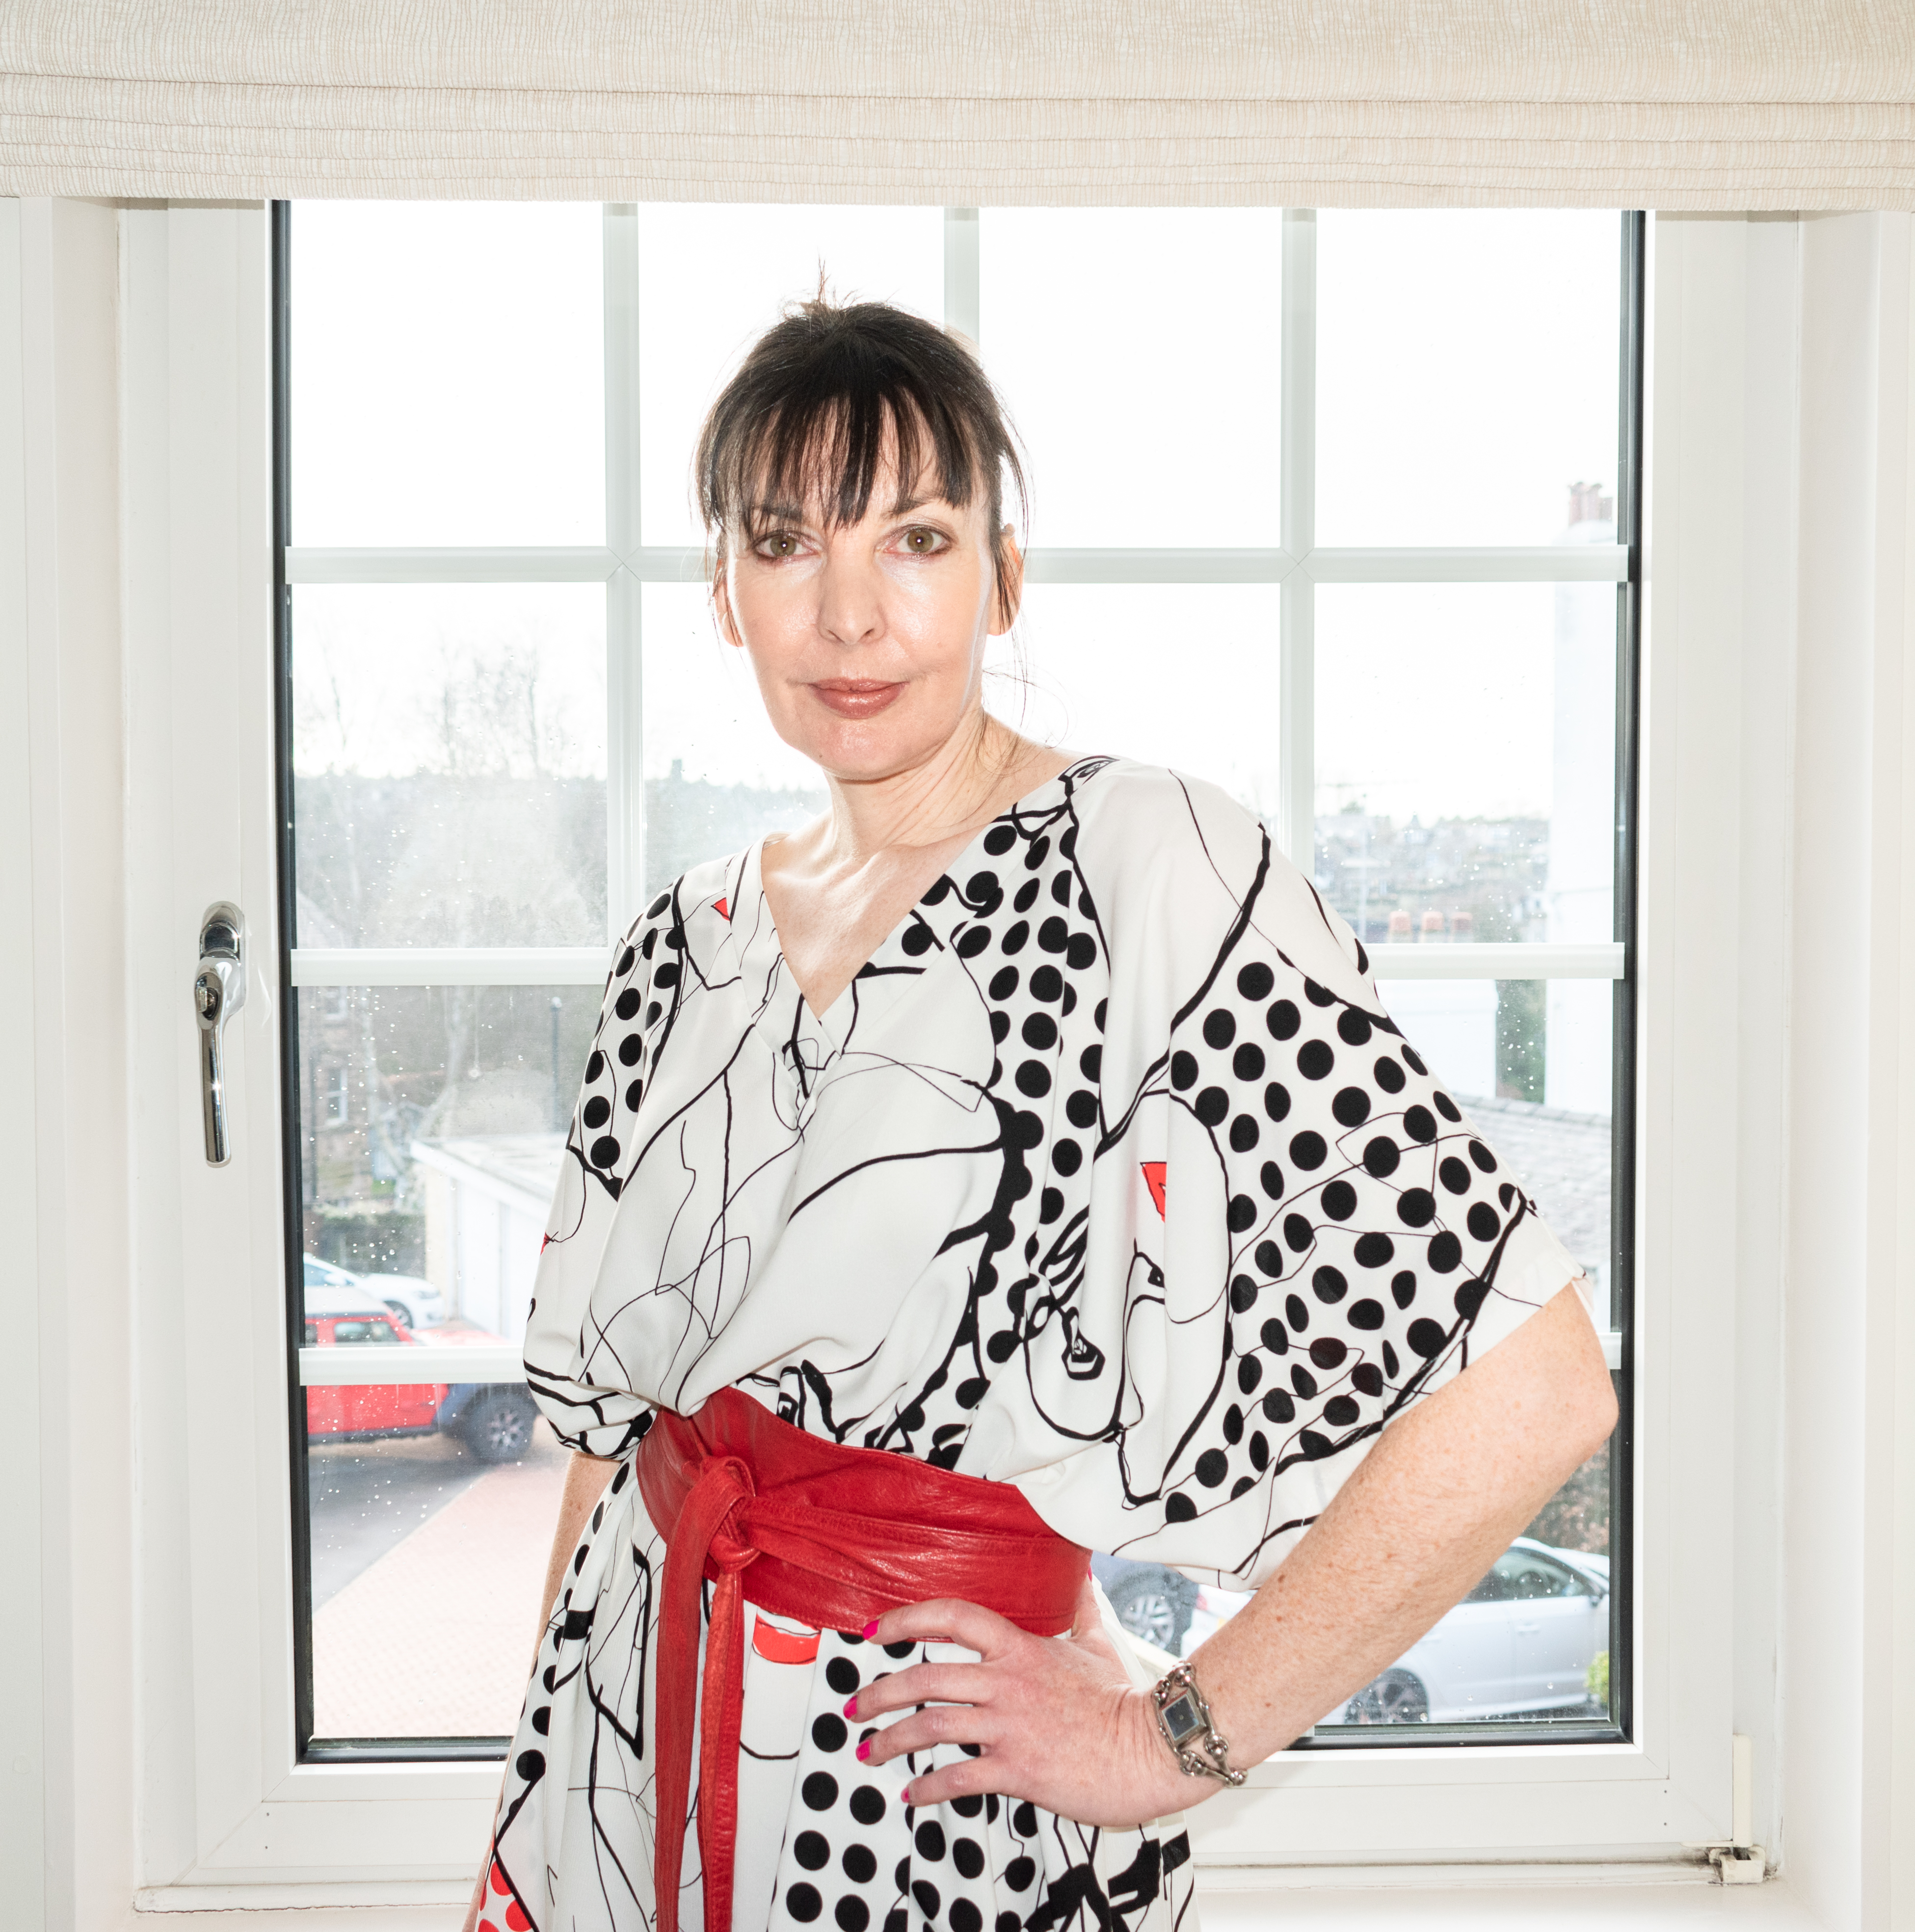
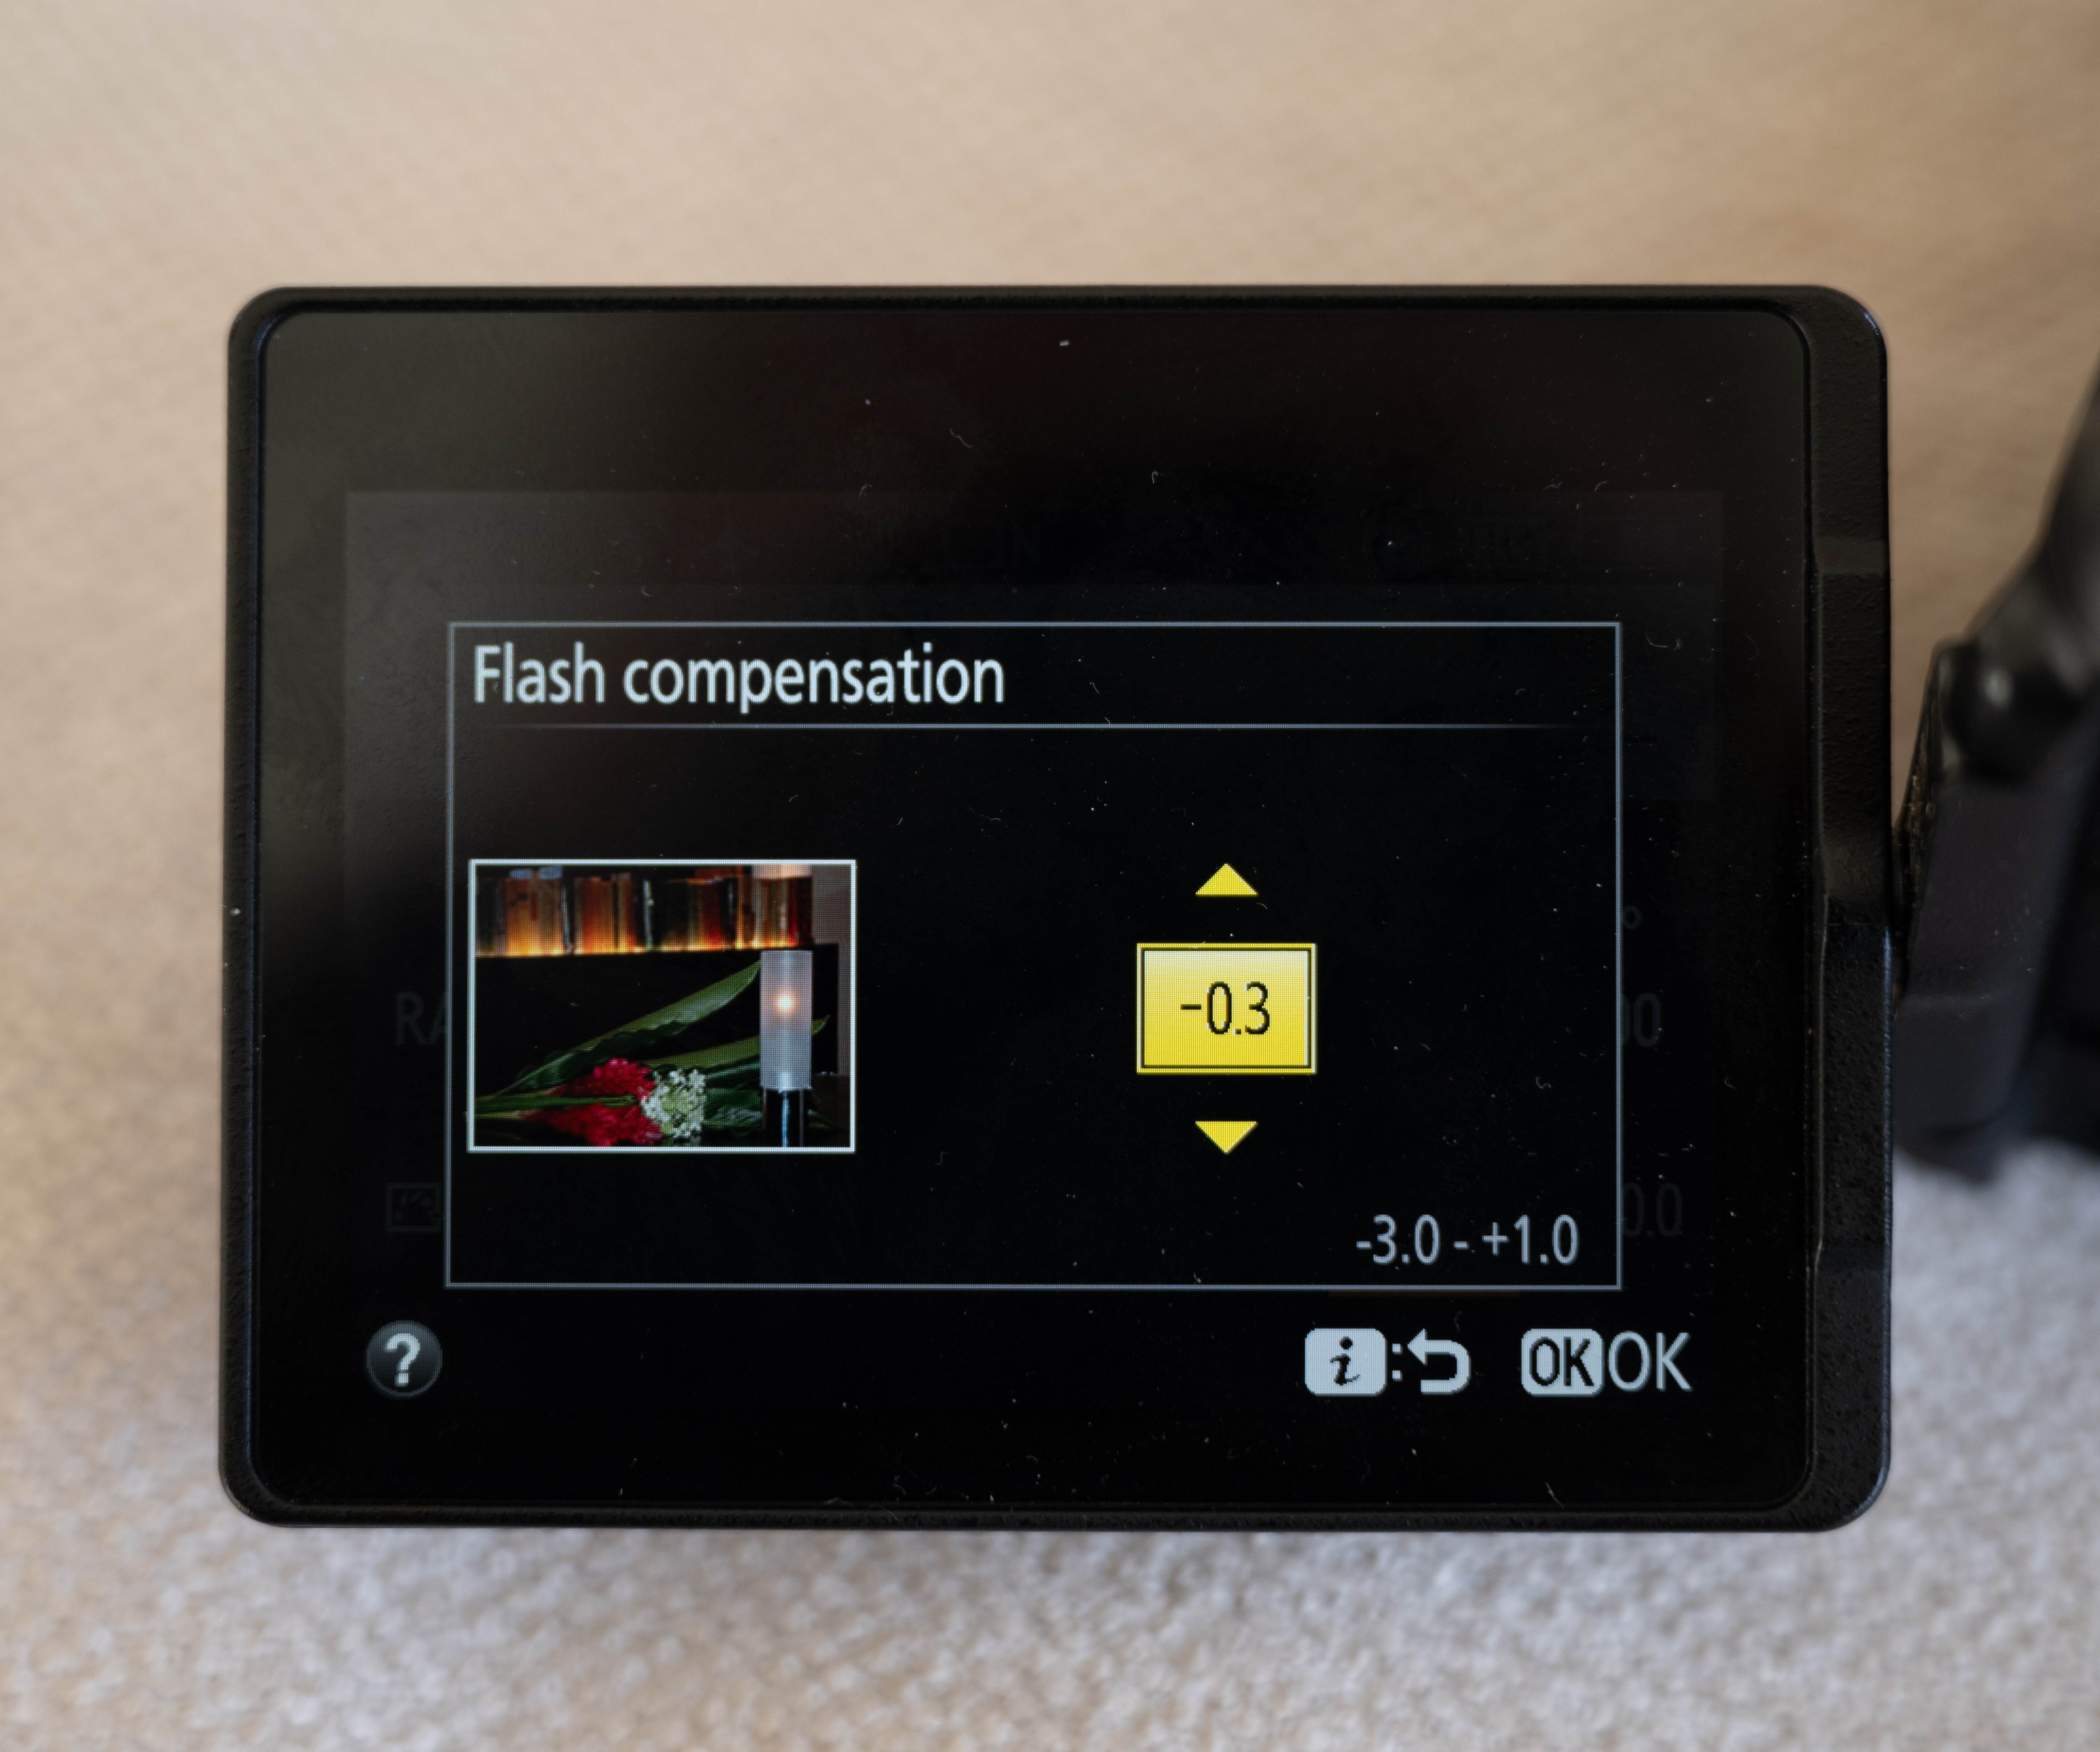
Fill flash is the standard way to use flash – it’s ideal for eliminating harsh shadows on a face or stopping your subject from becoming a silhouette if it’s backlit. The camera settings give you the ambient light exposure, while the flash illuminates your subject. Through-the-lens (TTL) flash will automatically work out the power of the flash required for your subject and is usually very accurate. However, sometimes you’ll need to use flash exposure compensation (FEC) to fine-tune the flash output up or down – this is handy if the TTL flash exposure isn’t bright enough or has overexposed your subject.

CAMERA FLASH SETTINGS

Flash This is the default flash setting.

Rear curtain Normally, the flash fires at start of the exposure, and for most situations this is fine. However, if you want to shoot an image combining flash with a longer exposure, this could cause unwanted effects in your images. This is because that initial burst of flash will freeze the subject, but then the long exposure will continue to record the subject’s movement as part of the ambient light exposure. The result is a subject that appears to be moving backwards (which, unless you’re a fan of Tenet, probably isn’t the effect you want). To stop this happening, choose the rear curtain option, which delays the flash until the end of the exposure. This gives you the desired long-exposure movement using the ambient light, then freezes the subject at the end of the exposure with a burst of flash.

Red-eye reduction (in-built flash) Red eye is caused by the flash light bouncing off the rear surface of the eye, and occurs when the lens and flash are close together. Red-eye reduction works by firing a sequence of flashes to constrict the pupil size, reducing the chance of getting red-eye in the final image. It’s best to either use a dedicated on-camera Speedlight or off-camera flash to prevent red eye at point of capture, although you can remove it in post-processing.

Flash (off) No surprises here – this turns the flash off, which is handy for occasions where flash could be disruptive or is prohibited, such as in a museum. It’s also useful for reducing the risk of reflection if you’re shooting through glass.

GETTING CREATIVE WITH ON-CAMERA FLASH

The pop-up flash on the camera (if you have one) is a good place to start, but to get really creative with light, you’ll need a dedicated Speedlight flash unit. Mounted on the hotshoe, an on-camera flashgun is more powerful than a built-in flash and gives you far greater control over the direction and quality of light. When you’re using a Speedlight in this way, set your camera up exactly as you would to control the ambient exposure , then use the flash in either TTL or manual mode , depending on your subject and scene. Flash exposure compensation is controlled from the Speedlight to fine-tune the output from the flash.

Bouncing the light You can angle a Speedlight upwards or swivel the head around, enabling you to bounce the light off the ceiling or an adjacent wall. This effectively transforms the flash burst into a huge light source (relative to your subject size), which helps to soften light and reduce shadows – great for flattering portraits. But remember that the flash light will mix with the colour of the ‘bounce’ surface before it reflects back onto your subject. So while white and silver surfaces are neutral, and light bounced from a gold surface will warm up your subject, you may find that walls or ceilings in strong colours such as reds or greens might create unwanted colour casts in your image.

Modifying the light On-camera Speedlights also give you access to a range of light modifiers, shapers and diffusers which can be used for many different creative effects, and they’re great to use as a large fill light to eradicate shadows even on the brightest of days.

HOW POWERFUL IS YOUR FLASH?

It’s all in the guide number (GN). This indicates the flash’s maximum output – the higher the guide number, the more powerful the flash.

Before TTL flash systems, if you wanted to work out the reach of your flash, you took its guide number at ISO 100 and divided it by the aperture being used. For example, a SB-5000 Speedlight has a GN of 34.5. If you shoot at f/4, the flash covers a distance of around 34.5 / 4 = 8.6m. Compare that to a pop-up flash with a GN of 12, which will only cover a distance of 12 / 4 = 3m. Conversely, if you raise the ISO to 3200, the GN of the SB-5000 becomes 192 and that gives a range of 192 / 4 = 48m.

Fortunately, TTL systems now do all the maths – so all you need to do is fine-tune the flash output with flash exposure compensation (FEC).

Flash power pro tip #1 Remember that if you’re photographing fast-moving subjects with your flash, you’ll need to have a fast recycle time to ensure the correct flash output every time. To increase the recycle time of your batteries, try using your flash on a lower power – you can do this by adding an extra stop or two on your ISO, for example by going from ISO 100 to 400.

Flash power pro tip #2 Light falls off really quickly in intensity the further it travels away from its source (according to the inverse square law, which states that physical intensity is inversely proportional to the square of the distance from the source). It’s like buttering toast – with a tablespoon of butter, you’ll be able to spread if thickly on one slice, but if you’re buttering four slices with the same amount, each is only going to get a scrape… In practical lighting terms, you can use this phenomenon to make your subject stand out from the background, simply by turning down the flash power and positioning the Speedlight as close as possible to your subject. This will give you a dark background, with all the attention on the well-lit subject.

TTL FLASH V MANUAL FLASH

Which one will give you knockout results? To be honest, both TTL (through the lens) flash and manual flash will deliver, but you have to know when to choose the right one.

TTL flash is a little bit like an ‘auto’ setting. It works by firing a pre-flash as soon as you press the shutter. This lights up your scene and the reflected light from the pre-flash travels back through the lens (hence the name). Based on the amount of light received, the camera now calculates the exact amount of flash light required to expose the scene correctly, and the flash fires for a second time to achieve this. All this happens in a split second, so you only usually notice one burst of flash. You then use flash exposure compensation to fine-tune your exposure. TTL is great for most subjects, including fast-moving situations, but because it’s based on reflected light, certain subjects might prove problematic, as the flash power can vary based on the reflected light received by the camera.

Manual flash is used when you want a consistent amount of flash power every time you fire the flash. The amount of flash power starts at 1/1 (full power) and can then be dialed back to different output settings as required, for example, 1/8th, 1/32nd down to 1/128th. So, if you set the flash to 1/16th output, then every time it fires this is the amount of light which will illuminate your scene, regardless of the subject matter. Manual flash is ideal when you have a reasonably predictable environment to work in, such as a studio setup or with portraits. It’s also handy in tricky metering situations.

MAKE SURE IT’S NOT CURTAINS WITH FLASH SYNC SPEED

All cameras have a fastest recommended speed at which they can synchronise with a flash. On most Nikon DSLRs and Z series cameras, the ‘flash sync’ speed is usually either 1/200sec or 1/250sec. This is governed by the time it takes for a focal plane shutter to move while revealing the sensor to the burst of flash. A focal plane shutter consists of two curtains: the first opens when you shoot an image, exposing the sensor, then the second curtain follows, moving across the sensor to block out the light again at the end of the exposure.

Potential problems arise at faster shutter speeds, where the curtains can both be moving together, with the second curtain closing before the first has fully opened. If you choose a shutter speed faster than the sync speed limit, for example 1/640sec, this doesn’t give enough time for the shutter to open fully and allow the sensor to see the instantaneous burst of flash light. The result is the second curtain appearing in your image and blocking part of the scene.

Depending on your camera, you can also use auto FP mode to allow you to ‘sync’ up to 1/4000sec or 1/8000sec.

FIVE STEPS TO POP-UP FLASH PORTRAIT SUCCESS

Achieve good skin tones every time with a little bit of experimentation using our five-step technique. Your portrait subjects will love you for it!

1. Don’t get too close to your subject, as the pop-up flash has a guide number of around 12m.

2. Use P (program auto) mode if you’re working quickly, but if you want more control of the ambient light you can’t beat M (manual) mode.

3. Once you’ve got your desired ambient light exposure, activate your pop-up flash and take a test shot.

4. Check the results and use flash exposure compensation to adjust the power of the flash as required. The actual setting will depend on how far away your subject is, but -0.7 or -1.0 are good starting points for natural skin tones.

5. Take another shot, check and adjust the flash exposure compensation again. Rinse and repeat until you get the exposure levels spot on.

Admire your final image!

Want to read offline?

You can now download a PDF version of this Hints & Tips article to read offline and print

DOWNLOAD

NIKKOR Lenses
NIKKOR Lenses