Welcome to Nikon School. The official Nikon education experts to help you learn how to get the best from your Nikon Camera and Lenses

Wildlife Photography with Richard Peters

Get the most out of camera when shooting at home. Follow these hints and tips and let wildlife photographer Richard Peters guide you through the best set ups to maximise your wildlife and nature shots.

We’re all spending a lot more time at home at the moment but that doesn’t mean we can’t enjoy nature and wildlife. Connecting with nature helps promote a healthy and calming frame of mind. The best bit is, almost everyone, regardless of where they live, has nature and some form of wildlife right on their doorstep. As Spring brings new life to the world, for this #Createyourlight challenge we’ll be looking to the natural world – exploring more lateral and creative ways of shooting nature and wildlife from home, and making the most of the equipment at hand.

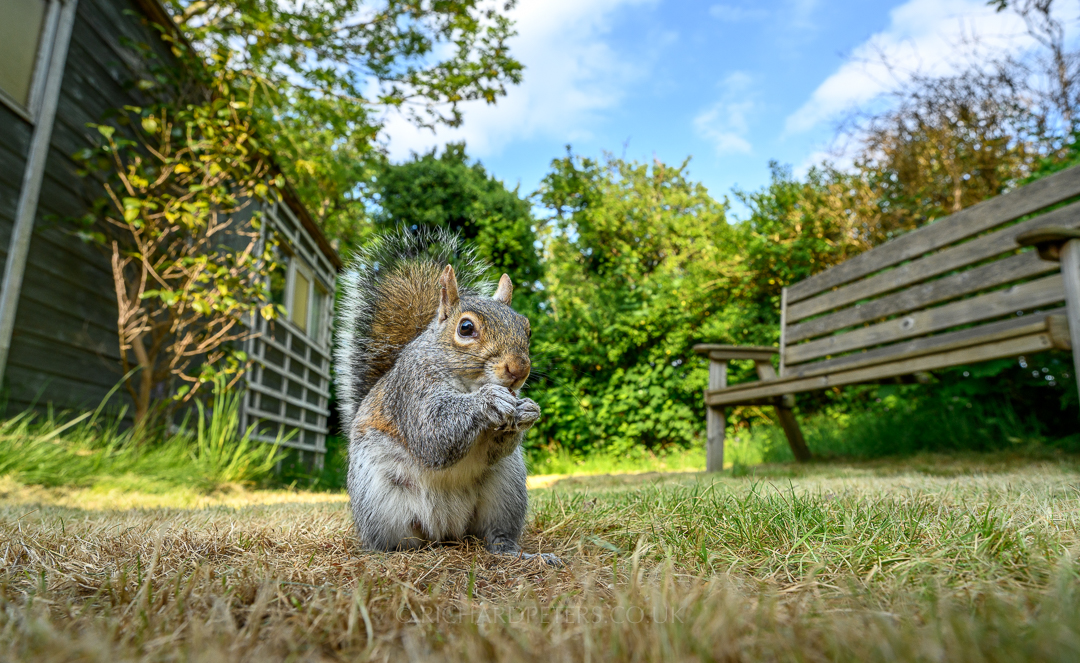
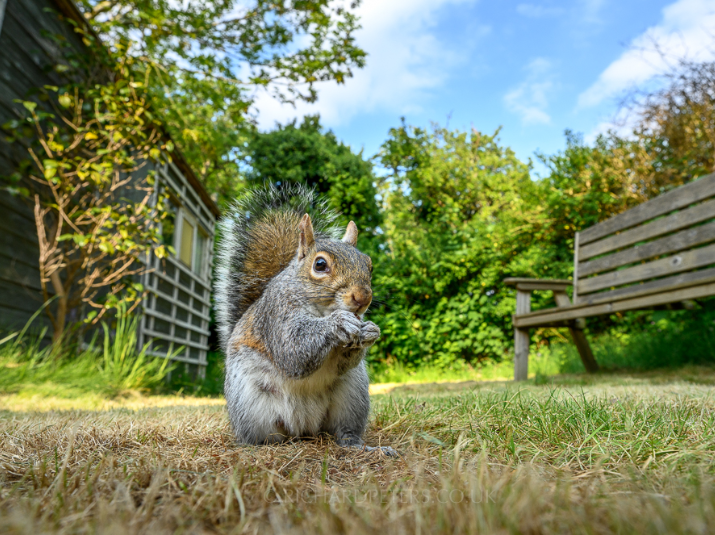
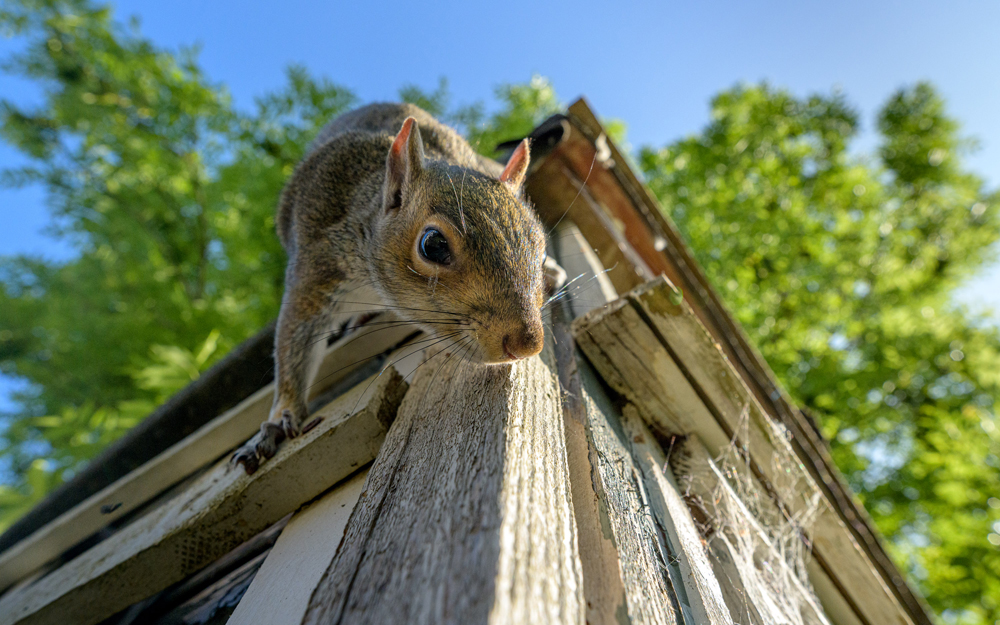
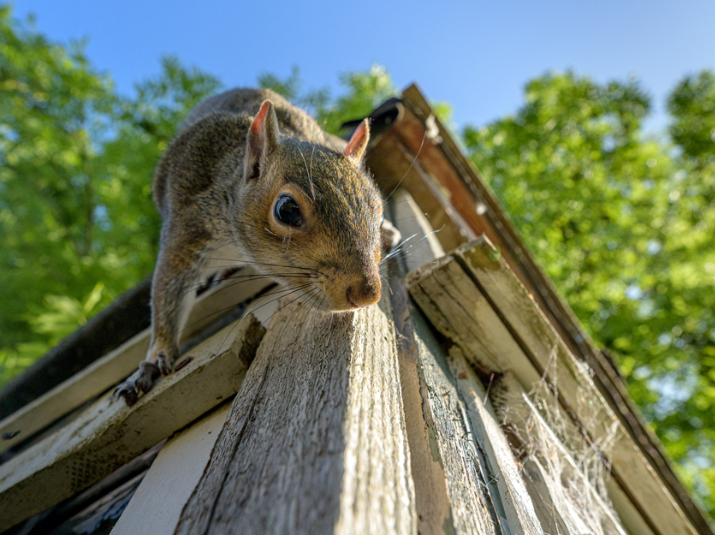
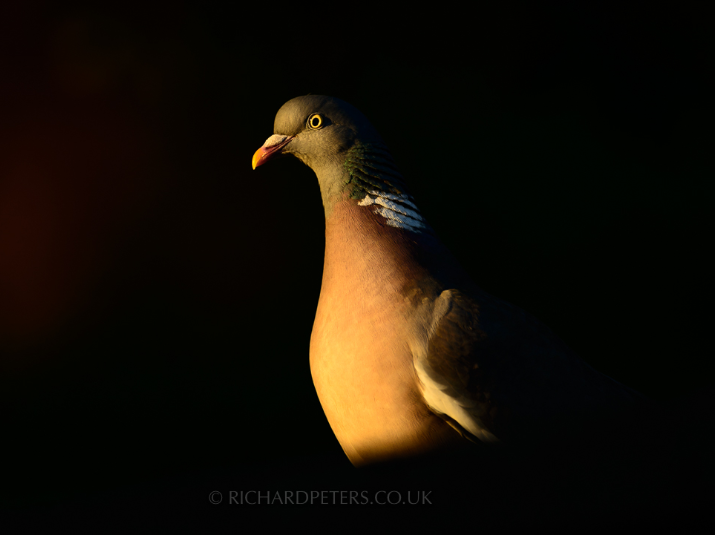
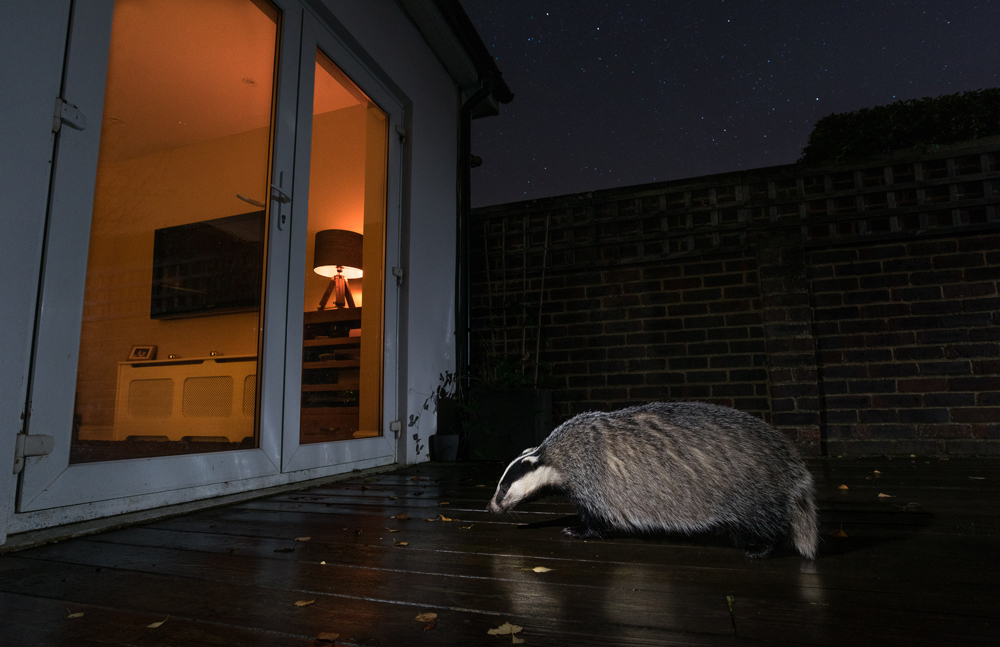
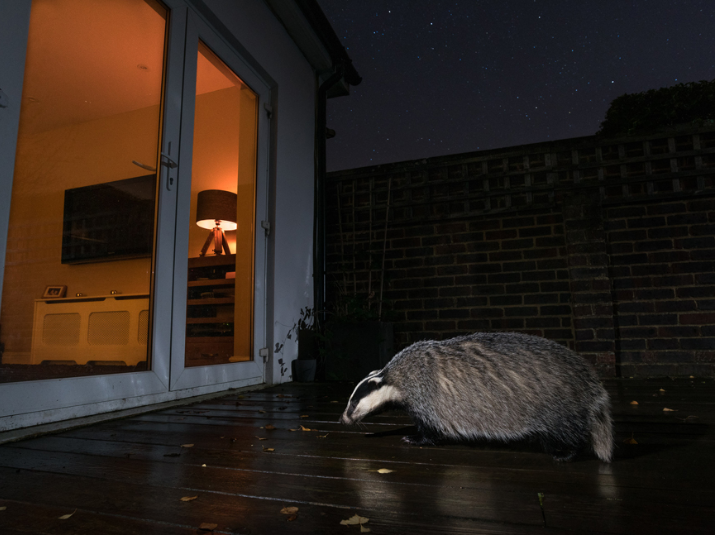
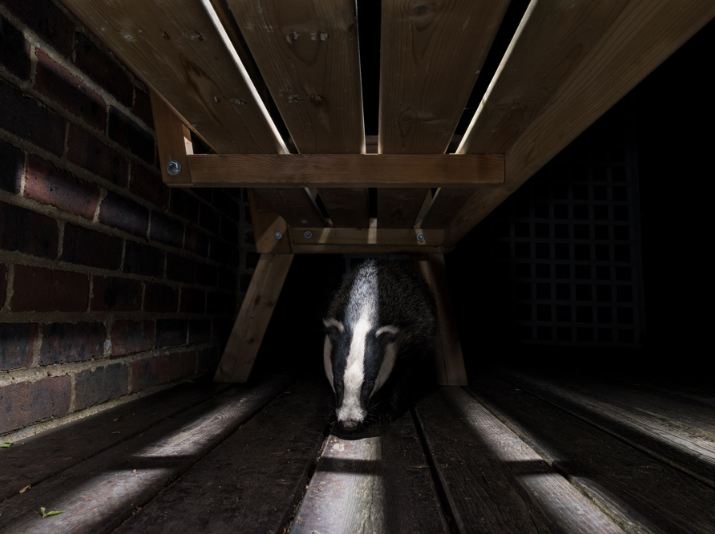
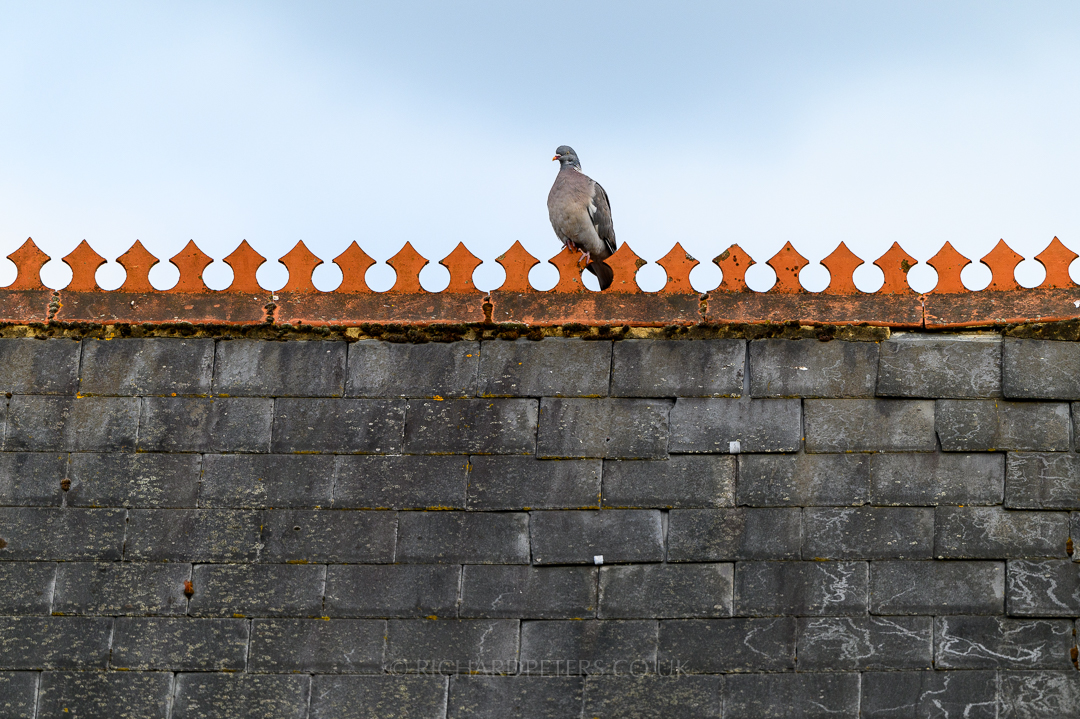
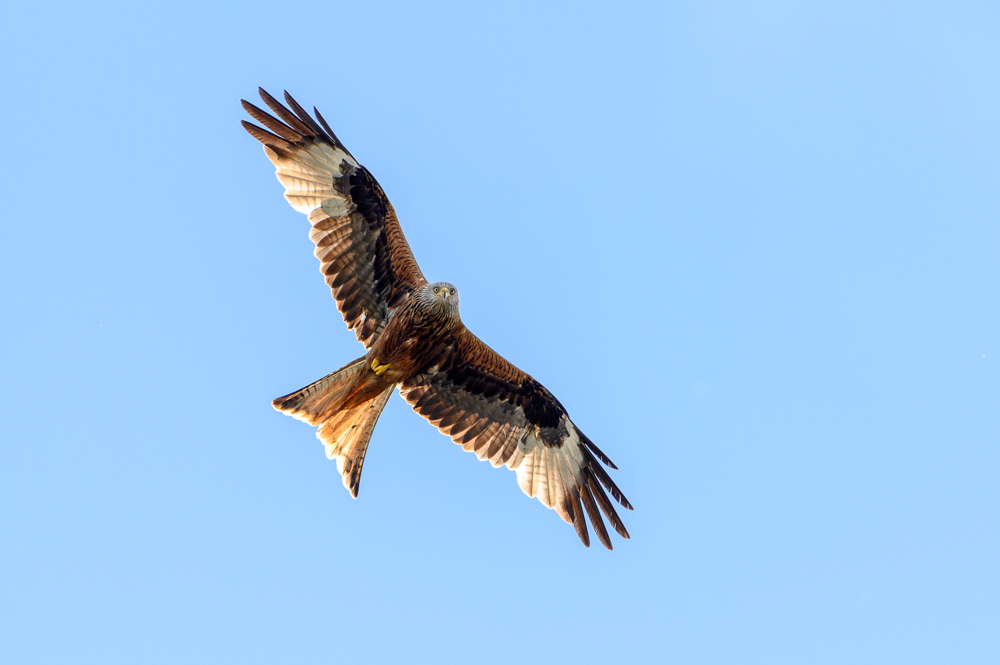
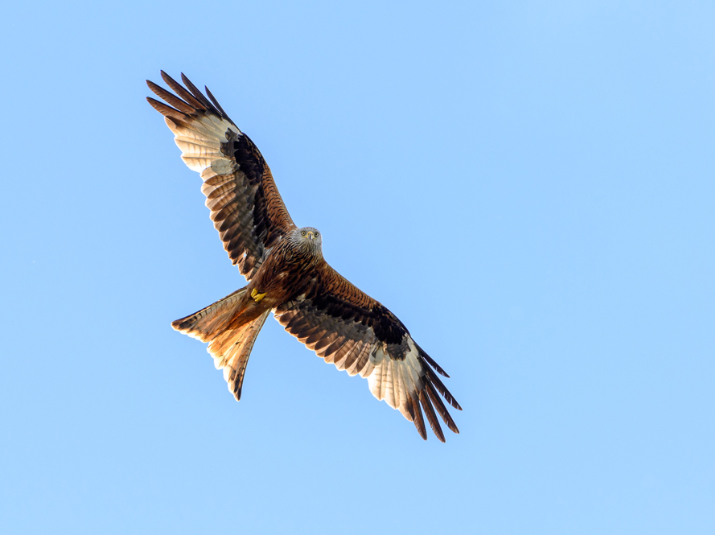
Gardens are a thriving mini nature reserve for birds, mammals and insects and even if you don’t have access to a garden, any outdoor space at your disposal could yield results. I’ve known whole projects to made from photographing peregrine falcons on an apartment balcony and of course any plant life or flowers can be an environment for bees and insects. Even house spiders can be a target to consider. So if you think your immediate vicinity is devoid of wildlife, it won’t be. Look more closely and make sure you have bird feeders, fresh water or a few plants available to encourage them in and let them share your space.

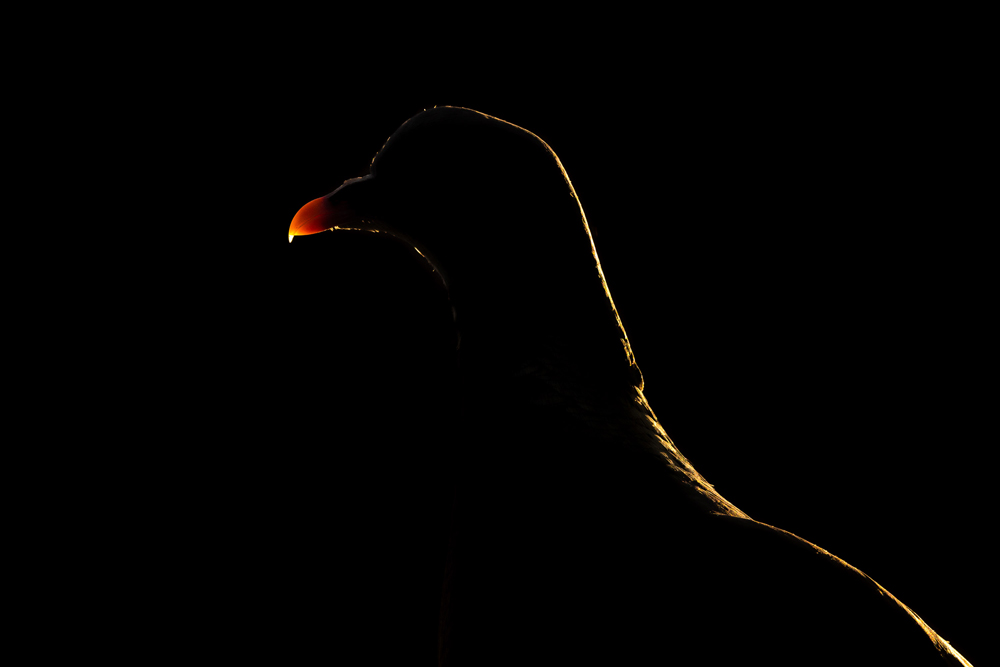
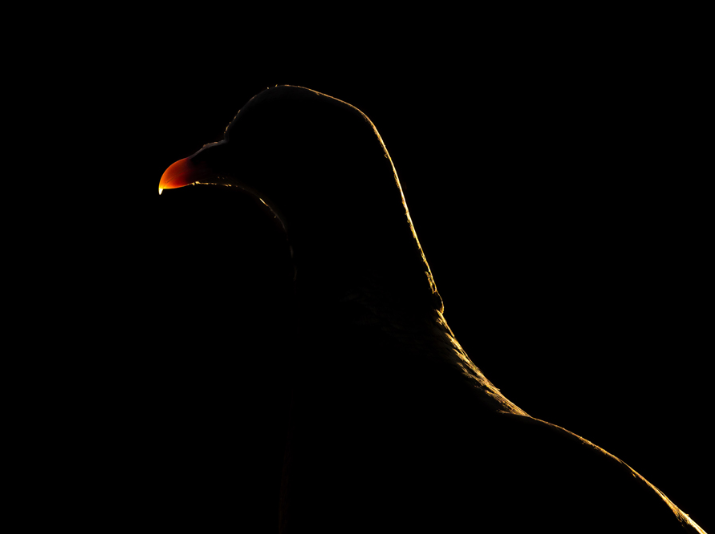
We’re at the mercy of the species that visit our garden, and with that in mind, remember it’s not the subject but instead the way we photograph that subject, which makes a good photo.
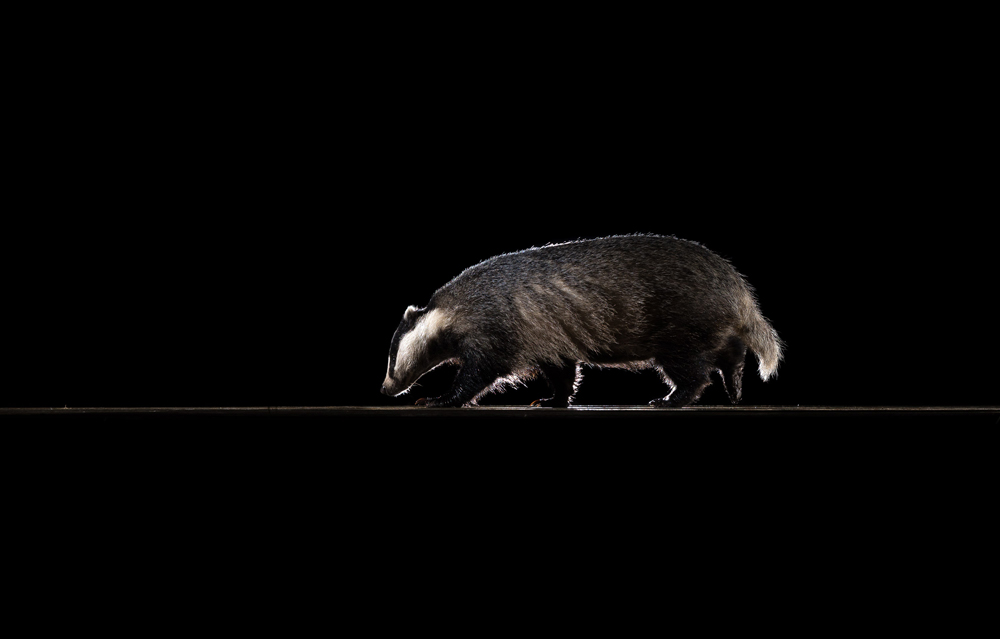
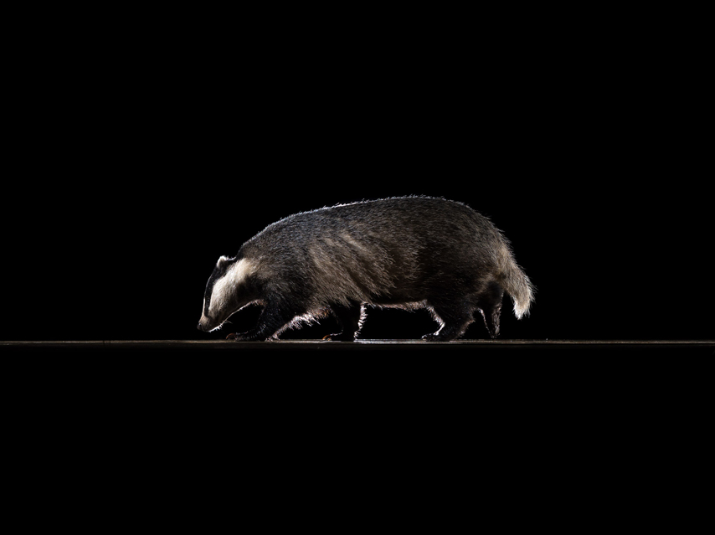
Tip 1 - Think Wide

Do not fall into the trap of thinking a telephoto lens is the only way to photograph wildlife. They are great for frame filling portraits and, if the background is messy, can help soften it. However, in smaller spaces a longer lens could prove a challenge. If you are traditionally a landscape photographer without access to longer focal lengths, the good news is wider lenses can be much more suited to wildlife photography at home.

Including the surroundings is a style of image that actually works very well out in the wilderness. Showing the natural environment can pay dividends. Arguably, that technique can be even more beneficial at home. Being down low to a small subject and showing the garden beyond gives us a real sense of how these small animals see the world. It makes for a much more engaging image than a portrait on a clean background. A portrait on a clean background can be taken anywhere. Wide-angle images can feel far more intimate and give a sense of place and scale.

When shooting wide, the background is just as important as the subject from a compositional point of view. So ensure all elements within the frame complement the main subject and each other. Leading lines and objects at different distances can both play a part in adding to the depth and impact of the photo.

For the main shot, I placed my shed to one side of the frame and my garden bench to the other, so the squirrel would be framed between the two of them. For the second shot, I took advantage of another great aspect of small lenses - placing them in quirky positions. By placing the lens up against the shed, looking straight up, I captured the squirrel as it made its way down towards the camera. Again, using the two sides of the shed to create lines leading across from the edges to the centre. This adds depth and scale, as the shed drops out of the depth of field along with the tree beyond - leading us up to the blue sky above.

Using this technique you also need to remotely trigger the camera. Be sure to use your camera in silent shooting mode (as I did with the Z 7) if you can, as garden wildlife may be spooked by the noise of the shutter.

The other advantage to shooting wide, unlike with telephoto lenses, is that a fast aperture is not needed as we actually want to create depth. So it’s not unusual to be shooting at f5.6 to f9, and because the lens is stopped down it means any wide angle lens will result in a nice sharp photo.

Shoot wide and embrace your surroundings.

Tip 2 - Follow the light

Lighting truly makes or breaks a photo and can turn even the most mundane of subject in to something beautiful. Be careful not to fall into the trap of photographing your subject in one light and then thinking you’re done.

Watch how the light tracks across your garden during the day - shadows also move as light direction changes. Plan accordingly because it means different photos present themselves at different times. In the morning an area of the garden that looks a bit flat and uninspired might look magical in late afternoon and vice versa. Also don’t forget, as the days roll over, the suns position in the sky is changing all the time. That perfect ray of light in the right spot today might not be there a week or even a few days from now.

Lets take a look at some different types of ambient light.

Dappled light

If you have a nice big tree in or near your garden, you can take full advantage of dappled light. This is achieved by photographing subjects that move through the pockets of light that filter through the branches of trees. This works well at any time of day. During early morning or late evening, the warm light makes for a very striking effect with a golden toned subject appearing from the shadows. In the case of the main image above, the pigeon was walking around on my shed roof and as the light filtered through the tree it cast a shadow. I shot from lower down and as the pigeon approached the edge of the shed, I captured a spot of light with the shadows behind the front of the shed. The result was a subject emerging from the darkness.

Backlight

Early in the morning I get this type of lighting close to the house. The back of the garden is in shade and so I am able to photograph subjects in the light. Because the background is in the shade, this enables me to get a nice dark background and a rim lit subject. Look for areas of the garden that produce dark shadows to shoot into. Its then a case of exposing for the bright light when the subject arrives. Typically this will be through the use of negative exposure compensation. Depending on the degree of dynamic range between the light and dark areas, this could be as much underexposure as -3 stops.

For the image below, I photographed the pigeon again on my shed roof. This time however, it was late evening and I was at the back of the garden. I positioned myself so that the pigeon was set against the backdrop of the roof of the neighbour’s house. With the light coming from in front of the house, the roof at the back provided the perfect dark background for the rim-light to stand out.

Overcast light

This can be wonderful for showing off fur detail in your subject or even more pleasingly, details in dark subjects. So don’t be too discouraged if there’s a lot of cloud cover around. This fox visited my garden late in the day when the entire garden was cast in shadow from the nearby houses. The soft light provided an even exposure on the fox’s fur and surrounding grass.

Silhouettes

The trick here is to pay very close attention to the outline of your subject. A silhouette is a success not only when its obvious what the subject is but also when presented as a clean and flattering outline. Awkward shapes that would work perfectly fine when detail is visible in the subject, do not work so well when all detail is lost to the shadows. Be careful that parts of the subjects don’t get lost and disappear into other objects within the frame. A wingtip might look fine in front of a branch when detail is visible but as a silhouette, the wing and branch would become one.

Creating an obvious focal point can be tricky with silhouettes, so look out for small details that can help elevate the image and add interest - otherwise you’ll essentially have just a shape and two colours. It could be something as simple as having a small opening on a bird’s beak or capturing movement or behaviour.

I have two ways of playing with silhouettes in my garden and both rely on the light at the end of the day. The shot above is from the pigeon on my shed roof, framed against the setting sun behind. The shot below is taken on what limited garden wall I have. Late afternoon it goes into shade and I then have a clear shot of the sky behind. So in your own garden look for opportunities to photograph subjects against the sky. Garden walls and fences offer perfect opportunities for this.

Tip 3 - Using off-camera flash

Introducing off-camera flash can allow for images that simply couldn’t be captured without an artificial light source, or even with an on-camera flash. Please keep in mind it is vital that when using speed lights with wildlife that you add a soft box. If you don’t already have one you can of course make your own, as you may have seen in the #CreateYourLight gear hacks challenge. Flash can be used to simply add light to fill in the shadows but it can also be used more creatively, such as in rear curtain sync. In the right lighting, combining rear curtain along with slower shutter speeds can allow you to capture subject motion and freeze it at the same time. Its a tricky technique to pull off but when you do it provides a wonderful and much more unique look to the image. It works best with fast moving subjects and, as you can see here with birds in flight, can be great for showing off wing motion.

Please be very cautious with flash and wildlife. During the day it’s overpowered by ambient light and you’ll likely find no reaction from the animals but their welfare always comes first. Always be responsible and don’t set a flash to full power and fire it at eye level towards your subject.

Flash can be considered a complicated way of shooting but I use it with a very simple method. First set the camera exposure to capture the ambient light - this is the base exposure. Once you have that, use the flash and switch to manual mode - which balances out the base exposure.

In its most simple way, you can use flash to fill in the shadows. In this scenario, you want the base exposure to actually expose the rest of the image properly. All you’re doing here is using the flash to fill in the shadows on the subject. It’s a great and easy way to start experimenting with artificial light.

It’s when you start introducing rear camera sync and slower shutter speeds that things can become more interesting. That’s my favourite way of using flash during the day. It allows me to capture movement and freeze the action all at the same time. The trick to this type of image is having the subject in the light but shooting into a dark background. The ambient light levels are crucial, as it needs to be dull enough to use a slow shutter speed without overexposing the subject but bright enough to allow dark shadow to shoot in too. One tip if you can’t find a dark enough backdrop is to place something in the background such as a bed sheet or towel. You’re photographing at home, so anything that helps you be creative is welcome!

It’s then a case of setting rear curtain sync, putting your flash in place and waiting for the subject to move in to the frame. For best results, lock the camera off and only shoot when the subject is in the frame. Moving the camera to follow the subject won’t work because the flash is only firing into one specific area.


Finally, you can go one-step further and if you’re lucky enough to have them, photograph the animals that visit at night.

This is an even trickier style to master but do so and the results can pay dividends. The beauty of shooting at night is that you are in full control of the light, so you can really let your imagination run wild. The key to this type of shot is how you expose the ambient light with your base exposure. For example, a high shutter speed of 1/250 will cut out all ambient light - allowing you to light the scene exactly as you want. Alternatively, you can opt for slower shutter speeds of up to 30 seconds. This will allow you to capture a lot of ambient light and is great for seeing the night sky. Your flash then triggers at the start of the exposure - on front sync. The lights will expose the subject on to the image and then even after it’s walked off, it remains perfectly sharp in the photo. Having full control of the main light source will allow you to think about ways of highlighting your subject or other parts of the frame to add drama and impact.

There are two ways you can trigger your camera at night - either with a remote release or motion sensor. Whilst the latter will allow you to leave the setup unattended, remote triggering works just as well provided you’re happy to sit at the window for a few hours each night.

Please note, as this involves using speed-lights in the dark, it’s very important to ensure you use soft-boxes. Also, because you’re shooting in the dark, place lights higher up and have them facing downwards and never directly in the face of your subject. It’s also vital you use your aperture and ISO to increase the cameras sensitivity to the flash, so shoot in high ISO’s with a lower flash output. Ideally try to never set your flash to more than 1/32 or at most, 1/16 of full power at night.

Tip 4 - Look Up!

Wildlife isn’t just at eye level and if you live in an urban environment there is a good chance you’ll have many buildings nearby. Even if you don’t, the building you live in will likely have a roof. This is where your longer lenses will come into play. I realise this may sound like a slightly odd tip but I am willing to bet it’s something you probably haven’t considered before. One of the neighbouring houses to me has these wonderful orange, ornamental ridge tiles that contrast perfectly with the slate tiles below. Those shapes add a wonderful graphical element to the photo.

By using a range of mid-range to longer lens, you’ll be amazed at the compositions you can find. The beauty here is that you don’t need to fill the frame. Small in-the-frame can work very well because the surroundings play a big part in telling the story here. A small-in-the-frame starling on a chimney breast might sound quite boring. Add in some beautiful sunset side-light though and the scene is transformed.

Don’t forget to look at ways of photographing silhouettes too in this scenario. You can get some wonderful shapes that stand out very nicely against warm sunset tones. Another tip here, is if you find yourself with a bright but grey sky, try lowering your white balance in to the colder kelvin values to create an image that looks more like it was taken in the blue hour before/after sunrise/set.

When you take images on the rooftops, it may sound obvious but don’t forget to actually head upstairs and shoot out of the windows too. You don’t have to be at ground level. The higher up you go the more rooftops you can potentially look out across. I tend to find ground level works best for silhouettes and clean one dimensional images. Shooting from an elevated position suits images with more depth and a greater sense of scale.

Ultimately, have fun - you never know what might fly over-head whilst you’re looking to the skies. Whilst filming video content to accompany this post, a red kite flew over my garden for the first time in the seven years I have lived in the house. A wonderful chance encounter and image to add to my wildlife-photography-at-home portfolio. Lets see what you can add to yours…


Want to read offline?

You can now download a PDF version of this Hints & Tips article to read offline and print

DOWNLOAD

NIKKOR Lenses
NIKKOR Lenses