Welcome to Nikon School. The official Nikon education experts to help you learn how to get the best from your Nikon Camera and Lenses

Using Your Camera as a Pro Webcam

Follow these hints and tips and let our Nikon School expert Neil guide you through the best set ups to achieve a more professional look to your video conferences and streaming setups

Using your Nikon Camera as a Webcam If you want to achieve a more professional look to your video conference, it is possible to use your Nikon DSLR or Mirrorless camera to improve the overall quality of the video that you broadcast. This also applies if you are looking to get better quality if you are streaming video as well.

Getting this professional quality broadcast look is not as difficult as you think, you will need to get: a USB Cable and HDMI Cable which are suitable for your camera and computer, a video capture device and depending on how long you wish to broadcast or stream for, maybe a mains adaptor to power the camera. When this is all connected the video output from the camera is handled on the computer by broadcast software applications such as OBS, Ecamm or Xsplit, to name a few. This video output from the broadcast software is what you would now use for the webcam or streaming video footage.

So how do we go about setting this up? The first step is to decide what quality of video capture you want. Nikon cameras can output in 1080p or 4K depending on the camera model you have. You also need to check the specs on your computer or laptop to see if that has the processing power to handle 1080p or 4K video. This will then determine which type of video capture device you need.

Camera Setup

You can use any Nikon DSLR or Mirrorless camera that has a ‘clean’ HDMI video output. To set up the camera video output, go into the video settings menu and change the following settings: For video quality select either 1920x1080p at 25fps for full HD or 3840 x 2160 at 25fps for 4K output if you are in Europe. I would suggest you set the picture control to flat which allows you to colour grade the image in the broadcast software. You should also switch the camera microphone off if you plan on using an external microphone.

Switch the camera into video mode and then put the camera into manual mode. Choose a low ‘f’ number to give you good separation between yourself and the background. An aperture of f/2.8 or f/4 would be ideal for this. Set the ISO to 64 or 100 depending on the native ISO settings for your camera and turn on Auto ISO. Your shutter speed will depend where you are in the world but will either be 1/50th or 1/60th of a second. A good guide on this would be to double your frame rate i.e. 25fps is 1/50th of a second, 30fps would be 1/60th. You should also turn-off any power or sleep timers that are set on the camera. Focus the camera using either manual focus or face tracking if you have that feature on your camera.

If you are planning on short webcam or streaming sessions then the camera will be fine to run from battery power. However to be on the safe side, you may want to look at getting a mains adapter battery adapter to allow the camera to run on mains power. Products such as the EP-5B would be a good choice if you have a camera that uses EN-EL15 batteries.

Lens Choice

This will be determined by the space you have available and the look you want in your broadcast. I would suggest starting with a 24-70 f/2.8 or f/4 to give you flexibility with the composition and framing of the image. You could also consider maybe a 35mm or 50mm f1.8 but you will need to be very accurate with your focusing if you use them wide open.

Video Capture

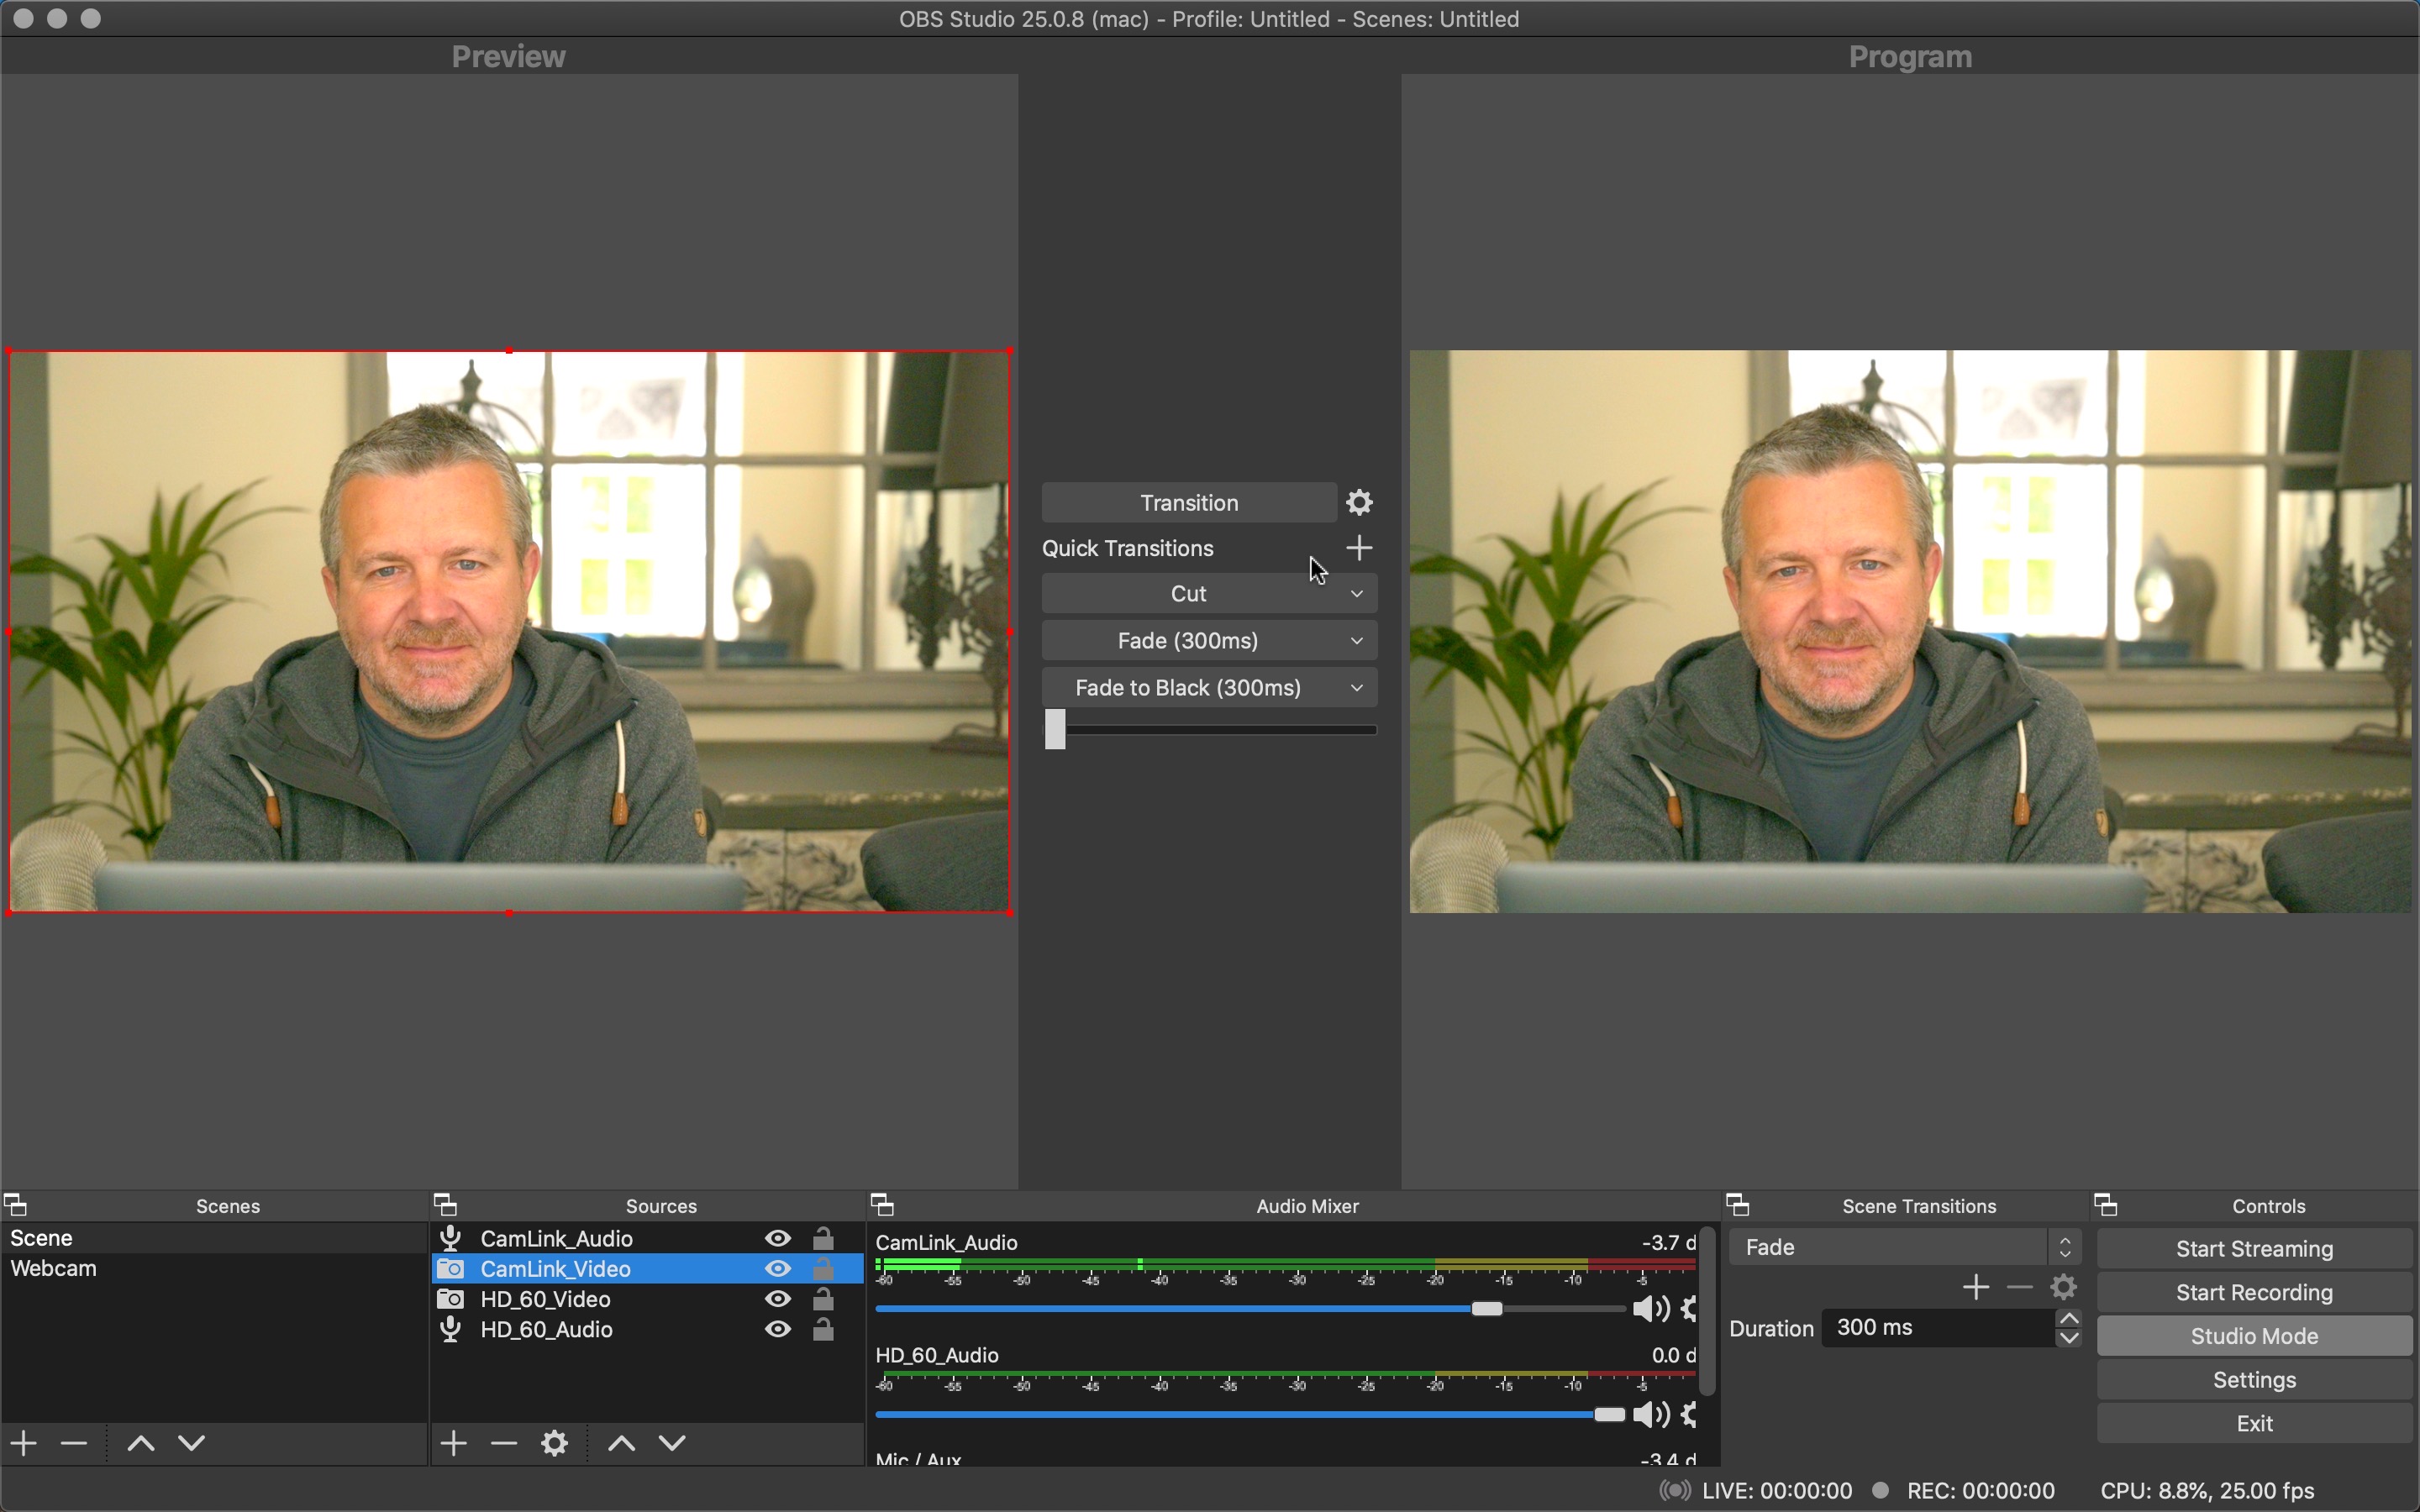
There are many video capture devices on the market, I would recommend an external device unless you are happy to take apart your computer and install a video capture card. One of the easiest to use and setup would be the Elgato Camlink 4K. There are other video capture cards and devices to choose from if you can’t get hold of a Camlink 4K., I’ve used both the Elgato Camlink 4K or the Elgato HD60 S+ external video capture devices which both work well with the video from Z 7. The most important thing to check is when using your Nikon camera as a webcam or streaming camera is that the video capture device supports something called UVC also known as USB Video Device Class. UVC is a data protocol that standard webcams or computers use so they can interface to software applications such as Zoom or Skype.

Once you have your video capture device, connect the HMDI output of your camera to HDMI input on the capture device, then connect the video capture device via USB to your laptop. In my case I’m using a 2018 13” MacBook Pro, so my connection is via USB C cables. You may need to install some additional software drivers on your computer depedning on which video capture devices you use

Broadcast Software

The next part of the setup is the broadcast software, I’m using OBS (Open Broadcaster Software) to process the live video feed from the camera. OBS is a very powerful piece of software which allows you to do a wide range of interesting things such as ‘green’ screen your background. There are already a lot of online tutorials about setting up OBS, and I will cover that in a follow-up article because you can do so much with it.

Audio

Now we have our professional level broadcast video signal from our Nikon camera, using an external microphone should provide you with very high quality sound. For on location work I'm using a Sennheiser XSW Lavalier wireless microphone and in the studio a Blue Yeti USB microphone. Within the broadcast software you will now have to sync the audio signal and video signal together.

Lighting

As we all know, great photography and video needs good lighting, this is the same with broadcasting, to get the best video quality you should think about the lighting that you are using. A Main front light to illuminate yourself is essential, a LED light panel with a diffuser works well in this situation. Just make sure the light source is large enough relative to you to ensure there are no harsh shadows. A second light on the background could also be used, as this will add extra depth to the image.
If you still have shadows or dark areas in the image, lightning those with small additional fill light is always an option.

Summary

That’s it, connect your Nikon camera to a video capture device, put the output through the broadcast software , switch on your microphone, sync the audio and video signal, turn on the lights and you are now ready to go live and stream yourself out to the world with professional level image quality from your Nikon Camera.

Want to read offline?

You can now download a PDF version of this Hints & Tips article to read offline and print

DOWNLOAD

NIKKOR Lenses
NIKKOR Lenses