Welcome to Nikon School. The official Nikon education experts to help you learn how to get the best from your Nikon Camera and Lenses

TOP TIPS: NORTHERN LIGHTS

There are few natural phenomena more awe-inspiring than the Northern Lights (aurora borealis). They flare across the skies when a surge of highly charged particles from the sun – known as the solar wind – interacts with the earth’s magnetic field.

There are few natural phenomena more awe-inspiring than the Northern Lights (aurora borealis). They flare across the skies when a surge of highly charged particles from the sun – known as the solar wind – interacts with the earth’s magnetic field. This excites atoms of oxygen and nitrogen in the upper atmosphere, anything from 20-200 miles above the Earth’s surface, and the resulting shimmering colours depend on which atoms are struck and at which altitude.

Depending on the power of the solar storm, the Aurora can been seen in a variety of colours and shapes. Green horizon level ‘blobs’ are the most common followed by green streaks of light across the sky. The best photographic oppourtunities arise when when you start to get stronger solar storms that produce the Green ‘curtains’ of moving Aurora. For really powerful solar sotrms, you will get green and violet colours, with the most impressive displays being cronoal stroms, these look like inverted crowns and can be green, violet and red.

To get an idea if the Aurora is going to happen, there are many apps and websites you can use to track the Aurora. The strength of the Aurora is measured on something known as the KP index, this is a scale of 0 – 10, and Auroras forecasts showing a KP index of 3 or 4 are really the minimum you would want to photograph. You might get a good Aurora on a KP index 2, but this would be the exception rather than the rule.

Unless you have a really strong solar storm or high KP index, it is unlikely that you will see the Aurora with your own eyes. The beauty of your Nikon DSLR’s remarkable sensor is that it can capture the colours that we can’t see – just one reason why photographing the Northern Lights is so exciting.

Where to shoot aurora

The further north you go, the more likely you are to see them – high latitudes like Northern Scandinavia are pretty much a shoe-in from late August to mid April, but in years of peak activity they have been seen in the Lake District, from the Antrim coastline, and even as far south as the Channel Islands.

In the UK, the Scottish Highlands and Isles are usually the most reliable places to photograph them, not just because of the latitude but also because of the dark, light-pollution-free skies. Good spots include Shetland, Orkney, Caithness, Lewis, Harris, northern Skye, the Cairngorms, Angus and the coast of Fife, Rannoch Moor and Perthshire, and Galloway Forest Park.

How to get great aurora images

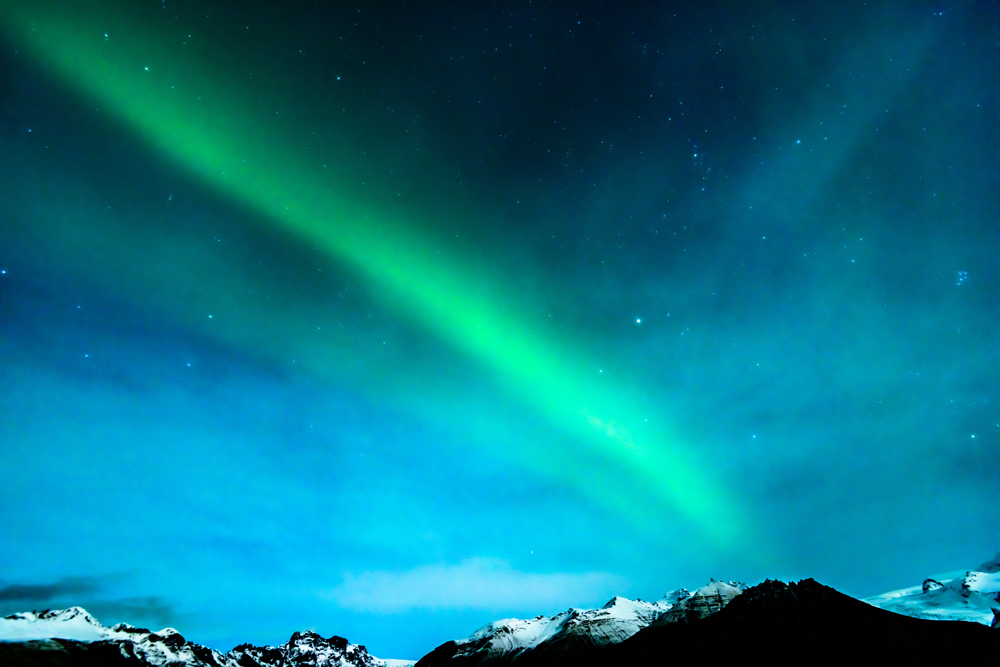
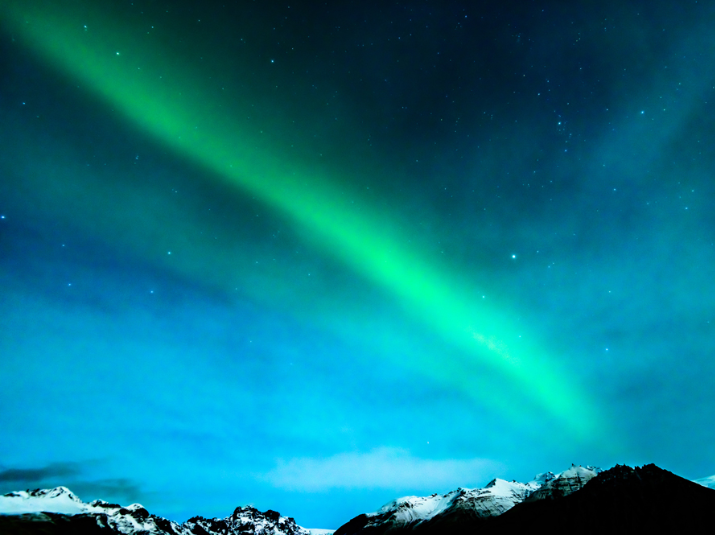
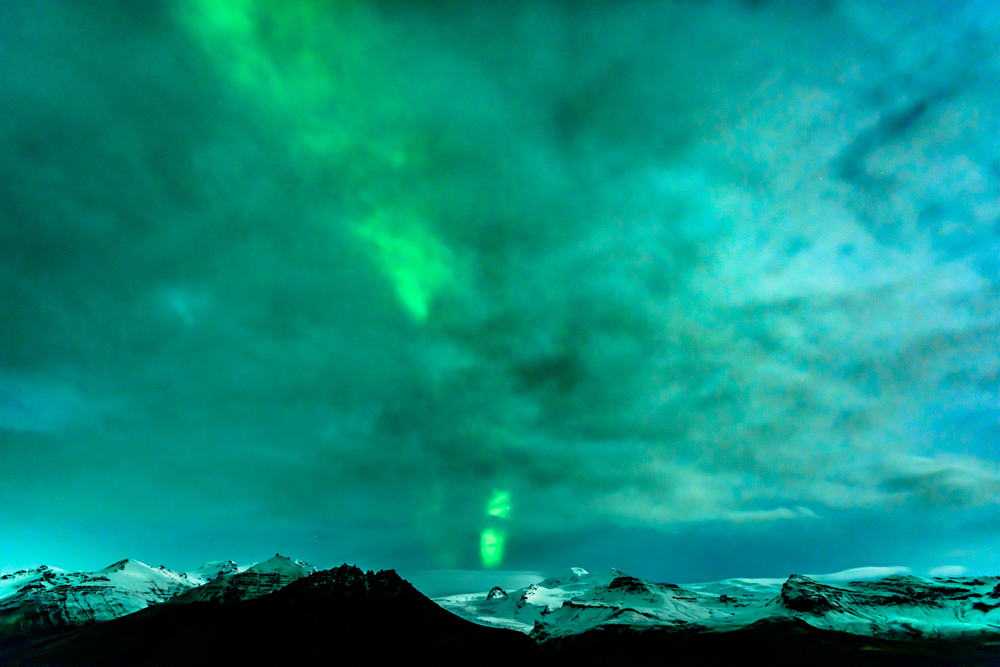
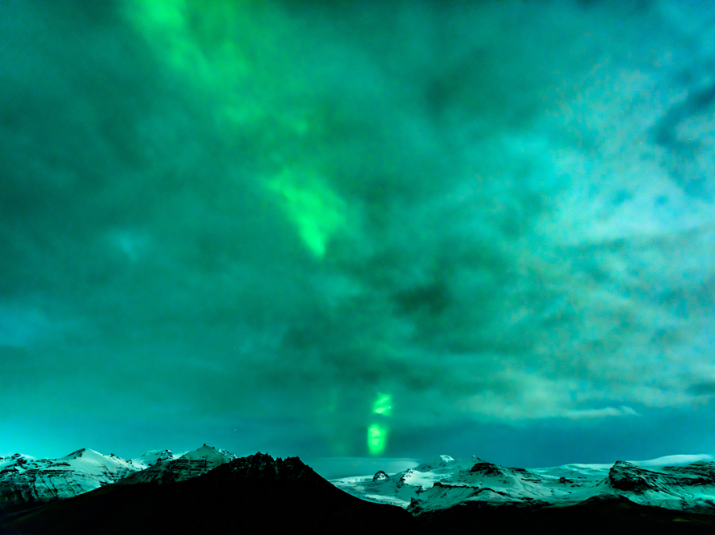
• Work out the best location in advance – somewhere away from light pollution with a wide expanse of sky but some interesting foreground detail to put the image in context, such as trees, hills or a rocky foreshore, is ideal.

• Your kit list is quite simple – tripod, remote release, prime wide angle lens or a wide angle zoom, spare batteries and a small flashlight or head torch with a ‘red’ light mode to ensure your eyes stay adjusted to the dark and your torchlight does not affect other photographers . The faster your lens (smaller the maximum aperture eg. f/2.8, f/3.5) the better, as this will enable you to work with the lowest possible ISO to minimise noise

• Remember to turn off the VR function on the lens when it’s tripod-mounted, especially with a shorter focal lens like the 24-70mm, otherwise you’ll actually end up with shake due to the lens’s internal sensors ‘hunting’. Set the lens’s focusing display to the middle of the infinity symbol and switch to manual focus on the barrel.

• Start with an ISO at around 1600, and then be prepared to move this up to 2000 or 3200, depending on the ambient light levels.

• You are ideally trying to balance an ISO around 1600 – 2000 with an aperture of f/2.8 to f/4 which will give you a shutter speed of around 8 – 10 secs without under or overexposing the image.

• Depending on how fast the Aurora is moving, you may then need to adjust your shutter speed up or down to get the movement in the image that you want. Note that, once you go beyond 20 secs, you are likely to get Star Trails due to Earth’s rotation, this is not ideal when photographing the Aurora.

• Set the camera to manual focus at infinity or use focus peaking if you have a camera that supports this feature.

• Take a test shot and double-check your focus is sharp by looking at the stars at 100% on the screen, and adjust your focus if necessary. Then you’re all set to shoot! Don’t worry if the aurora looks a bit dull, Aurora and Astro photography does involve a significant amount of post processing to get to the final image. You’ll be amazed at how much more colour and detail your sensor renders in the image especially if you shoot with a RAW file format.


Quick tips

• There are lots of free apps and web resources for predicting aurora activity.

• Check the weather forecast, as you need a clear night for the best results.

• If you’re shooting near other photographers, keep use of your torch to a minimum to reduce the risk of polluting their exposures.

Book a place on Nikon School Adventures: Winter in Lofoten

Want a chance to try and capture the Northern Lights yourself, then why not book a place on our upcoming trip with the Nikon School: Nikon School Adventures: Winter in Lofoten, which will be taking place in November 2019.

For all of the details and to book your place visit the Nikon School website here.


Want to read offline?

You can now download a PDF version of this Hints & Tips article to read offline and print

DOWNLOAD

NIKKOR Lenses
NIKKOR Lenses