Welcome to Nikon School. The official Nikon education experts to help you learn how to get the best from your Nikon Camera and Lenses

Top Tips for Photographing deer

Follow our top tips for taking beautiful deer photographs...

The rut – the locked-antlers battle for supremacy between alpha-male deer for the right to mate with as many females as possible – runs from July to January, depending on the species, and it's one of the most spectacular sights in the British animal kingdom. Whether you're interested in our true native red and roe deer, or our adopted species, including fallow, sika and Chinese water deer, the rut presents amazing photo opportunities.

Where to find deer

The British Deer Society is a good place to start, as it maintains a database of great locations for deer photography, including wild sites, country estates, woodlands and deer parks. Amongst its recommendations are Richmond Park and Bushy Park in London, Ashton Court near Bristol, Chatsworth Park in Derbyshire, Tatton Park and Lyme Park in Cheshire, Fountains Abbey in Yorkshire, Knole Park in Kent, Woburn Abbey in Bedfordshire, Bradgate Park in Leicestershire, Margam County Park in Glamorgan and Galloway Forest Park in the Scottish Borders.

If you specifically want to encounter large red deer populations, try Rannoch Moor, Glengarry, the Torridon hills, Findhorn Valley, Lochaber and the Isle of Jura, as well as Exmoor, the New Forest, Thetford Chase, and Gosford Forest Park in Co Armagh. The Forestry Commission and estates such as Knepp in West Sussex also run photographic deer safaris where you'll be able to capture the rut in all its glory, with the help of an expert.

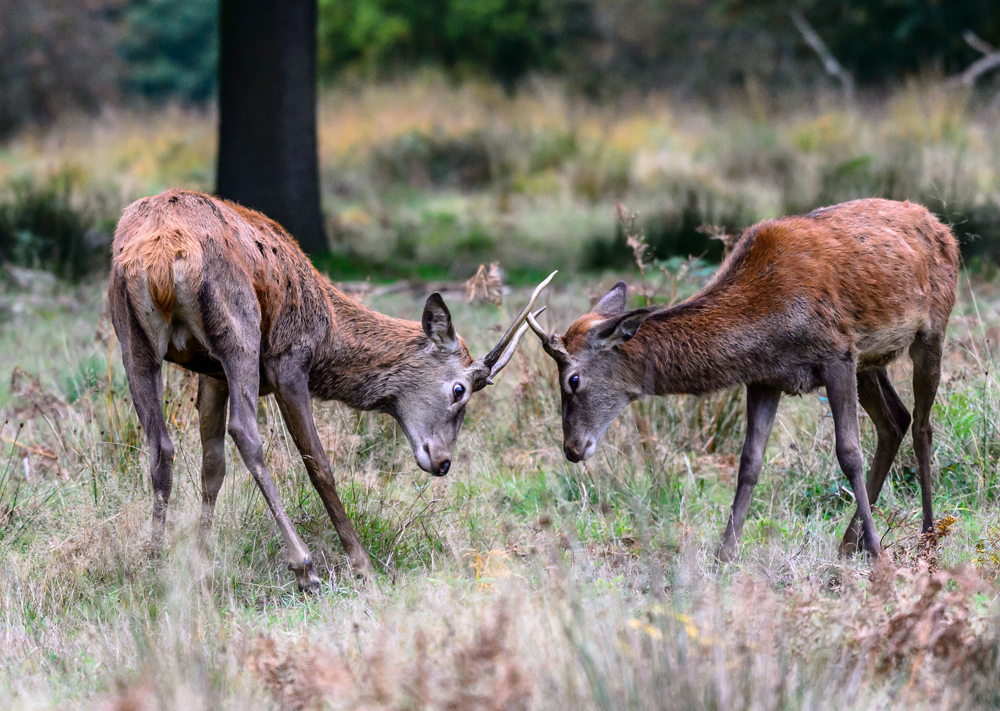
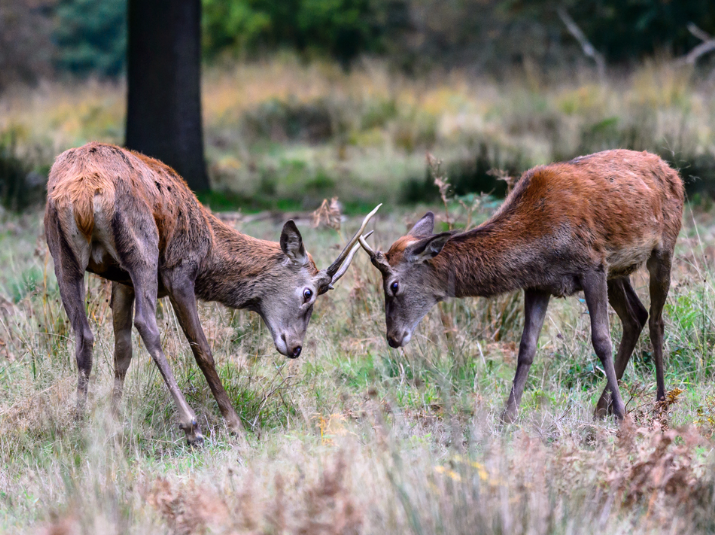
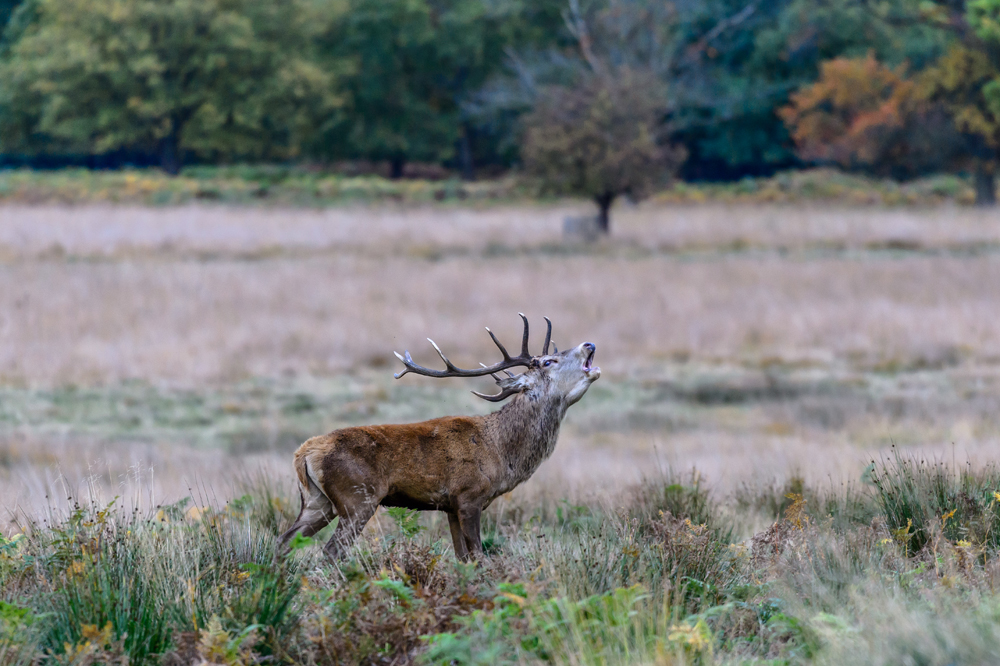
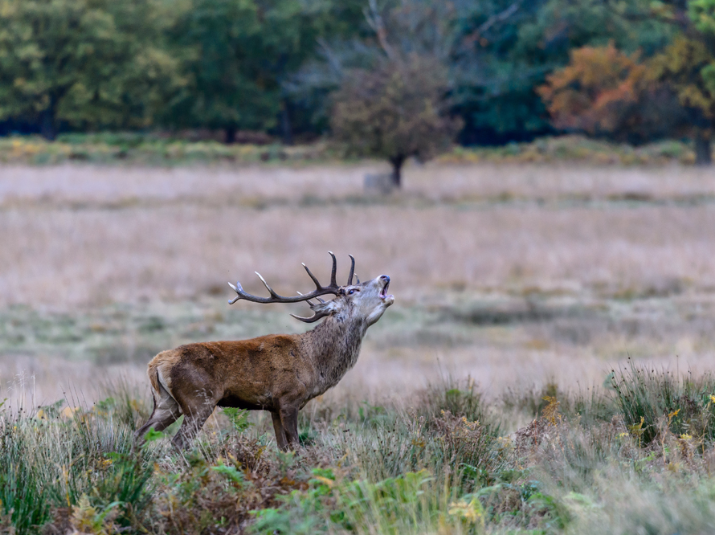
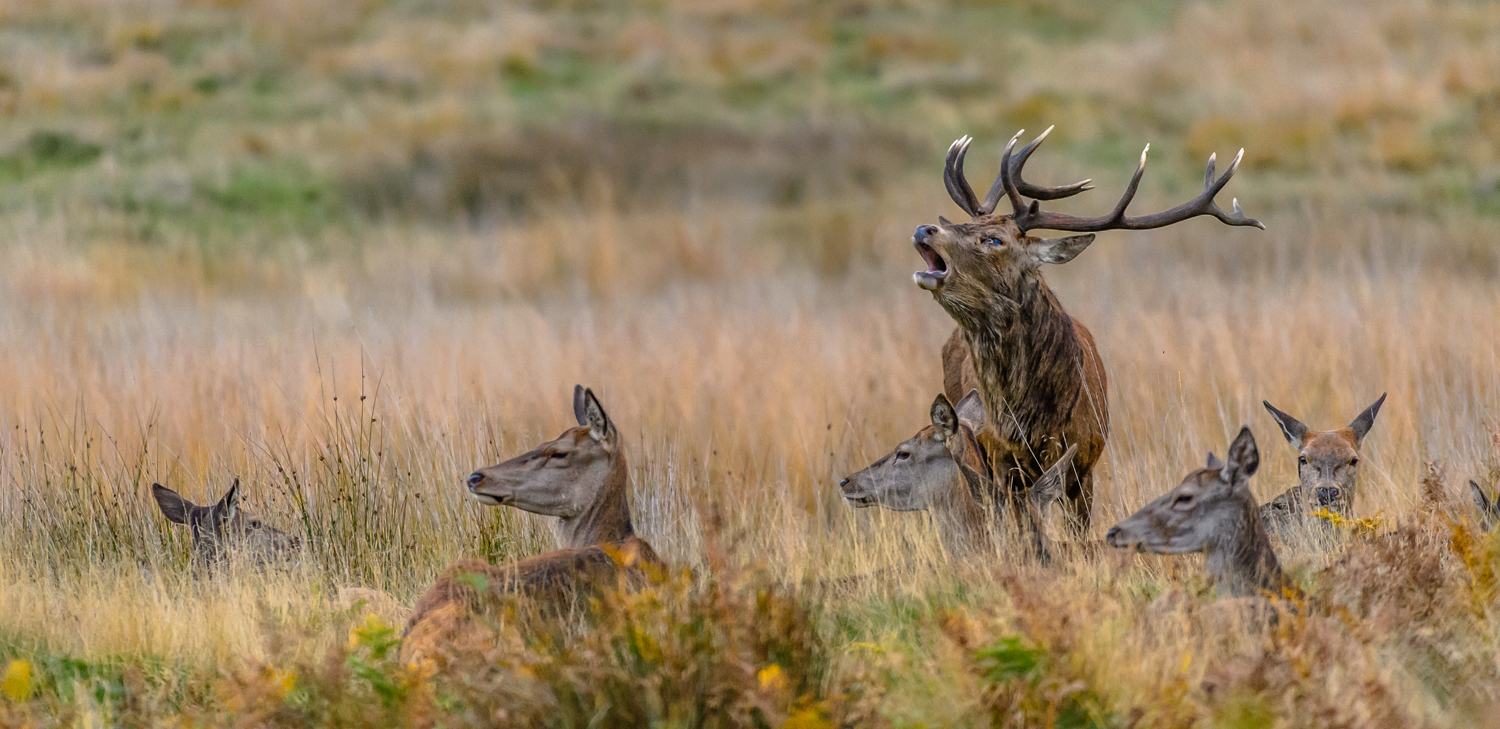
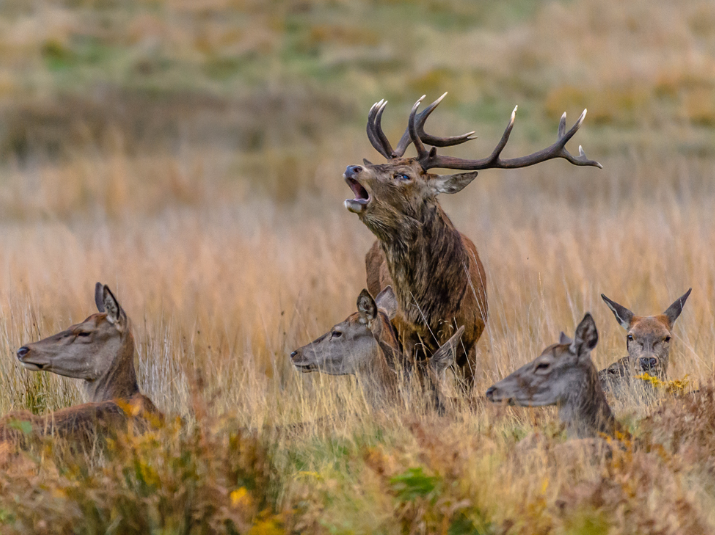
When you're out there in the field, if deer aren't immediately apparent look for their hoof prints, well-worn tracks and dung – the fresher it is, the nearer they will be, and the more there is, the more likely it is to be a popular spot with them. In woods, looks for gnawed and stripped bark on trees, and listen out for stags bellowing – this classic rut behaviour is a warning to any males that are getting too close to the alpha's females, so it's often indicative of a rut about to start.

Safety first

When observing deer, stay quiet and don't make any sudden movements that might disturb them; it helps to wear muted clothing and stay downwind if possible, as they have a terrific sense of smell. Stags pumped up on testosterone can be particularly aggressive, even those in parks that are used to humans, and the golden rule is to never get between a male and his hinds, or between two stags sizing each other up. It's rare, but people watching ruts have been injured and even killed by deer, so treat them with respect and don't get too close.

When to photograph the rut

• Roe deer – mid July to mid August

• Fallow deer – September to October

• Red deer & sika – September to November

• Chinese water deer – November to January

Rutting deer generally stick to favoured locations, so once you know where these are you can then investigate the best position and time of day to shoot them, but you'll probably find the best times are early morning and late evening when deer are grazing and at their most active, and the light is warm and low. Mists and damp, rainy conditions can also create atmospheric images – just make sure your camera kit is protected from the elements, and keep yourself warm and dry in decent waterproofs. Towards the end of the rutting season fights are often at their fiercest, as contenders try their luck against the by-now battle weary alpha male.

Lenses for deer

Photographing deer means using a telephoto prime or zoom, although you're not going to need massive magnification, as these animals are fairly large – red deer, in fact, are the largest British wild land mammal. Your minimum focal length range should be around 70-300mm, and 200-400mm is ideal, especially with a teleconverter; these ranges will give you scope for wider scene-setting images as well as close-ups from a safe working distance.

What to photograph

The classic rut image is of the bellowing stags or bucks, bathed in the first warm rays of the sun, swathed in mist or silhouetted against the sky. Challenges from interlopers, heralded by bellows, then battles between rivals as they lunge, lock antlers and wrestle, followed by the victorious alpha male standing with its hinds or does are all great to witness and photograph. You could also shoot some background images, including the females on their own or grouped together, for context. Be prepared though – the rut can be a blood spectacle, with injuries common, so it's not for the faint-hearted.

Technique tips

Shoot in aperture priority so you can select the depth of field that best suits the shot – throw the background beyond focus with a wide aperture e.g. f/2.8, f/4 for action shots and portraits, or keep everything sharp front to back for a wider-angle establishing shot with a small aperture e.g. f/16.

Handhold if possible for flexibility (VR lenses are ideal for this), or use a monopod, which is faster and easier to set up than a tripod, minimising your chances of losing the shot in a fast-moving situation, but at the same time guarding against unwanted blur. However, if you actively want blurred motion shots, which can look very effective, set a mid-range aperture e.g. f/8 or f/11, then pan .

Training

Do you enjoy photographing wildlife and want to learn more from the experts? Check out Nikon School's full range of Wildlife Photography courses here.

Want to read offline?

You can now download a PDF version of this Hints & Tips article to read offline and print

DOWNLOAD

NIKKOR Lenses
NIKKOR Lenses