Eerie Atmospheric Images
Create an eerie atmosphere and add some 'hooooo' to your images this season.
Create an eerie atmosphere and add some ‘hooooo’ to your images in Halloween season.
Create an eerie atmosphere and add some 'hooooo' to your images this season.

Bright sunshine and eerie atmospheres don't often go hand in hand – far better are the long shadows of dusk, and that means long exposures to match. So select a slower shutter speed to let as much light as possible fall onto the sensor, and keep the camera steady on a tripod, activating the shutter via a remote release or by using the self-timer. The alternative is to increase the ISO or set a wide aperture (e.g. f/2.8) so you can shoot with less available light without having to lengthen the shutter speed.
Direct flash is generally a no-no because it will be too harsh and bright, thus ruining the mysterious effect you're after; if you really do want to use it, soften it either with a diffuser cover or a coloured lighting gel to create dramatic effects. For spooky portraits, get your subject to shine a torch up under their face, and for a different take on people pictures, go for silhouettes against a lowering sky.
Converting your images to black and white – either in camera via the picture-control setting in the shooting menu or via the monochrome setting in the retouch menu (which also gives you the option of sepia and cyanotype), or by changing it in post-production – can lend a creepy air of menace to a fairly ordinary looking scene.
In the days before digital, infrared film photography was a popular – if tricky and expensive – way to add a dramatic and other-worldly quality to landscape and architectural images. While you can now use an infrared filter to create a similar effect, with most recent Nikon DSLRs you won't get great results as they have a built-in infrared filter to block these light wavelengths. You can check for this by pointing your TV remote control at the lens, and if you can see a flashing red light (the infrared signal that remotes use to control the TV) then your camera can capture infrared. Otherwise, you can create a similar effect using software. In Lightroom, for example, change the colour temperature to -100, knock the tint slider back to around -70, then in the HSL/colour/b&w tab change both yellow and green to 100, blue to -100 and leave everything else at 0. You can find infrared presets online for both Lightroom and Photoshop to save you the work, too.
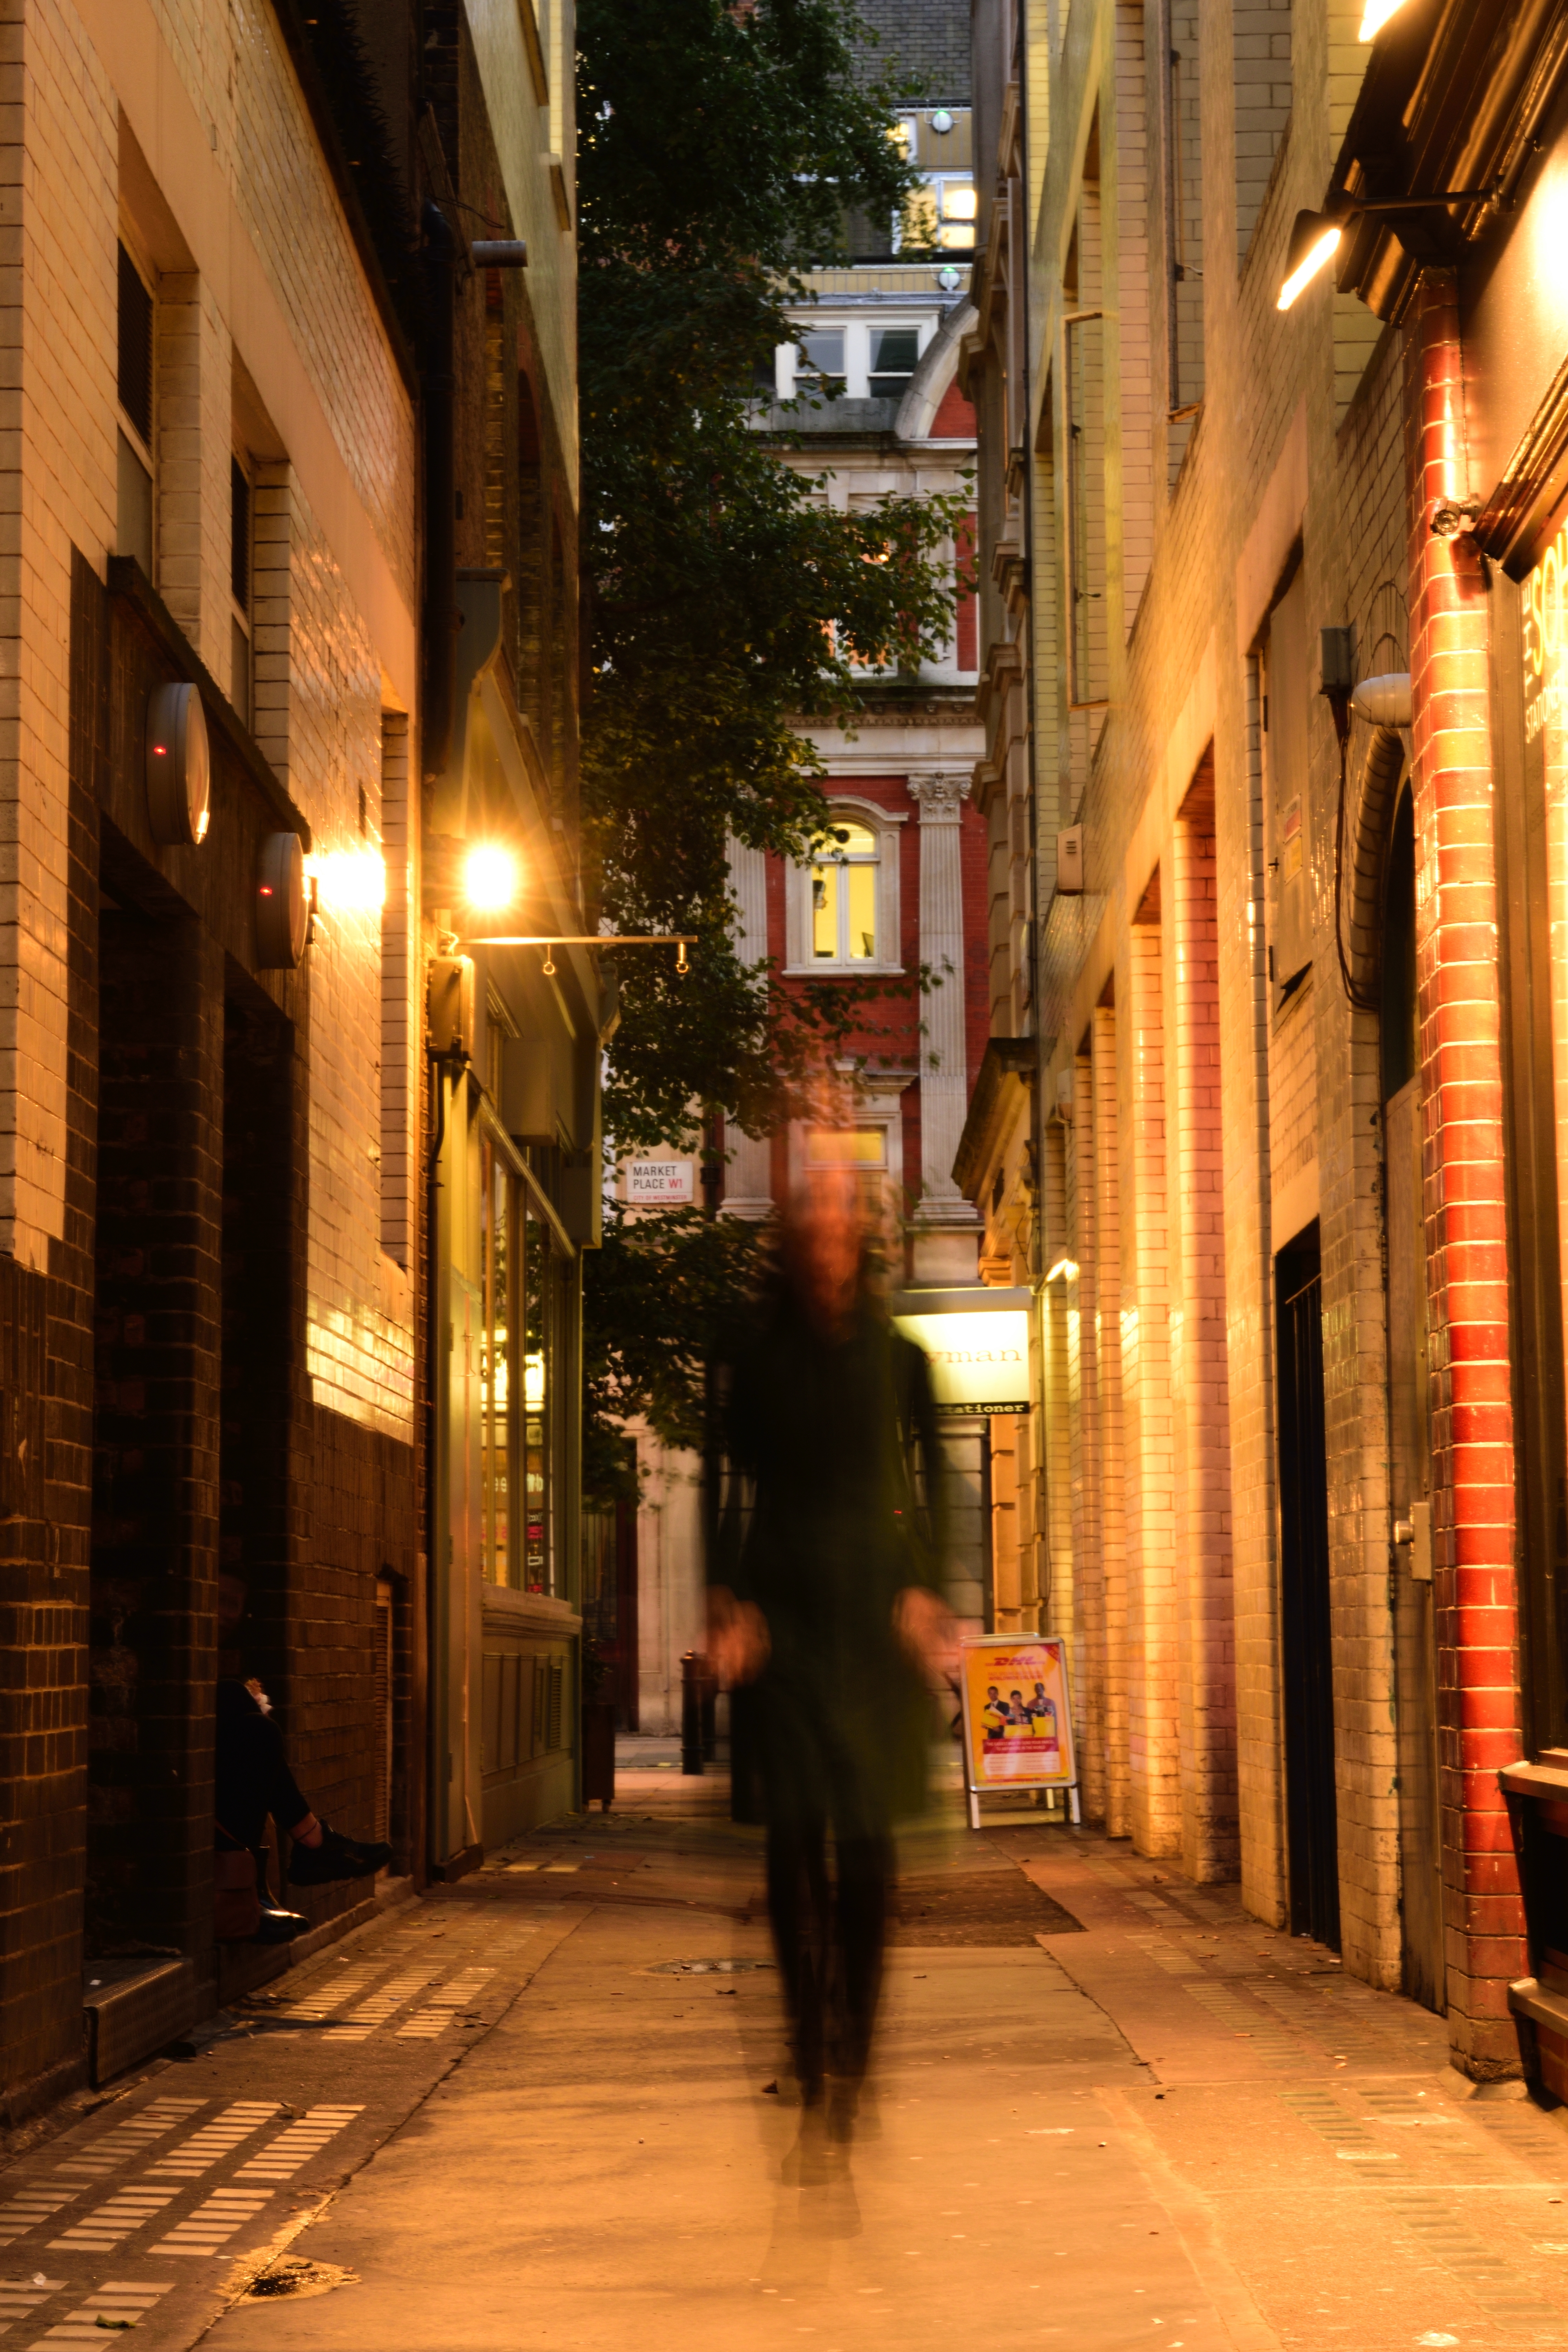
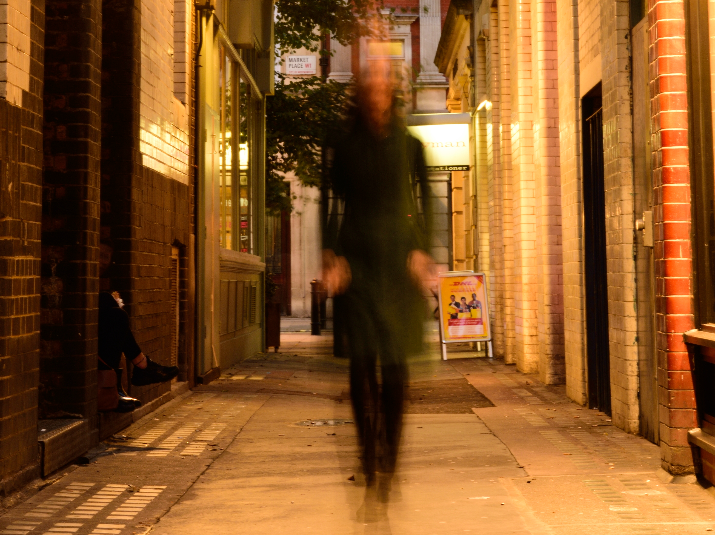
Use a long exposure to conjure up a ghostly presence – you'll need around 10 seconds' exposure, with the lowest ISO possible and a small aperture to limit the amount of light hitting the sensor (you may need a neutral density filter to achieve this). Mount the camera on a tripod to prevent shake, then compose your image with your 'ghost' in position. About halfway through the exposure get them to quickly move out of the shot, and you'll end up with a transparent spectre in the final image; alternatively, get your 'ghost' to move very slowly across the frame to create a wraithlike blur.
Another option is to use the multiple-exposure function: set at least two exposures, then get your ghost in frame and take the first exposure, with them out of frame or in a different position for the second – if you're shooting more than two exposures, just ensure the last shot is ghost-free to capture the background behind them – and your camera will then combine all the shots to create your eerie image.
The alternative approach is to create a spook in post-production. Start off by taking two shots – one with and one without the ghostly image, then open both in Photoshop, outline the ghost image and copy it onto the background image – this puts it on a separate layer. Select that ghost layer, position the ghost using Move and, if necessary, use Transform to alter its size. Next, change the transparency of the ghost layer (using the Layer palate) until you get your desired effect. Save and there you have it – a real 'live' ghost.
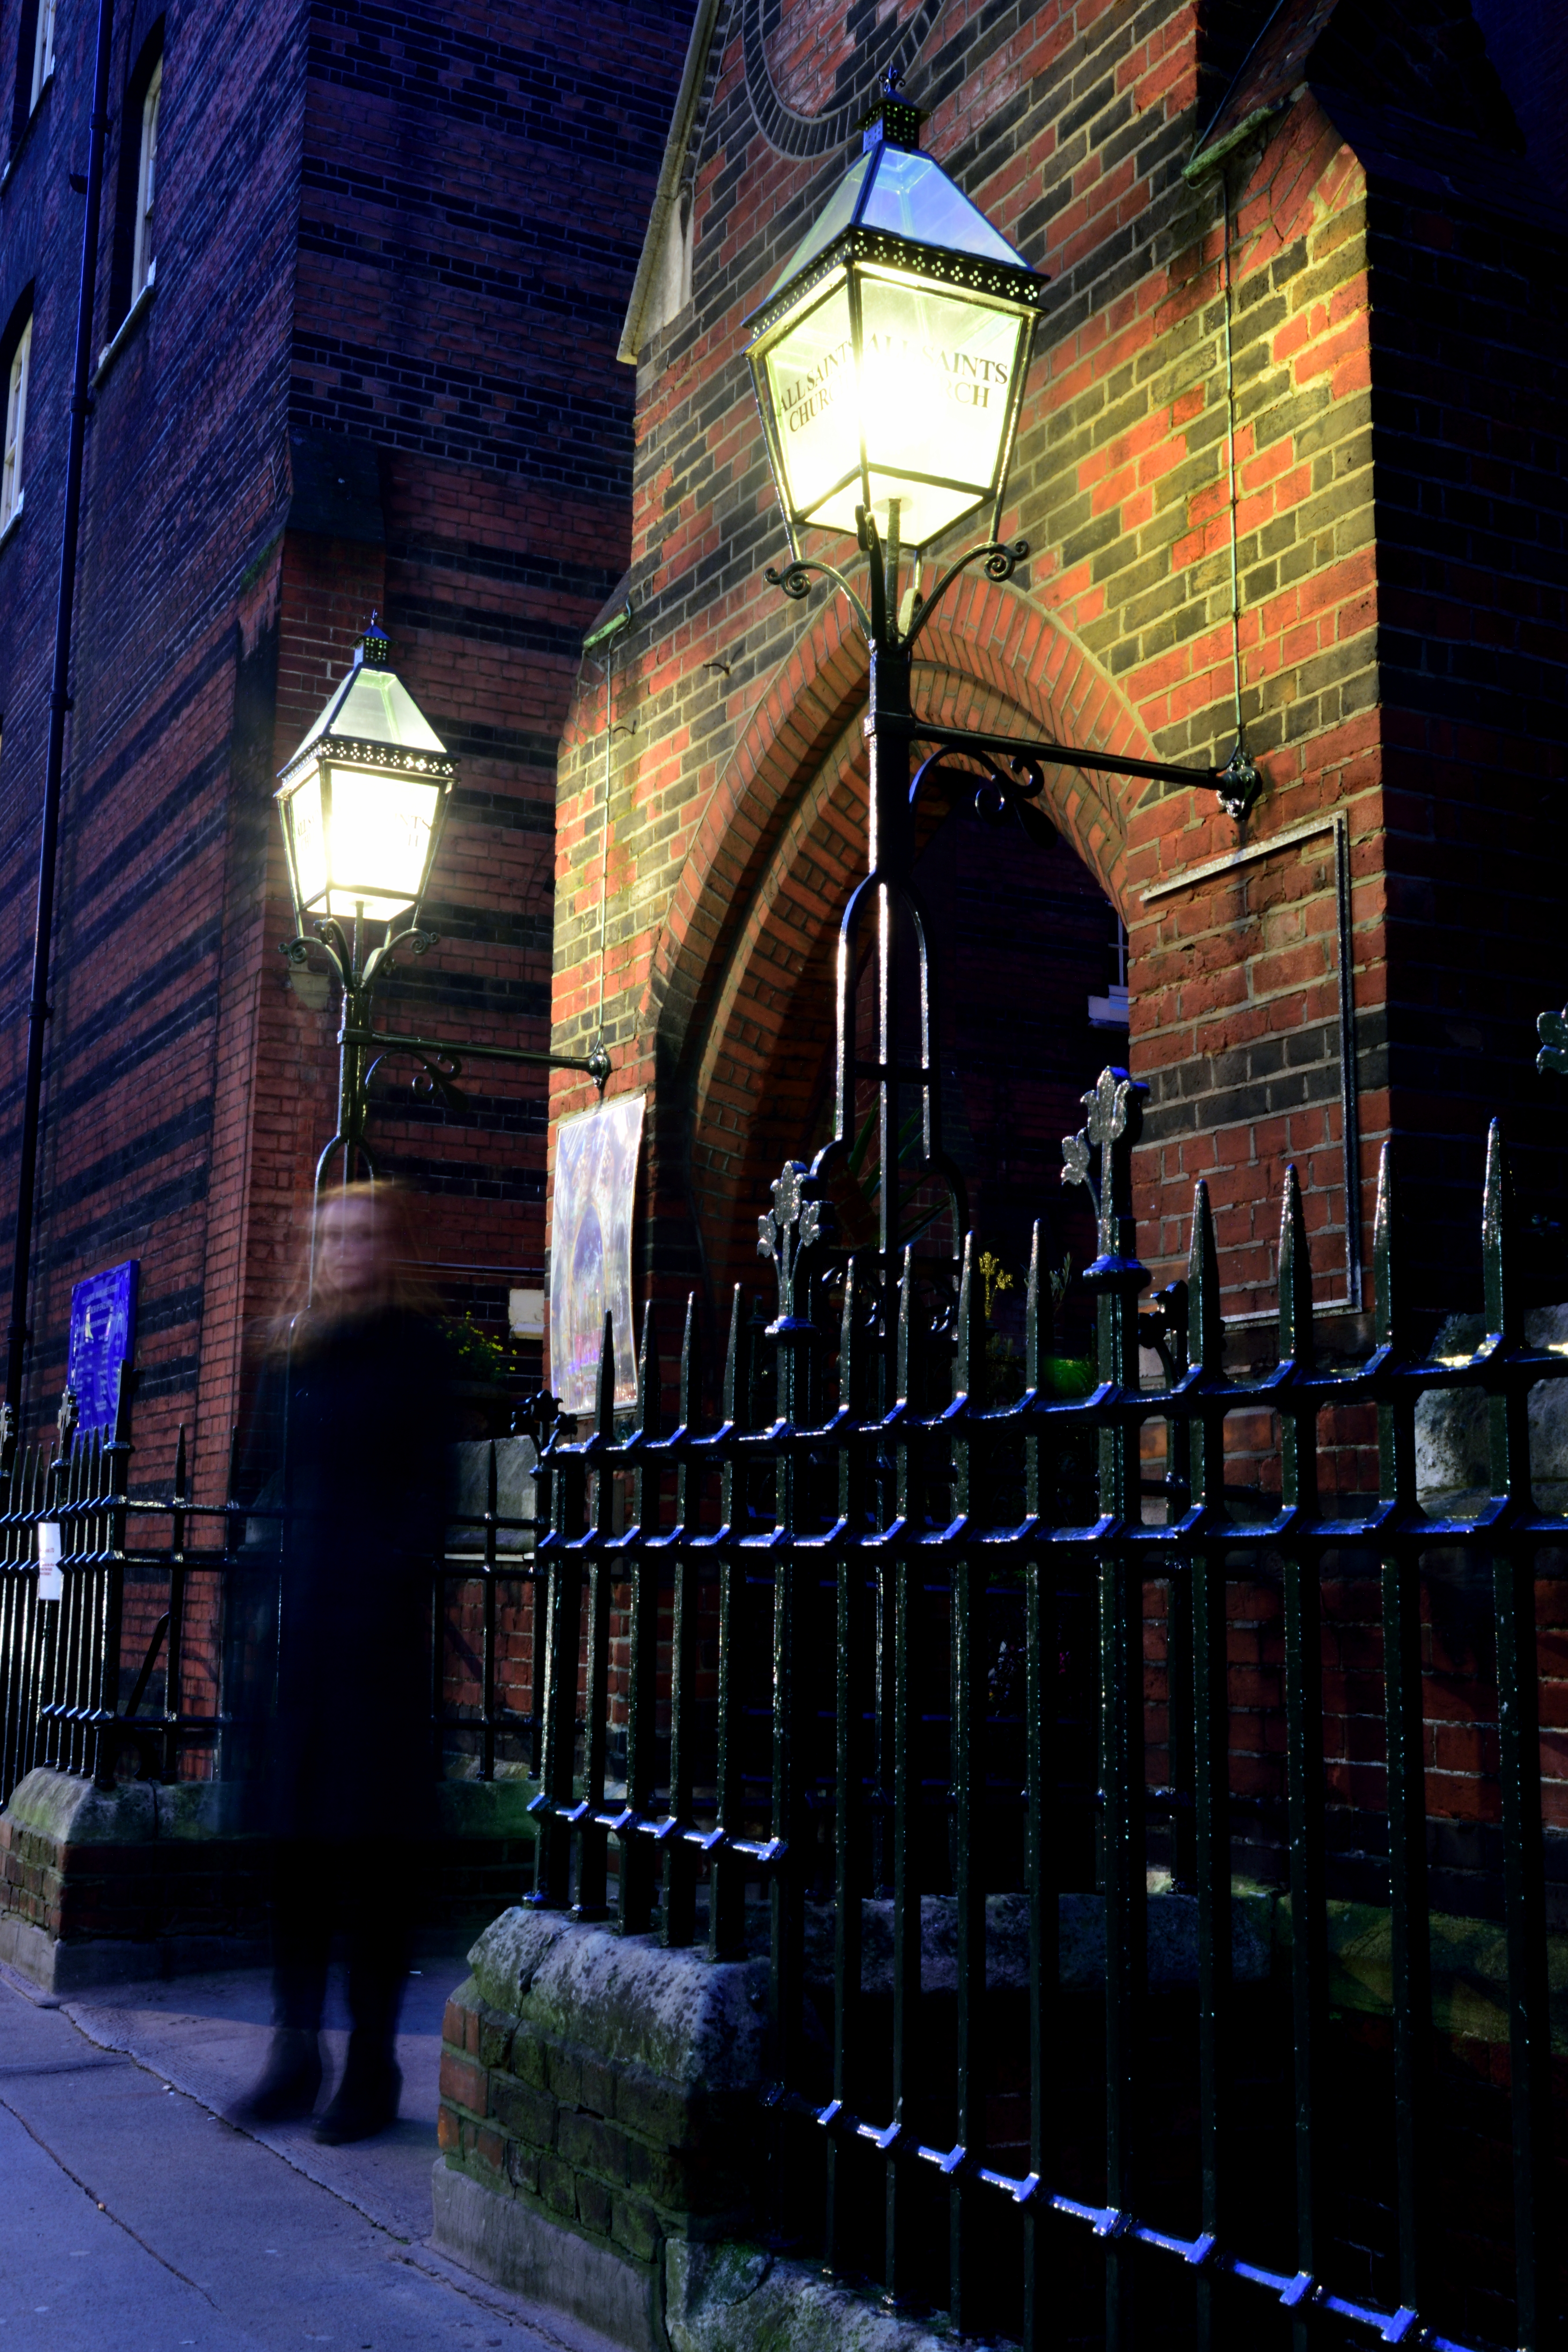
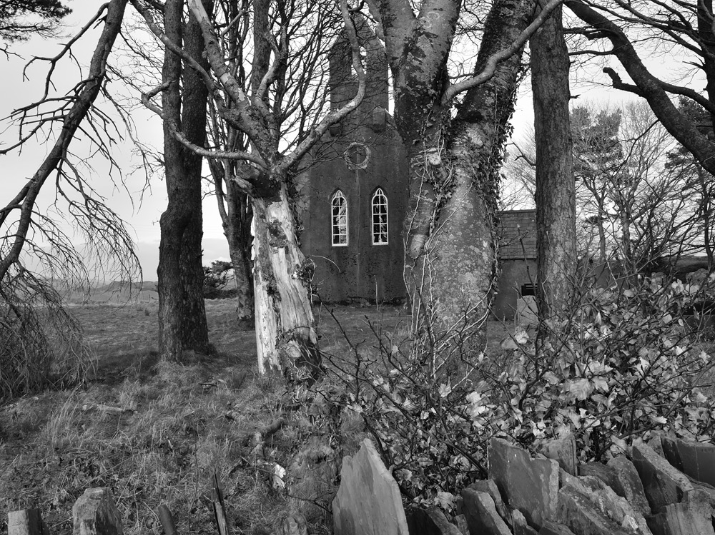
Use your imagination and you'll find so many atmospheric locations for eerie shots. Cemeteries, graveyards and churches go without saying, and shooting in the long shadows of dusk will add to the effect – do use a tripod to enable a slower shutter speed to capture the details in the scene. Ruinous castles and creepy old houses can also be rich in opportunities; use a wideangle lens to create a more foreboding, intimidating image, with the building looming up at the viewer like a monster waiting to pounce.
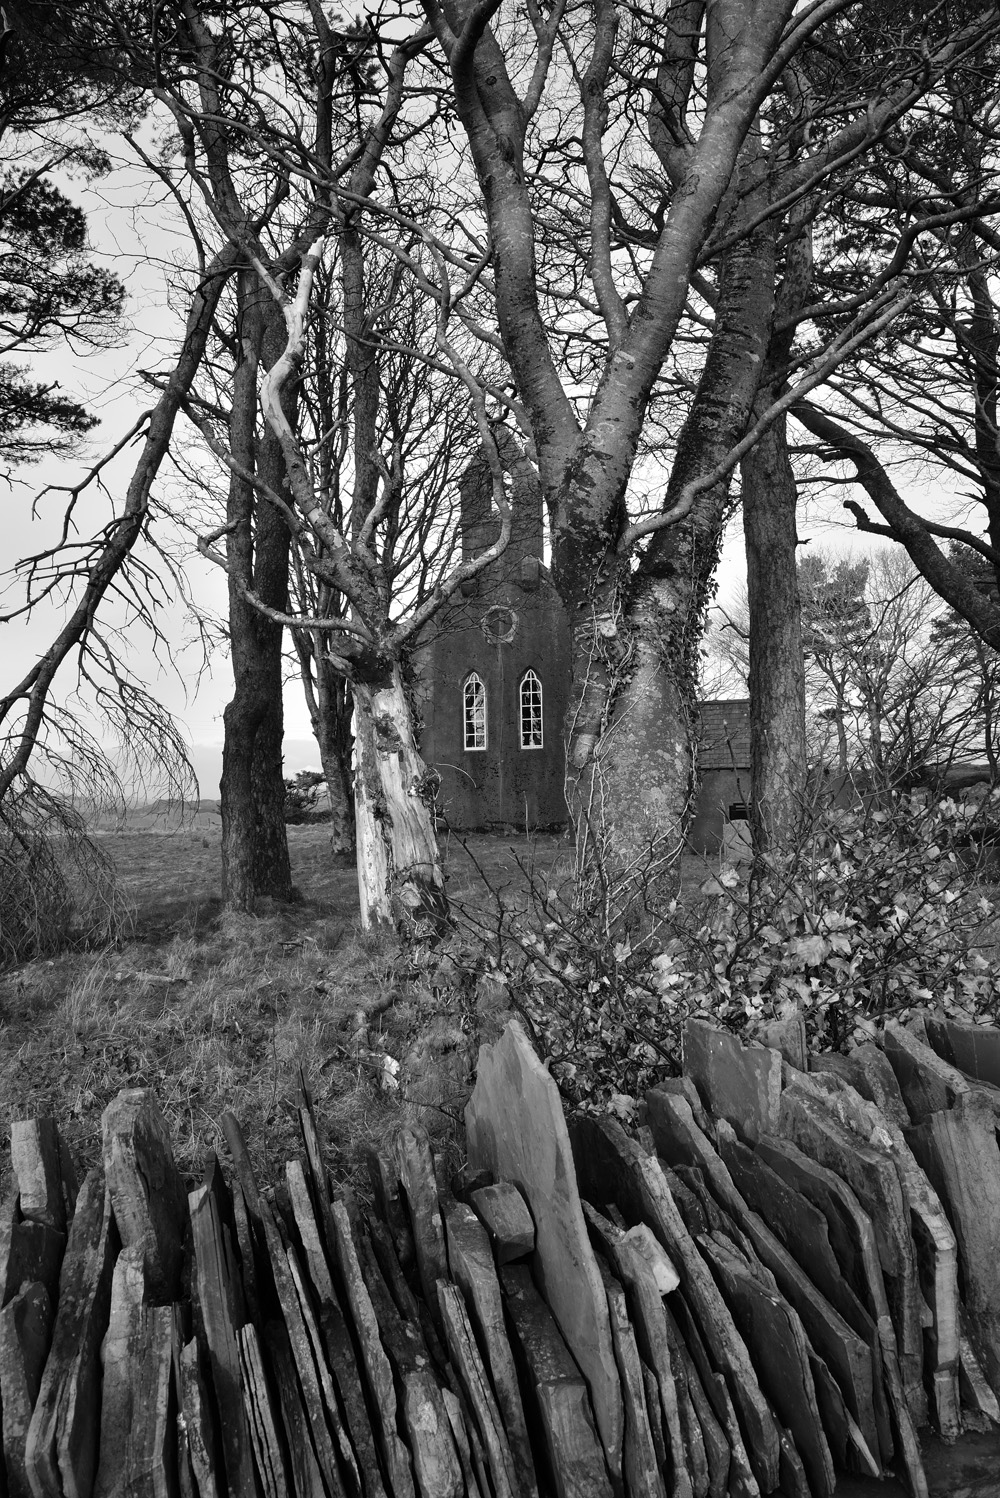
In the natural world, autumn woods can be the perfect location for supernatural shots, with trees bare of leaves standing menacingly against a darkening sky. Moving water shot with a very long exposure will result in a smooth, ghostly appearance – for this technique you'll generally need a neutral density (ND) filter that cuts down several stops of light from the lens to enable a far longer shutter speed than would otherwise be possible. With the camera in aperture priority (tripod-mounted, of course), it will select the shutter speed to compensate for the filter. With a really dense ND filter (e.g. 6-10 stops) you won't see a thing through the viewfinder, so you'll first need to compose and focus manually, then work out the exposure – use the exposure card that comes with the ND filter, or an app – before you attach the filter and shoot. With a 10-stop filter you'll be looking at an exposure in excess of 30 seconds, so you'll need the bulb setting, a remote and the timer on your phone to get it spot-on.
Statues can make for haunting images, and one particularly powerful location for them is Crosby Beach near Liverpool, where the artist Sir Antony Gormley erected 100 cast-iron 6ft-tall sculptures of his own body, facing out towards the sea over a two-mile stretch of sand, alternately submerged and revealed by the waxing and waning tide.
And, if you really ain't afraid of no ghosts, the UK is apparently heaving with them – try these supposedly haunted sites out for spooky size, and remember to take your tripod to avoid camera shake when things go bump in the night…
Binham Priory, Norfolk
The Black Country Living Museum, Dudley, Birmingham
Chillingham Castle, Northumberland
Furness Abbey, Broughton-in-Furness, Cumbria
Highgate Cemetery, London
Michelham Priory, East Sussex
Moreton Corbet Castle, Shropshire
Old Wardour Castle, Wiltshire
Pendle Hill, Lancashire
Pluckley Village, Ashford, Kent
St Botolph's Church, Skidbrooke, Lincolnshire
Tatton Old Hall, Cheshire
Whitby Abbey, Whitby, North Yorkshire
Bodelwyddan Castle, Denbighshire
Castell Coch, near Cardiff
Devils Bridge Falls, Ceredigion
Dolbadarn Castle, Llanberis, Gwynedd
Llancaiach Fawr Manor, Caerphilly
Newton House, Clandeilo, Carmarthenshire
Point of Ayr Lighthouse, Flintshire
Dunnottar Castle, Stonehaven, Aberdeenshire
Dunstaffnage Castle, Oban, Argyll
Ecclesgreig House, St Cyrus, Aberdeenshire
Eilean Donan Castle, Kyle of Lochalsh
Glencoe
St Andrews Cathedral, St Andrews, Fife
Charles Fort, Kinsale, Co Cork
Coolbawn House, Co Wexford
Desmond Castle and the Hellfire Club, Co Limerick
Duckett's Grove, Co Carlow
Kilmainham Gaol Museum, Dublin
Leamaneh Castle, The Burren, Co Clare
Ossian's Grave, Cushendall, Co Antrim
You can now download a PDF version of this Hints & Tips article to read offline and print