Get the most out of a bracing winter walk with your camera with these cold-weather shooting tips that will make getting great results a stroll in the park...
Get the most out of a bracing winter walk with your camera with these cold-weather shooting tips that will make getting great results a stroll in the park...
Get the most out of a bracing winter walk with your camera with these cold-weather shooting tips that will make getting great results a stroll in the park...
• Pare down your kit to the bare minimum so you can enjoy your walk as a walk rather than a weight-lifting workout. A wideangle is ideal for sweeping landscapes, while a macro lens will capture details and textures, or you could achieve the same effects with a single telephoto zoom. Alternatively, why not set yourself a 'nifty 50' challenge and go out armed with just a 50mm prime to see what you can capture?
• Check your batteries to make sure they're fully charged. Cold weather drains them pretty fast, especially if you're using Live View or checking your shots on your LCD frequently. Carry back-up batteries inside your coat, close to your body, to keep them warm.
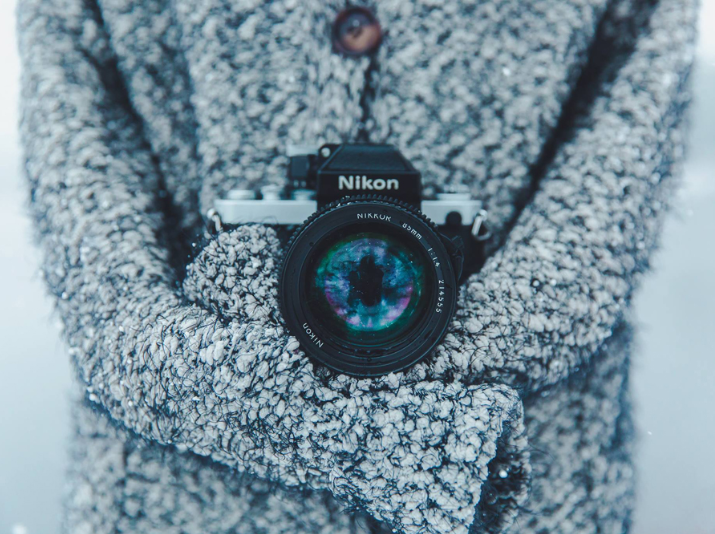
• Weather-proof your kit. It's best to use ready-made camera/lens covers – we have a wide range of bespoke kit-protection options in the Nikon Store – but if the risk of rain or snow is slight, you could err on the side of caution by packing an 'emergency' plastic bag and a couple of rubber bands, then if the heavens unexpectedly open you could wrap the bag around the camera (leaving an opening for the lens, of course!) and secure with the elastic bands. Keep the elements off your lens's front element with a filter – try a daylight or warm bias type – and pack a terrycloth in your camera bag, as it's excellent for soaking up water if your gear does get wet. When changing batteries, lenses or flash cards out in the open, make sure your camera is shielded; in fact, avoid changing lenses as much as possible, because doing so can enable moisture to creep inside the camera body, which can freeze and damage it in very cold weather.
• Weather-proof yourself! While you'll keep warm when you are walking, once you stop to shoot it's very easy to quickly chill down, so it's vital to wrap up well, especially your extremities. Wear thermally lined boots or hiking boots with layers of thermal socks, and keep hands warm with a pair of fingerless gloves over a pair of nylon glove liners – this will give you a good feel for making adjustments and pushing buttons. If it's really cold, put on a pair of thermally-lined wool mittens over the liners and the gloves; pull off the mitten to shoot, then put it straight back on. If you're thinking of investing in full gloves instead, take your camera with you when you buy, to check that you can still use it with the gloves on – and check our online store for our bespoke photographer's gloves. Don't forget a warm hat and scarf, plus your thermal undies – layering is the key. It's better to be too warm than not warm enough!
• During winter months when the sun is low in the sky, it can be difficult to avoid it shining into the lens and creating flare, but you can cut the risk of this by using a lens hood. That weak, low-angled winter sunlight might also mean you have to boost your ISO levels and/or change the aperture to ensure your images aren't underexposed. You'll also need quite fast shutter speeds to freeze movement, which again will be helped by a higher ISO setting.
• For snowy or frosty scenes, use the cloudy setting for your white balance, unless you want your images to look cold with a blue cast (in which case change the white balance to daylight). You can also use your white balance menu options to fine-tune the colours in your scene – on an overcast day, select the vivid colour control and change the auto white balance to A3 to warm up the picture. The camera's warming range runs from A1 to A6 (adding an amber tone); there's also a cooling range, from B1 to B6 (adding a blue tone).
• To avoid the camera underexposing because it sees the white scene as too bright, keep an eye on the histogram to see if you're getting a balanced shot. What you want is the bell curve peaking centrally – if it's way over to the left, it indicates underexposure (with a peak far on the right meaning overexposure). Alternatively, the snow/beach scene mode will automatically adjust the white balance and add the appropriate exposure compensation, too.
• If you're using fill-flash, be aware that if it's snowing the flash will illuminate flakes close to the camera, which can create hot spots. Some of these you'll be able to tone down in post-production, but to be on the safe side take multiple shots to increase your chances of getting one where this isn't a problem.
• In very windy conditions when you're using a tripod, hang your kitbag from the centre-column hook to stabilise it.
Don't bring your camera into the warmth too quickly, as this will make it fog up, and it will then take a while to dry out. Instead, put your camera back in its bag while you're still outside, fasten the bag up then bring it inside, and leave the camera in it for 45 minutes to an hour before removing it. This way, the camera warms up gradually inside the cold bag and the risk of condensation is minimised.
You can now download a PDF version of this Hints & Tips article to read offline and print