Welcome to Nikon School. The official Nikon education experts to help you learn how to get the best from your Nikon Camera and Lenses

Abstract Macro

Get the most out of camera when shooting at home. Follow these hints and tips and let professional photographer Alex Stead guide you through the best set ups to maximise your abstract photography shots.

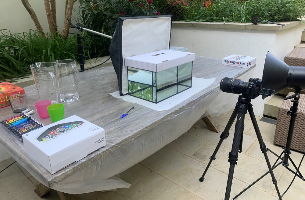
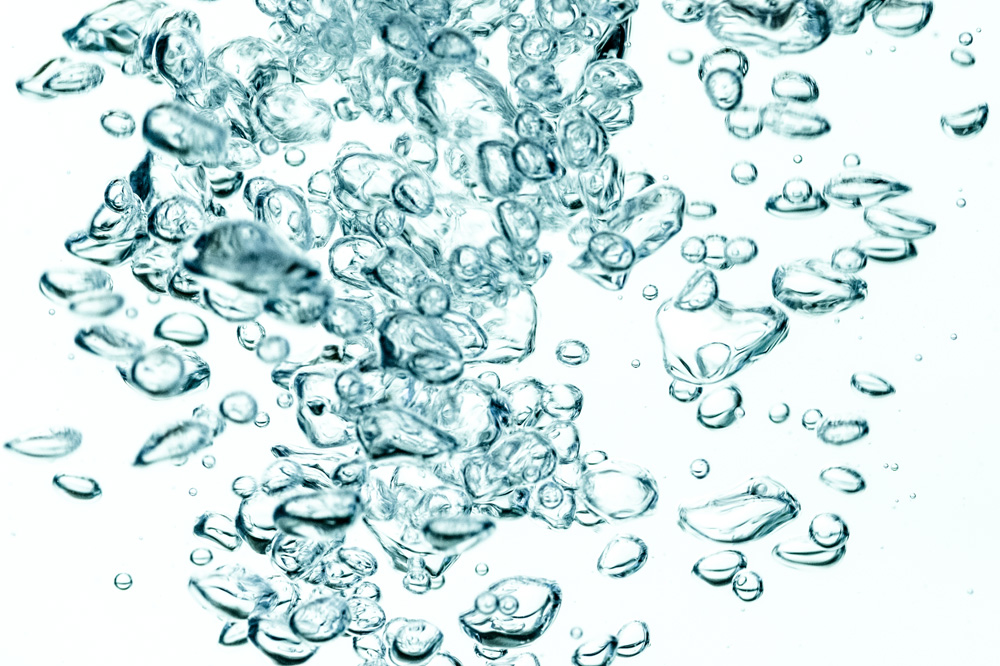
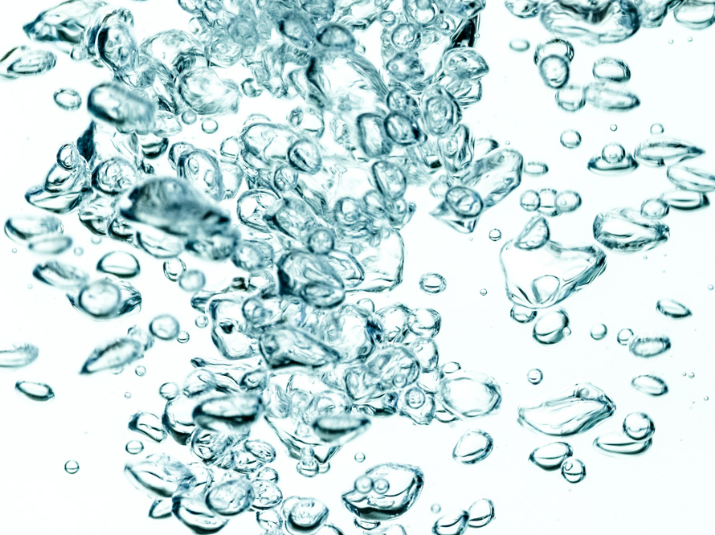
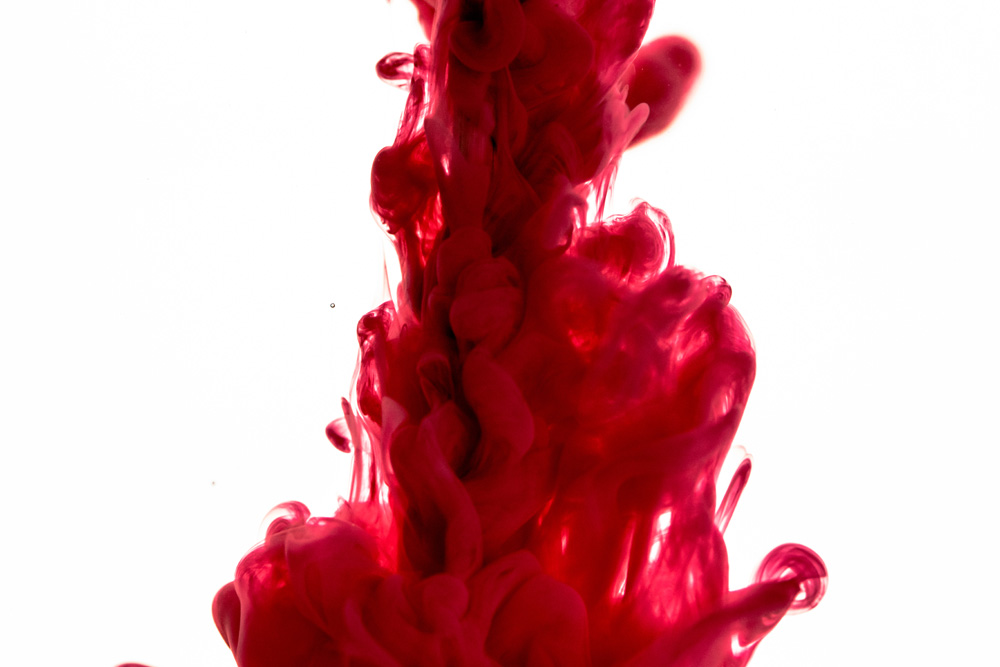
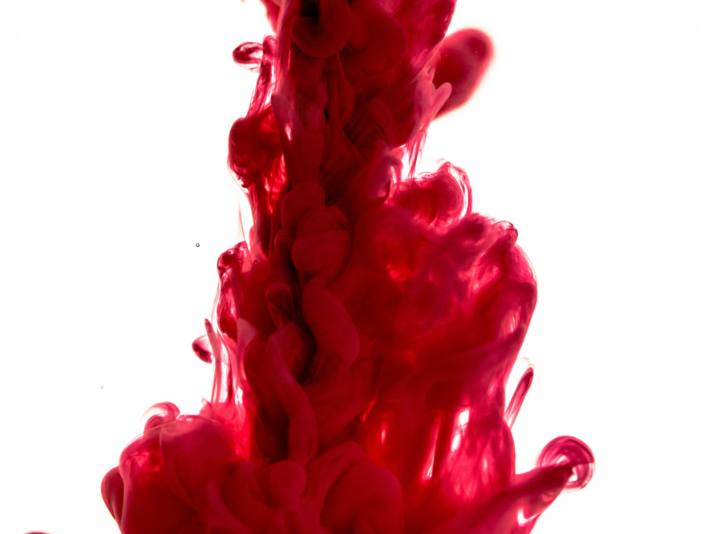
Are you ready to put your creative skills to the test? Join travel and adventure photographer Alex Stead as he explores the challenging theme of macro photography for the first time. Using simple techniques and light, he experiments at home with the effects of immersing paints into water – creating mind-blowing results that everyone can achieve with a simple setup at home. Check out his early attempts and follow his journey through this #CreateYourLight theme. We’ll be providing him and you with some tips and tricks for improving his execution of this difficult subject matter in the coming days.

Setup

For the setup I placed the camera on a tripod and used an old fish tank - however other objects that are similar to this (such as flat sides, no distortion in the glass or scratches, which could affect focusing) would work best. The most important thing to keep in mind is trying to get as much light in, to ensure you can keep a higher shutter speed and aperture. I used some professional lights that I have, but any light source will help, including natural light. You just need to be careful to try to get the light as even as possible to avoid unwanted shadows.

I spent my time looking at how acrylic paints disperse in the water - I wanted to capture the interesting shapes that are created. I pre-diluted the acrylics beforehand with a little water, as the paints are very thick. I also tried out nail varnish as I thought that could be interesting. This actually came out really well, but also ruined the jug I was using to remove the water, so I abandoned that idea. These are just a couple of options you could use, but by all means get experimental!


Focusing

Finding focus was the biggest challenge I found. First, I tried to place a cardboard cutout on top of the fish tank with a small hole where I would drop the liquid. I put a stick through the hole in order to estimate where the liquid would drop to find the focus point. However, upon realising how quickly the paint disperses and after a few failed attempts, I knew I wasn’t going to be able to get everything in focus.

What worked well was using a water bottle and spraying the water down the hole of the cardboard cutout. This created a lot of bubbles in the water which helped me gain a better idea of where to focus. It of course doesn’t have the same form as the paints hitting the water but it gave me a better insight than using a stick. A few test shots of this actually gave me some cool images!

So you may be wondering why I pre-found my focus point instead of using the paints straight away. This is because every time I used a paint, the water quickly became murky and I would need to empty and refill the tank all over again - it wasn’t a quick process!

Photography equipment

My usual equipment when it comes to a photoshoot is a Nikon D850 or a Z 7. I chose to go with the Z 7 as I really love the focus peaking feature which was very useful for this project. I have never used a macro lens before so I chose to use a Micro-NIKKOR 105mm f/2.8. If you don’t have a macro lens then not to worry, it isn’t essential for this to work. The end result will just be a little further out but it’s still a fun challenge to try from home.

Settings

The settings of your camera will vary due to how much light you're able to get into the water. A macro lens is different from your normal lenses due to the F-stop, which can go much higher (up to f/40 on the 105mm 2.8 I was using). Keeping this in mind, as an example f/8 would be the equivalent to f/4 on a normal lens. I was aiming to try to keep my aperture at f/18 to f/22 due to the paint covering such a large focus area. I kept my shutter speed around 1/1000 to ensure the images where sharp as the paint moved through the water. My ISO was fairly high at 800-1250 to allow for that higher aperture and shutter speed even with the amount of light I had. As I used the Nikon Z 7, I wasn’t worried about losing quality by pushing the ISO higher, however with an older camera model you may lose some quality by doing this.

Want to read offline?

You can now download a PDF version of this Hints & Tips article to read offline and print

DOWNLOAD

NIKKOR Lenses
NIKKOR Lenses