• A polarising filter comprises two pieces of glass set in a filter ring that screws onto your lens. The outer piece rotates, and as you look through the viewfinder you'll see the effect of the rotation. You don't need to use it at full strength – rotate it around to see which degree of polarisation gives you the best effect. A polariser won't work with the sun directly behind or in front of you, however, so make sure you position yourself with the sun at your side.
• Polarisers are most often associated with darkening and adding drama to washed-out skies and clouds, and they will also cut through the hot smoggy hazes you often get in city street shots.
• Use a polariser to increase colour saturation (vibrancy) in your subjects, such as boosting the greens of plants and tree foliage.
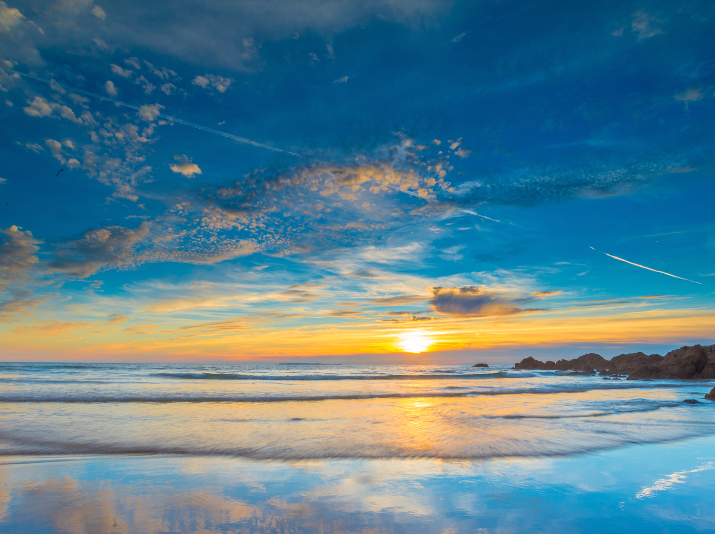
• They're especially useful for reducing or removing glare and reflections in water and other highly reflective surfaces, such as shop windows. Use one on an early-morning shoot when mist or water droplets on flowers or grass would otherwise scatter light and obscure some of the scene's true colours; they'll even make a rainbow more visible. Bodies of water such as lakes and seas will look clearer and brighter with a polariser.
• Be aware that a polariser will remove a couple of stops of light, so you may need to use it on a tripod to avoid fuzzy images – although your camera's meter will read the light coming through the lens and adjust to provide the correct exposure. To be on the safe side, if you don't need a polariser for a specific purpose, it's best to take it off your lens, and it's definitely not suited to low-light conditions.