Welcome to Nikon School. The official Nikon education experts to help you learn how to get the best from your Nikon Camera and Lenses

7 Tips for Architecture Images with Impact

Build up your skills in architectural imaging with our expert tips.

1) Don’t worry about having to spend a fortune on gear

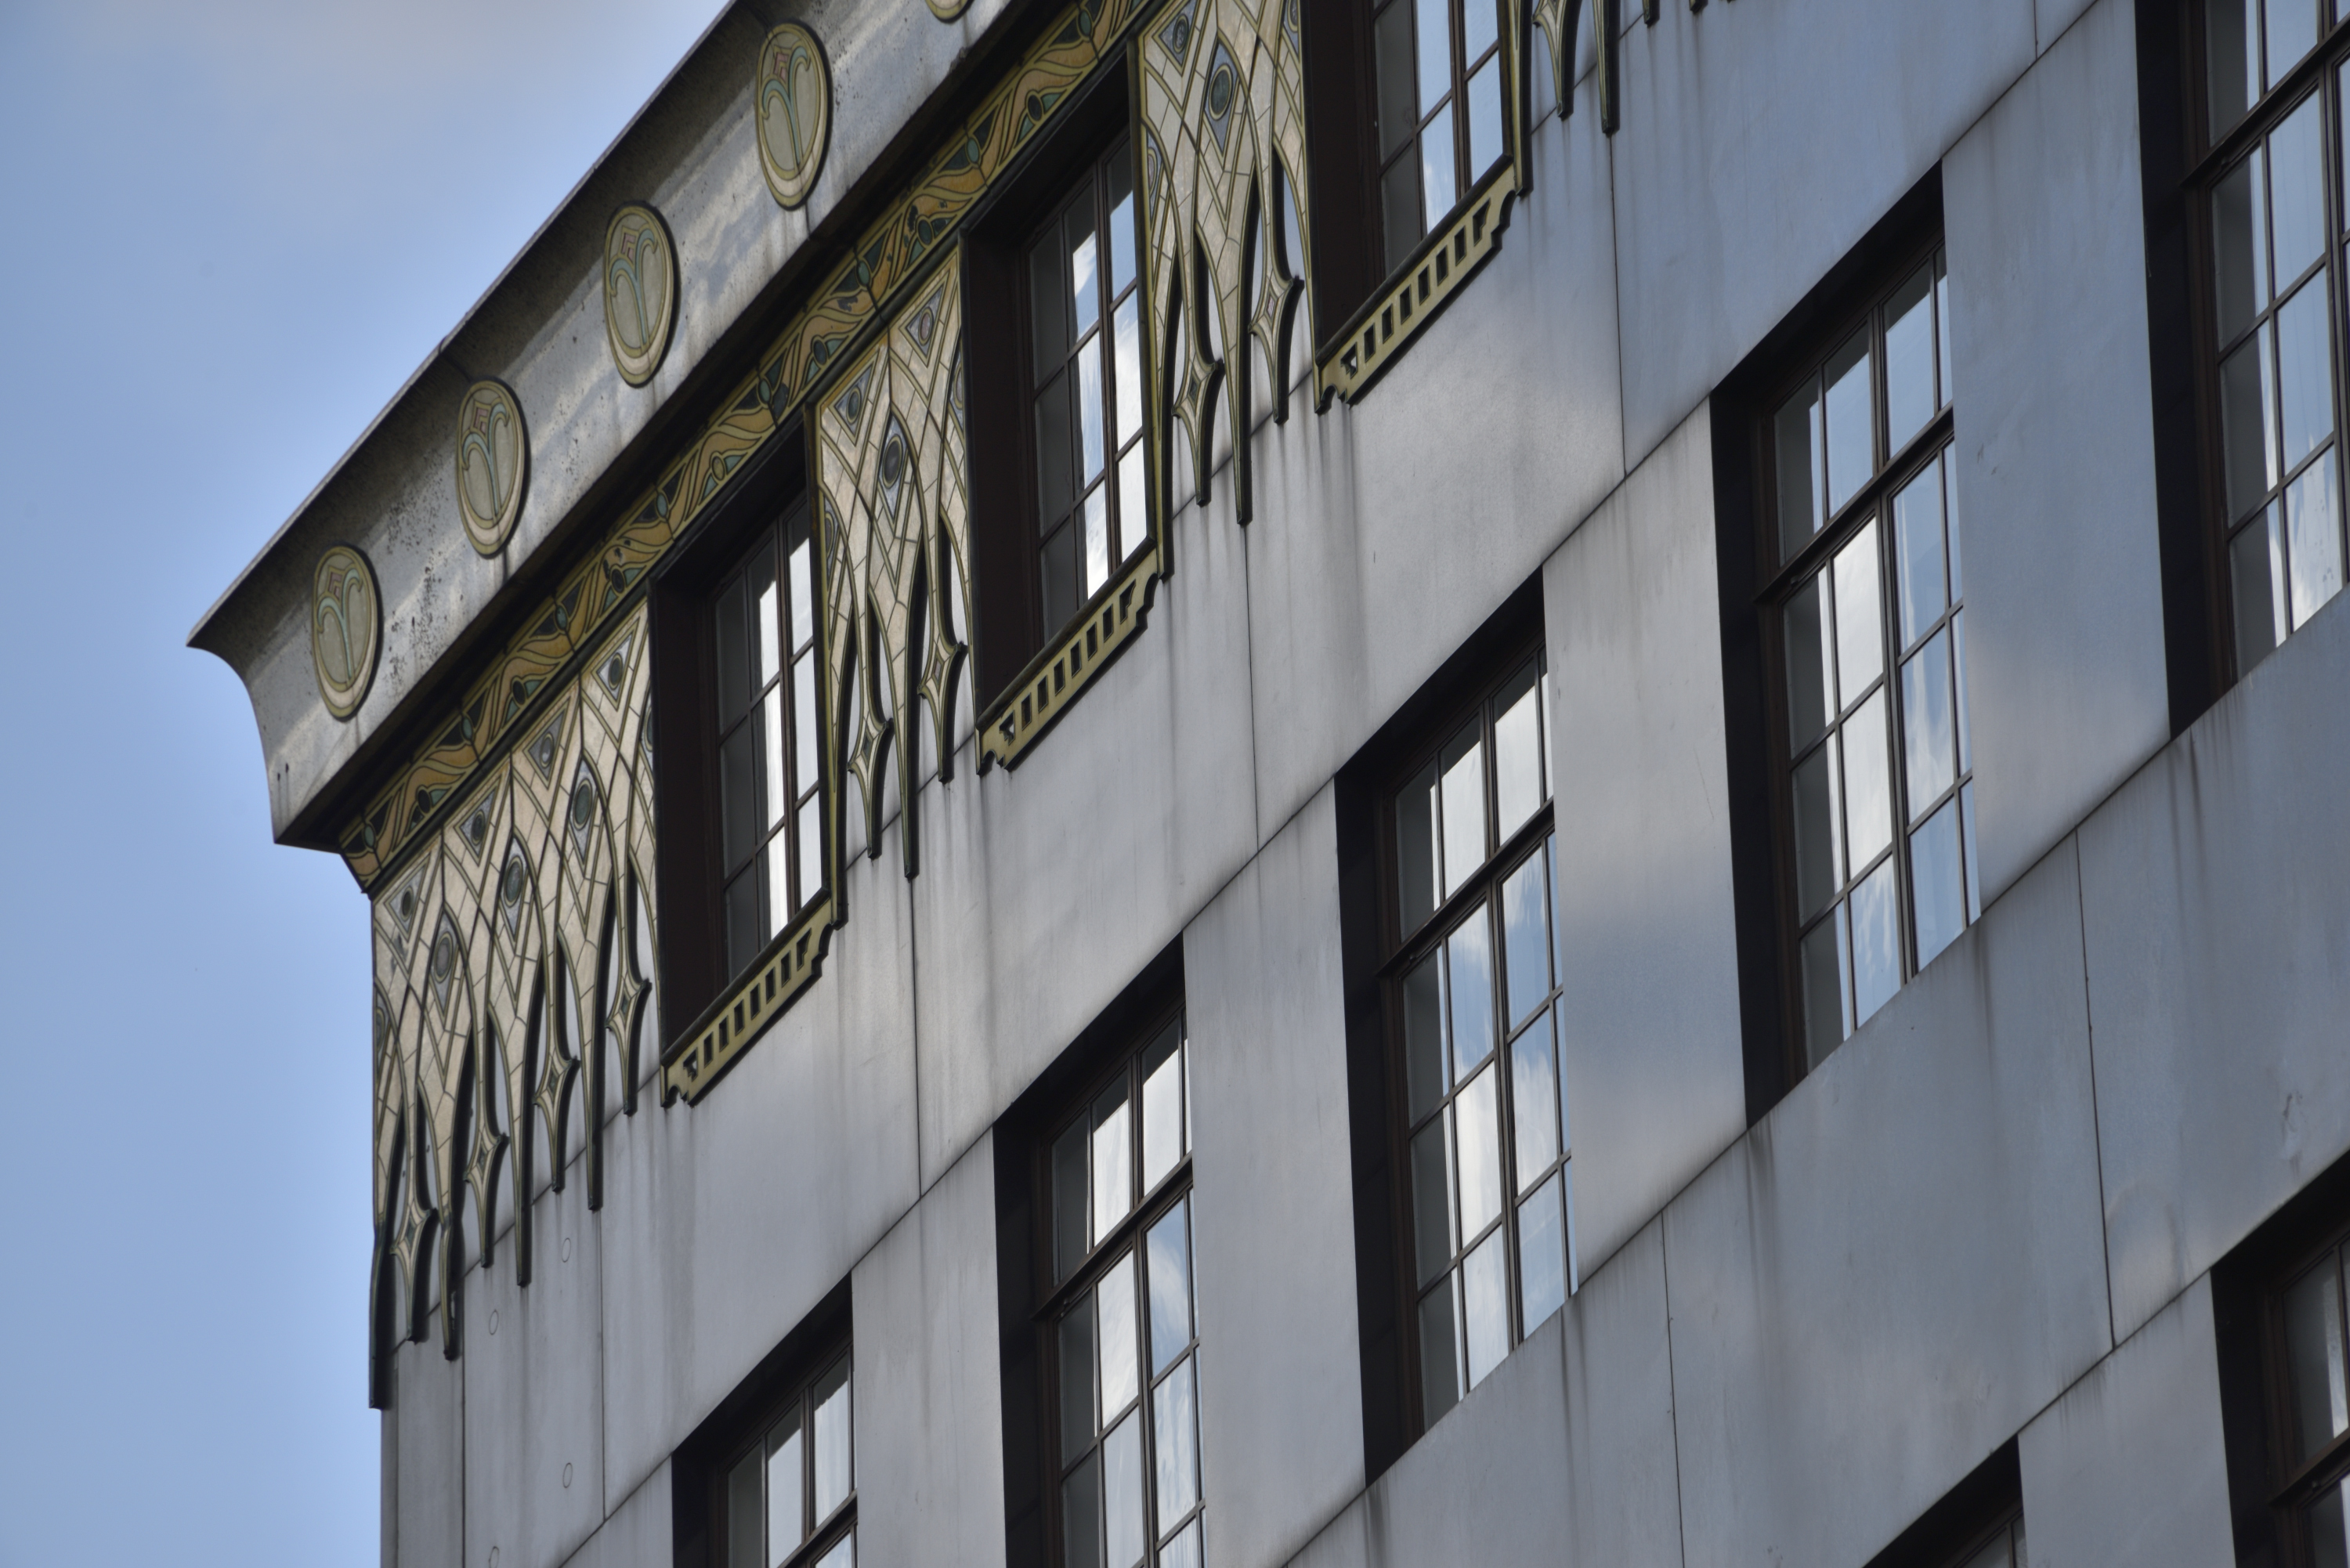
you'll be surprised at what you can achieve with what you've already got, although you will need a wideangle lens to fill the frame. A telephoto lens is great for concentrating on details like ornate carvings, clocks, plaques, signage and repeating patterns of roof tiles or windows.

2) Use the camera tripod-mounted

This gives you a bit of breathing space to concentrate on composition, and allows for shake-free longer exposures – although for interiors, you might need a monopod, as tripods are often banned inside buildings. Otherwise, dial up the ISO so you can use a faster shutter speed, and shoot hand-held.

3) Planning is key

Check out images of your chosen buildings online to look for good angles and the way the light falls at different times of the day. A quick recce before you set up can reveal the best vantage points, and it's a lot quicker and easier to walk around with the camera handheld, rather than when it's tripod-mounted.

4) Converging verticals

Where walls that should look parallel instead appear to be sloping inwards towards their apex – can be a problem. You can minimise this effect by standing further back or choosing a higher vantage point so you don't have to angle your camera up as much to get everything in frame. Some Nikon DSLRs have perspective control in their retouch menu, and you can always correct converging verticals in post-production. If you're really keen on architectural work, consider investing in a perspective control (PC) lens, which help you correct for converging verticals as you shoot. You can also correct converging verticals in post-production, depending on what software you use. Sometimes converging verticals will create a more dynamic image, in which case get up close to the building and tilt your camera sharply upwards to exaggerate the effect.

5) Black and White

Black and white can be really effective for architecture, revealing texture and helping the eye focus on form rather than be distracted by colours. Set your camera to black and white to show what the scene will look like in monotone. You can use the retouch mode to make a black and white version of the image in-camera after you have shot the image, or if shooting in NEF (RAW), change to black and white using your image-editing software.

6) Long exposure

If your intended image is being spoiled by passers-by intruding in the frame, go for a long exposure (around one to two minutes depending on the desired level of movement), and as long as the people keep moving, they won't record on the image. You'll need a neutral density filter to make sure your image isn't wildly overexposed if you do this.

7) Know your rights

There is no law against taking pictures in a public place, so as a general rule, as long as you're standing on public land, you are entitled to take pictures of privately owned buildings. Public land generally includes pavements, footpaths and roads, and watch out for metal rails in pavements – these indicate that the area of pavement between the rail and road is public, while the other side is private. You'll sometimes see plaques stating to whom land belongs, too.

Want to read offline?

You can now download a PDF version of this Hints & Tips article to read offline and print

DOWNLOAD

NIKKOR Lenses
NIKKOR Lenses