Make waves with your photography this summer by going underneath them with your camera…
Make waves with your photography this summer by going underneath them with your camera…
Make waves with your photography this summer by going underneath them with your camera…
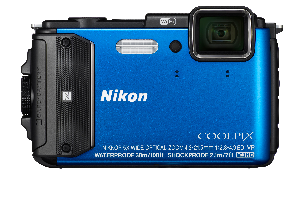
First and foremost, never swim, snorkel or Scuba dive beyond your abilities. Second, keep your kit safe, too. While most cameras won't thank you for taking a dip with them, Nikon has several waterproof COOLPIX models, including the AW130 (waterproof down to 30m – the same as an advanced open-water diving qualification) and W100 (waterproof to 10m), while the Nikon 1 AW1 is waterproof to 15m. You can also buy waterproof cases for Nikon 1 cameras, enabling them to dive with you down to an impressive 45m – about the depth of the Straits of Dover! If you're very keen, invest in a bespoke underwater casing for your DSLR – expensive but worth every penny if this is an area you really want to get into.
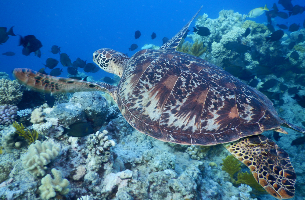
The deeper underwater you go, the less colourful things appear, as the coloured wavelengths of light are gradually filtered out: red disappears first at around 5m, followed by orange (10m), yellow (20m), green (30m) and blue at 60m. What this means is that, without correcting for it, whatever you shoot will tend to look greeny-blue. Unless you're shooting extremely close up, don't try to combat this with on-camera flash, as that will light up the myriad tiny floating particles in the water (believe us, they're there, and even if your eyes don't see them, your camera will). Instead, on your COOLPIX or Nikon 1, switch on underwater mode; not only will this disable your flash, it will also automatically adjust the white balance to tone down the greens and blues so your images have a more realistic colour – although you may still need to boost contrast and/or colour saturation in post-production.
If you don't want to use underwater mode, switch your flash off and set your camera to manual white balance. To shine more light on proceedings, use an accessory Speedlight flash (again, not the built-in flash), placed away from the camera to minimise backscatter from those particles suspended in the water, and switch to auto white balance. Otherwise, if you've got bright natural light, this will probably give you good illumination down to around 6m (20ft) – just make sure the sun is behind you.
Get as close to your subject as you can, as the more water there is between you and it, the less colour, contrast and sharpness you'll get. A wideangle lens setting will let in the maximum amount of light, giving you clearer images with more fine detail visible, while minimising backscatter. Use the macro mode on your camera to get even closer – and, if you're shooting with a DSLR or Nikon 1 in a housing, choose a macro lens.
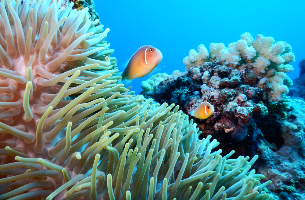
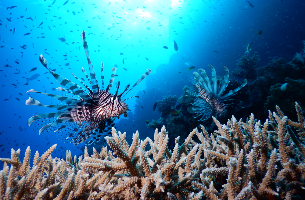
Underwater, the same composition guidelines apply as above the surface, such as filling the frame with your subject, using patterns and leading lines to draw the eye into the frame, and keeping eyes of fish or other underwater creatures in focus. The rule of thirds – where you imagine a 'noughts and crosses' grid over the scene and place your subject on or close to where two of the lines intersect – is also still very helpful for creating a more dynamic image. You'll also generally get better results by thinking low and aiming high – get down low and shoot upwards. It's tricky to clearly portray the size of an object underwater, so it can help to include something that gives an indication of scale. For instance, if you're photographing a shipwreck or a wall of coral, if you can capture a diver in frame you've now provided the viewer with a sense of the size of the wreck or the reef.
You can now download a PDF version of this Hints & Tips article to read offline and print