Welcome to Nikon School. The official Nikon education experts to help you learn how to get the best from your Nikon Camera and Lenses

5 tips for shooting the Summer Solstice sunrise

June 21 marks the summer solstice, the longest day and earliest dawn of the year – 4.43am in London, and earlier the further north you go until 4.03am at the UK’s most northerly point, Dunnet Head in Scotland. Wherever you are, it’s an evocative time to capture the sunrise…

June 21 marks the summer solstice, the longest day and earliest dawn of the year – 4.43am in London, and earlier the further north you go until 4.03am at the UK's most northerly point, Dunnet Head in Scotland. Wherever you are, it's an evocative time to capture the sunrise…

1. Go for long exposures to make the most of the diffused first light, using a tripod and firing via the remote release or self-timer to avoid camera shake. A focal length of 24mm to 35mm will enable you to include the sun, sky and landscape in frame. Choose a low ISO e.g. 100-200 for a higher dynamic range and more intense colours, and set 'daylight' in your white balance presets.

2. If you're starting to shoot while the sun is still below the horizon and light levels are low, go for a wide aperture (e.g. f/2, f/4) and manual mode to give you control over all your settings. Once the sun is above the horizon and you have more light to work with, switch to aperture priority and move down to a smaller aperture e.g. f/16, f/18, which will also give you greater depth of field.

3. When the sun is rising and you're shooting into it, you run the risk of the camera underexposing and creating silhouettes of whatever is in the foreground – if that's not the effect you are after, add in some exposure compensation if necessary e.g. +1 EV. The best way to check the exposure is by looking at the histogram. This shows the exposure across your image in a simple graph: shadow and dark areas/pixels are on the left, and highlights and bright areas/pixels to the right. What you are after is a fairly even distribution across the histogram, creating a smooth 'bell curve' appearance. If your histogram shows lots of peaks to the left, the image is underexposed; overexposure is seen as lots of peaks on the right hand side, which you can correct by dialling in some negative exposure compensation e.g. -1 EV.

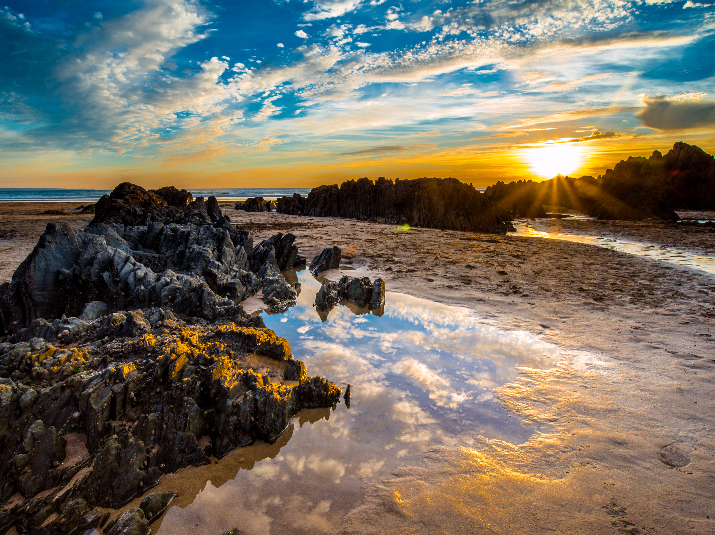
4. Because it's tricky getting the exposure spot-on with sunrises, it's best to shoot RAW/NEF files so you have all the unprocessed information the camera has captured to play around with in post-production. One common sunrise result is a flat-looking image, and with a RAW file this is easy to fix in post by adding contrast.

5. Be prepared! Scout your location in advance so you know exactly where the sun is going to rise and start thinking about the shots you want, so you don't waste valuable time on the big day. Check on the internet when the sunrise is due, then get there at least half an hour beforehand to give yourself time to set up and catch the pre-dawn glow, and pack a torch – essential for checking your camera settings and seeing what you're doing before the sun comes up.

Want to read offline?

You can now download a PDF version of this Hints & Tips article to read offline and print

DOWNLOAD

NIKKOR Lenses
NIKKOR Lenses